Airfix 1/72 scale
Hawk Mk. 66
by Thomas Muggli
|
|
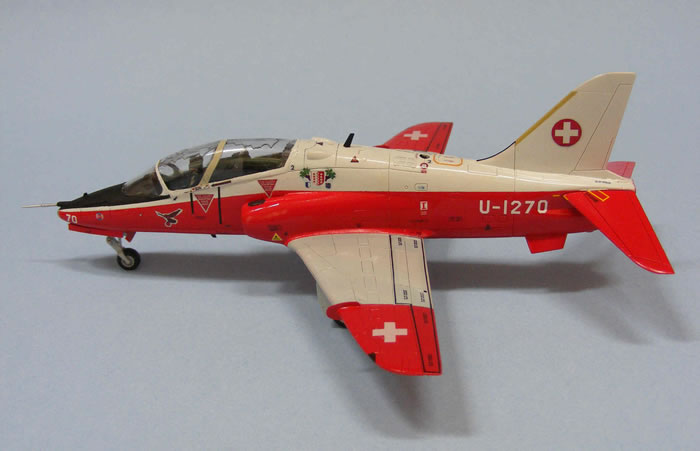
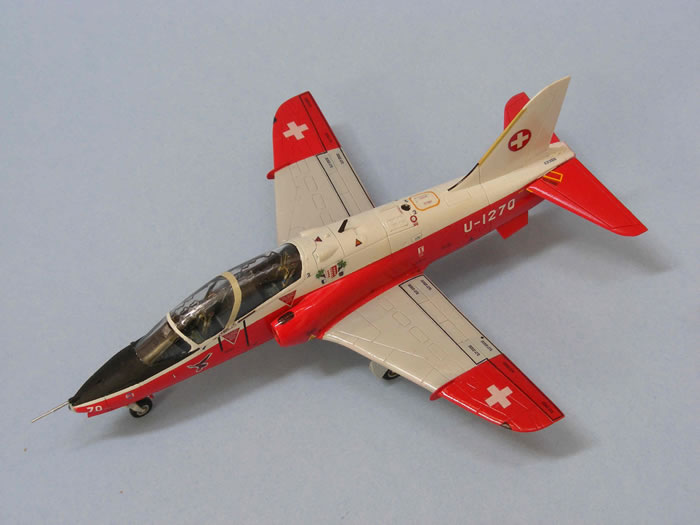
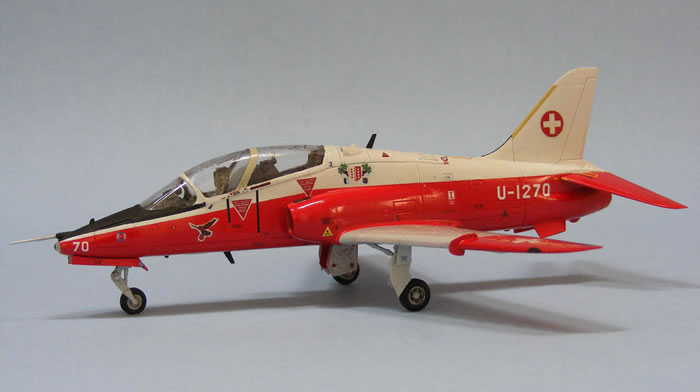
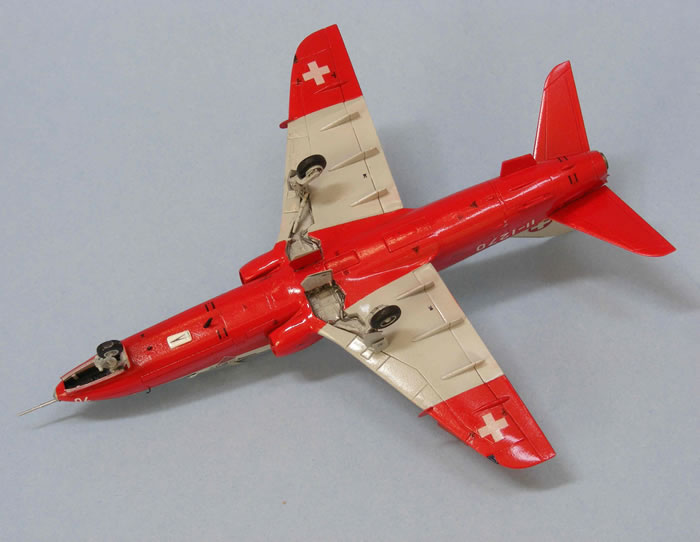
British Aerospace Hawk Mk. 66 |

Airfix' 1/72 scale Red Arrows Hawk Starter Set is available online from Squadron.com
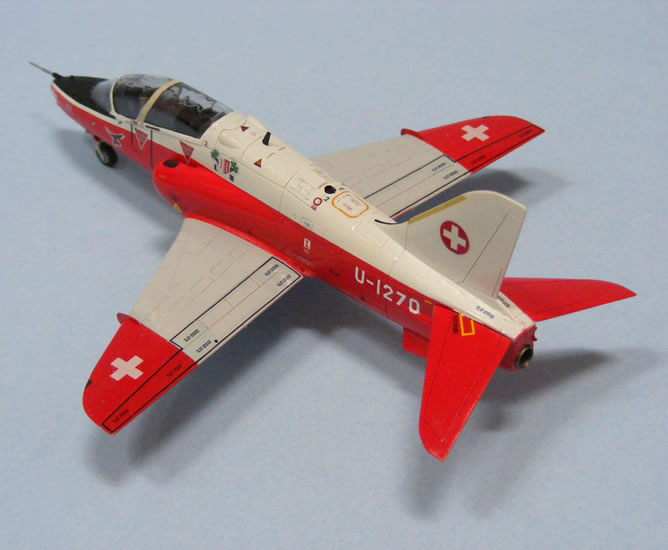
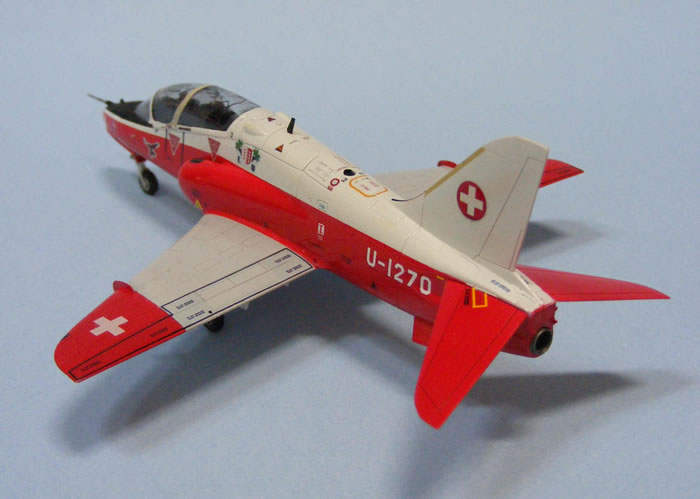
 Since its maiden flight in 1974 the BAe Hawk has become one of the most successful Jet Trainers ever produced and still used worldwide today. In 1990, Switzerland was one of the 20 nations that have chosen the Hawk to train their fighter pilots. The Swiss Air Force took delivery of 20 Hawk Mk. 66. Despite being very popular with student pilots and instructors, the Swiss Hawks were withdrawn from service in 2002 because of government budget cuts. The planes were mothballed and eventually sold to Finland in 2005. Since its maiden flight in 1974 the BAe Hawk has become one of the most successful Jet Trainers ever produced and still used worldwide today. In 1990, Switzerland was one of the 20 nations that have chosen the Hawk to train their fighter pilots. The Swiss Air Force took delivery of 20 Hawk Mk. 66. Despite being very popular with student pilots and instructors, the Swiss Hawks were withdrawn from service in 2002 because of government budget cuts. The planes were mothballed and eventually sold to Finland in 2005.
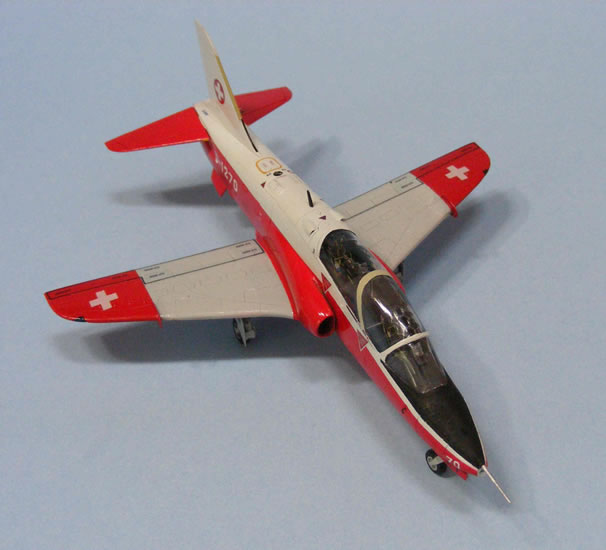
Despite its relatively short career in Switzerland, I wanted a Hawk for my 1:72 scale Swiss Air Force collection. The most widely available Hawk in 1:72 scale is the Airfix kit, which I used for my project. I my opinion, the kit is decent, but certainly not great. Some of its shortcomings are panel lines which are overdone; and some detail parts that are too thick for the scale. I was glad to have an Eduard photo-etched detail set on hand. It helped to greatly improve the model’s appearance.
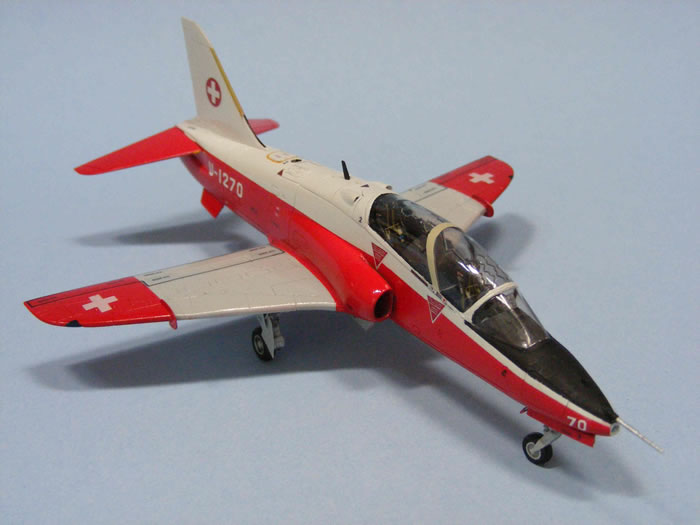
Construction started with the cockpit. I added the Eduard seat belts and other details to the ejection seats. I didn’t use the instrument panels that came with the Eduard set because they feature the digital displays of modern Hawk versions and are not correct for the Swiss Hawks. Instead, I used the instrument decals included in the Airfix kit. They don’t look great, but since I was planning to leave the canopy closed, I left good enough alone. The cockpit was painted and glued to one of the fuselage halves. It was necessary, at this point, to install the nose gear since it is part of the cockpit assembly. I replaced the jet pipe with a piece of brass tubing, and cemented some fishing sinkers in the nose cone and under the cockpit floor, to avoid the model sitting on its tail. The fuselage halves were now ready to be joined.
The molded details in the main gear wells don’t look correct. I scraped them off and replaced them with more accurate looking details that I made from stretched sprue, copper wire and styrene bits. The remainder of the assembly was problem free, with only a few gaps needing filling and sanding. To finish the construction I added more details from the Eduard set, particularly, the photo-etched main gear doors and wing fences to give the model a more realistic look.
I used Model Master acrylics to paint my model. To achieve the correct shade for the red areas, I mixed Italian red with some Guards red. The decals were a tricky proposition. MC-One makes a great Swiss Air Force Hawk decal sheet, but it’s only available in 1:48 and 1:32 scale. I decided to buy a 1:48 scale sheet, scanned it to my computer and reduced it to 1:72 scale. Then I printed three copies on a letter-sized clear decal sheet on my ink-jet printer. Since the print quality suffers due to the reduction in size, and the use of an ink-jet printer, it helps to produce multiple copies of the reduced sheet, to improve the chance of getting a well-printed copy of each decal after printing. I coated the sheet with clear lacquer from a spray can and applied the decals as usual.
The other challenge I faced was that ink-jet printers don’t print white, so the white decals were lost. I found white crosses for the wings in my spares box, and modified the registration numbers from the decal sheet of a Revell Hunter. Problem solved.
After the decals were applied, I finished with a few coats of Future floor cleaner.
Once the landing gear was installed, my Swiss Hawk was ready for its first training flight over the Alps.
Model and Text Copyright ©
2013 by Thomas Muggli
Page Created 14 October, 2013
Last Updated
27 December, 2013
Back to
HyperScale Main Page

|
 Home
| What's New |
Features |
Gallery |
Reviews |
Reference |
Forum |
Search
Home
| What's New |
Features |
Gallery |
Reviews |
Reference |
Forum |
Search