Airfix 1/72 scale
Hawker Hurricane Mk.I
(Fabric Wing)
by Mark Davies
|
Hawker Hurricane Mk.I (Fabric Wing) |

Airfix's 1/72 scale Hurricane Mk.I is available online from Squadron
This was a kit that I thought showed a lot of promise when I wrote my “First Look” here on HyperScale recently.
This assessment proved correct with a very trouble-free build on the whole.
Modifications
I made some changes to the kit, but of these only thinning the overly thick wing trailing edge is really needed, especially the lower half.
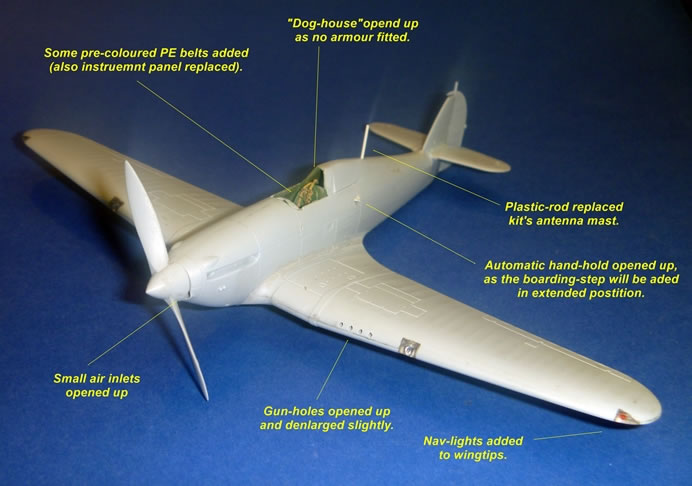
The other changes I made were to:
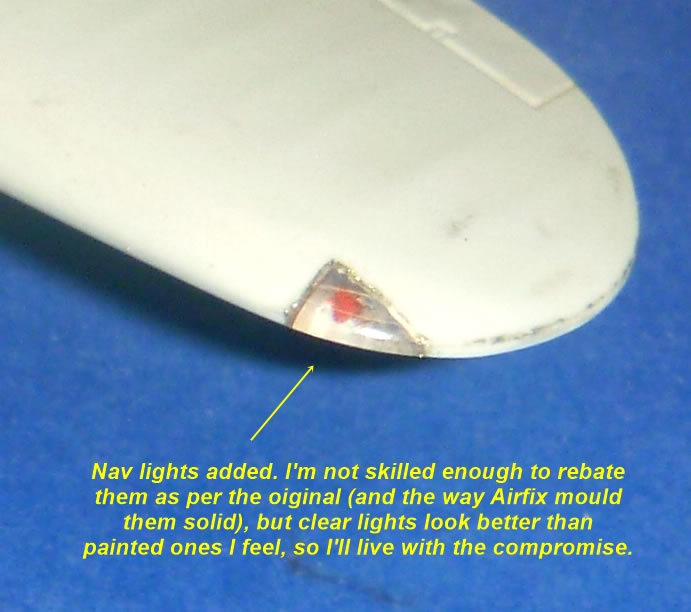
-
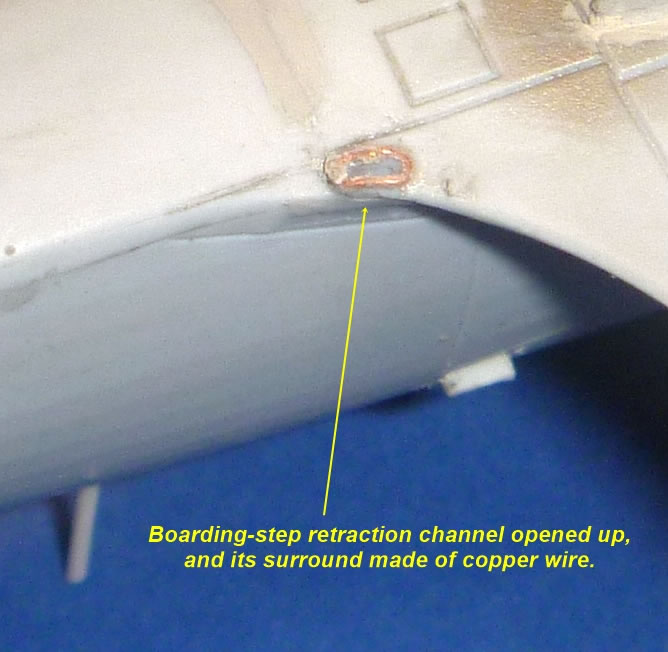
Use pre-coloured PE instrument panel and harness from Valiant Wings reviewed here on HyperScale in October 2012. I also used the boarding step and early-style underwing pitot from this set. (The instrument panel can barely be seen, so perhaps I was too critical in my “First Look” of Airfix’s use of a decal for this part.)
-
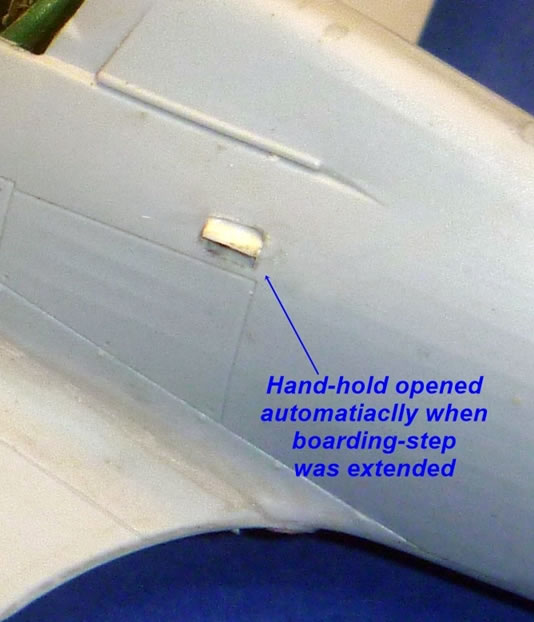
Cut out the spring-loaded boarding handle activated when the boarding step was extended.
-
Open up the two small air vents just behind the spinner.
-
Blend in the antenna mast base, remove the kit mast, drill a hole in the base, and make a replacement mast from plastic rod for fitting at the end of the build.
-
Add a ring and bead sight.
-
Open up the dog-house based on photos I had seen of Hurricanes without seat armour (as applied to my early version). I have since been advised by Victor Scheuerman that the hole was covered by a panel, so I reclosed mine in.
I will replace the kit’s four-spoke wheels with five-spoke examples by CMK when they arrive from Europe. Thanks again to Victor for pointing the need for these out to me; something I missed in my “First Look” review.
Build Suggestions
The build proceeded without any problems as such, but I would like to share the following thoughts for the benefit of anyone who is contemplating building this kit:
-
The kit has soft plastic that is easily damaged by excess cement, and needs care when trimming with a blade as it's very easy to over-do things by accident.
-
The plastic quite delicate and thin section can snap easily. I also found the plastic a little "cheesy" to file and sand.
-
The wing to fuselage joint needed careful checking and the tiniest adjustment for fit along the wing-root.
-
Double-check the width of the fuselage at the forward part of the wing-root join before gluing the fuselage halves. Mine was just a smidgen wide.
-
The radiator housing has front and rear parts, and needed a bit of filler to blend everything in.
-
Fit the radiator to the lower wing before anything else is added. This will allow easy clamping and ensure a flush fit along the sides of radiator housing. I fitted mine after the wings were mounted on the fuselage, and had a tiny gap due to the curve of the wing and springiness in the plastic. It was hard to clamp with pressure of long enough duration to get a nice join. I used Mr Surfacer in the end to fill the small gap, but could have avoided this if I done as I as I suggest.
-
The antenna mast is a plug-fit and its base needs to be blended in before painting. For the early round type I suggest cutting it from the base, blending the base in, and drilling a hole to receive some rod. For the later streamlined-section style I suggest either fitting last prior to painting, or remove from the base, then blend and mark its position if you thnk ongoing handling is likely to damage it.
-
I found the windscreen to canopy to fit was not quite as good as I first thought. I may have affected things by thinning down the cockpit walls in consideration of an open canopy however, which I chose not to have in the end. I suggest still to check before painting.
-
The gun holes in the wing’s leading-edge will benefit from being drilled out, and I think need to be slightly larger in diameter than moulded.
Let me emphasise that all of these points cover issues far more minor than the number of words used would imply, and may apply to my build only. They are just pointers to check in advance if wished. The fit of parts was generally very good.
I used an enlarged photocopy of the colours and markings guide cut out to make paper masks. I have since read a “Plane Talking” post by Roy Sutherland here on HyperScale advising that Airfix made the camouflage demarcations too wavy, and backs it up with photos from the period; so don’t do as I did!
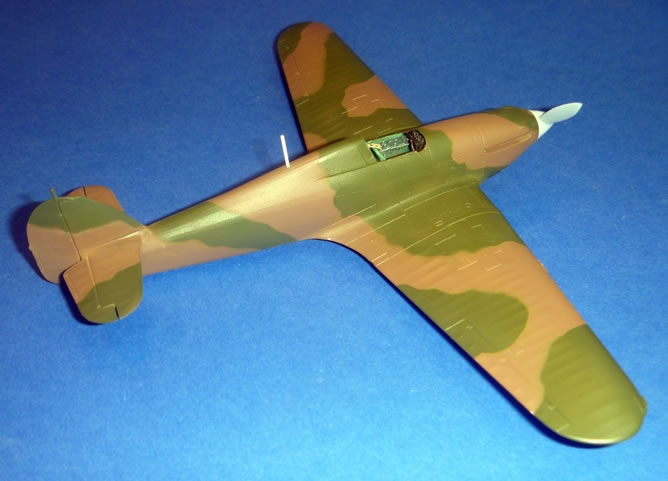
Painting was done using Mr Colour and Alclad II, automotive lacquer for a gloss clear-coat, and domestic matt polyurethane varnish for a final coat.
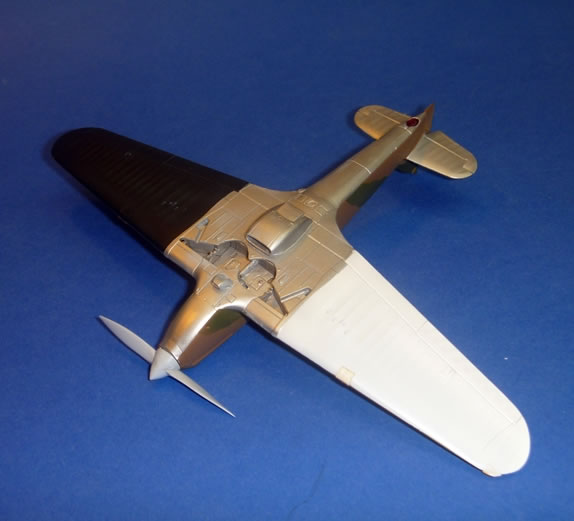
The kit decals were great to use, and floated on with Future; no set or solvent solutions being needed. The model depicts and French air-show example, which would have been kept very clean by its ground-crew. Weathering was therefore minimal; I restricted it to a Future/acrylic paint mix to shadow flying surfaces and wheel-wells, as well as to define engine panels.
This kit was a most enjoyable kit to build, and I am pleased with the resulting model. I cannot wait to get my teeth into some more of Airfix’s recent releases, not to mention their forthcoming Blenheims and Do 17Z.
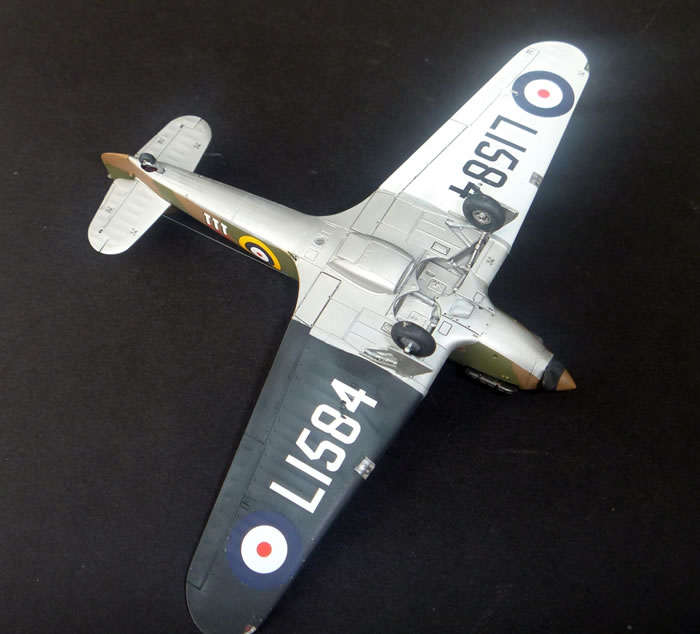
Thanks to Brett Green for the review kit.
Model, Images and Text
Copyright ©
2014 by Mark Davies
Page Created 12 March, 2014
Last Updated
12 March, 2014
Back to HyperScale Main Page
|
Home
| What's New | Features | Gallery | Reviews | Reference | Resource Guides | Forum |