Kinetic's 1/48 scale
KFIR C2/C7
by Floyd S. Werner Jr.
 |
KFIR C2/C7 |

Hasegawa's 1/48 scale Fw 190 A-9 is available online from Squadron
 Summary Summary
Title: KFIR C2/C7
Scale: 1/48
Reviewer: Floyd S. Werner, Jr. IPMS # 26266
Product/Stock #: K48046
MSRP: $70.00
Review Type: Aircraft
Product Type: Kit
Kit Manufacturer Info: Kinetic Model Kits
Kit Manufacturer Website Title: www.kineticmodel.com
Supplied by: Lucky Model
Supplied by Website URL: www.luckymodel.com
In the Box
During WWII the French could not design a good looking aircraft to save their nation, however, that changed in the post war years. The delta wing Mirage series is a beautiful aircraft utilizing the delta wing research from Germany. Utilizing the powerful J79 engine the KFIR was a powerful fighter bomber. The C2/C7 had canards for added maneuverability, as well as, more powerful avionics.
This is my first Kinetics kit and I must say upon opening up the sturdy two-piece cardboard box I was impressed by the presentation. The kit is molded with over 180 light grey plastic with finely engraved panel lines. Kinetics seems to have captured the looks of the real thing. Besides the two different versions of the aircraft there are other options. One of them is having the flaps up or down. Canopy open or closed. Airbrake opened or closed. Then there are the armament options, cluster bombs, Mk-82s, Python Air-to-air missiles, fuel tanks and all the pylons to hold them.
An additional sprue of clear plastic contains the appropriate items. The canopy does NOT have a mold line down the middle and they all are crystal clear.
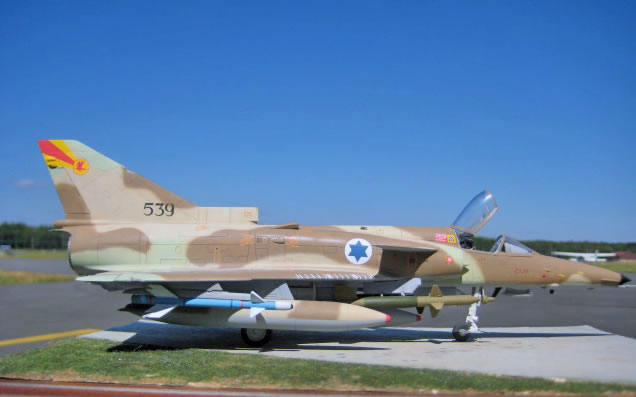
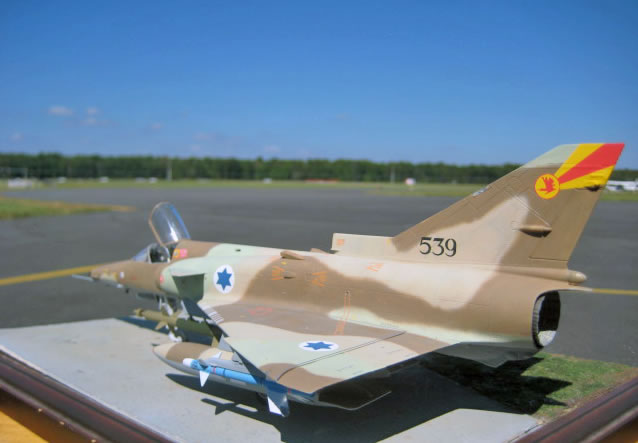
The assembly instructions are contained in a nine paged A4 sized booklet. The black and white drawings seem easy enough to follow. The color callout is in four paint ranges. A separate page contains the decal and marking options. This is printed in full color on both sides. One side has the grey schemed C2 and the other has the camouflaged C7. I elected to do the camouflaged C7 because it is cool.
To round off the professional package is the inclusion of decals designed by Ra’anan Weiss of Isradecals and printed by Cartograf. So in a word they are the world’s best decals designed by the guy who would know. You can’t get any better than that.
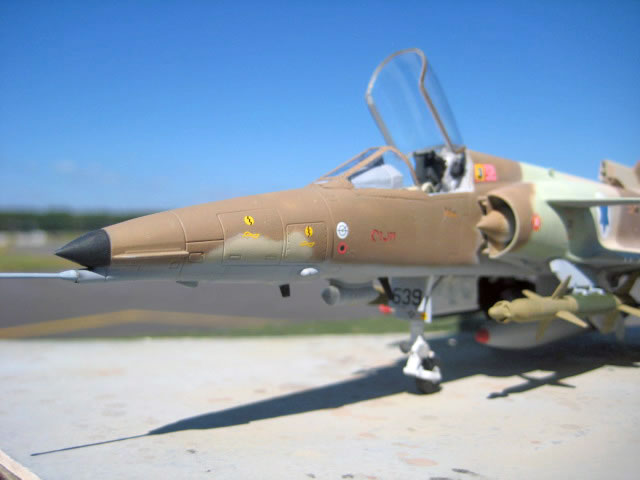
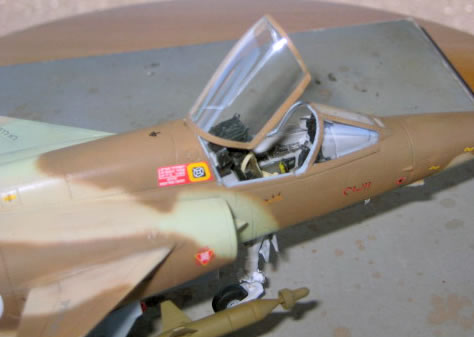
As usual the cockpit is the starting point. The cockpit is simple but effective. The ejection seat is nice but it does need some seat belts to bring it to life. I used some tape to make it look acceptable. There were some places that needed a touch of filler, but nothing to dramatic. There was one part that was vague, Part 79, which is a box on the aft bulkhead. I put it where I thought it went. We’d see that I must have missed it by a little bit as my canopy wouldn’t close. Painting the cockpit was easy enough. Mostly grey with black on the panels.
The next step is the landing gear. I assembled the wheels but waited until later to paint and add them.
There are some minor parts to be assembled next. Everything fit well enough. Some needed a pinch of filler but nothing drastic
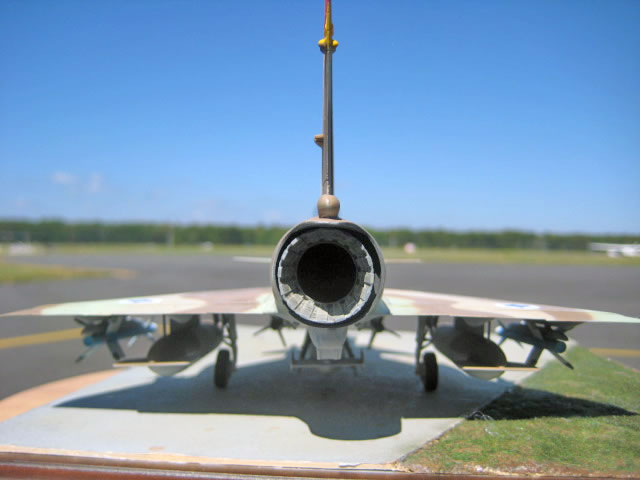
The fuselage fit well. The only place that needed some filler was on the exhaust section. The engine inlets did require some manipulation and a small amount of filler to get them to fit right but nothing drastic. Well within the abilities of most modelers.

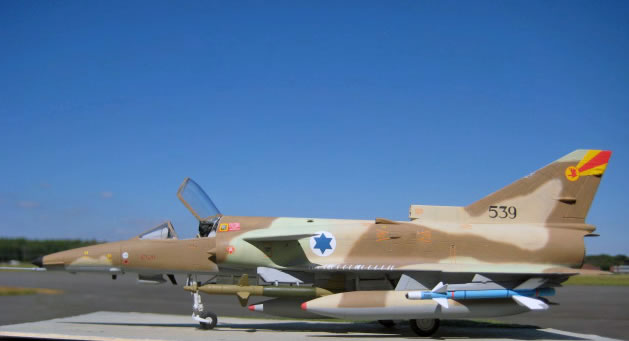
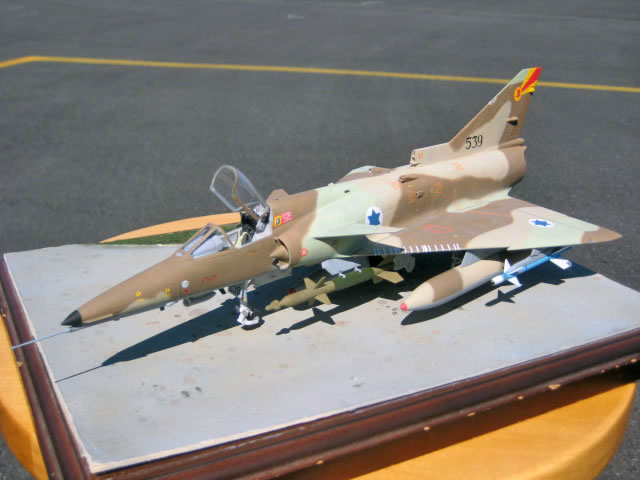
The wings required some sanding of the leading edge to get a good fit, but nothing the average modeler can’t handle. A bead of Gunze Mr. Surfacer 500 was run along the panel line and then cleaned off with Gunze thinner. The same with the airbrakes. The airbrakes can be positioned opened or closed. Opened there is no detail in the bay. So I closed mine as this would make the aircraft more sleek. The flaps can be positioned up or down but like the airbrakes they were positioned up to keep the sleek lines.
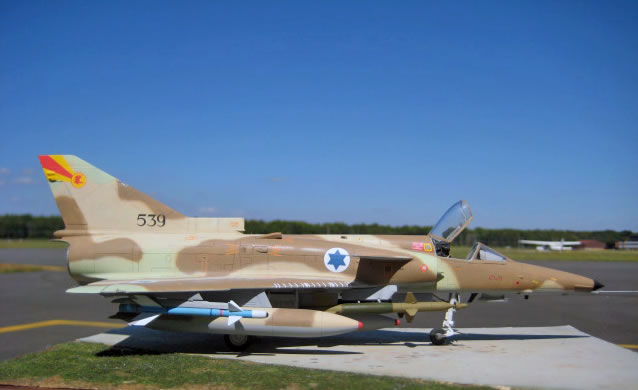
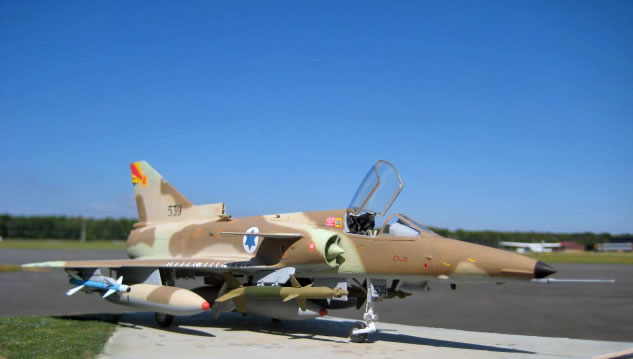
The wings to fuselage join fit well but did require some filler at the leading edge. Again nothing drastic just a little bit. The canards fit perfectly. After masking off the front canopy with Tamiya tape and Mr. Maskol, the canopy was attached. With that the model was ready for paint.
The whole model was wiped down with Plastic Prep and a coat of Alclad Grey Primer. What needed to be fixed was fixed. Tamiya flat black was sprayed on to pre-shade the model.
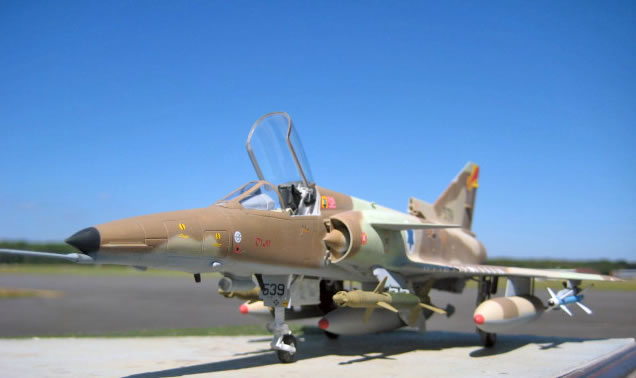
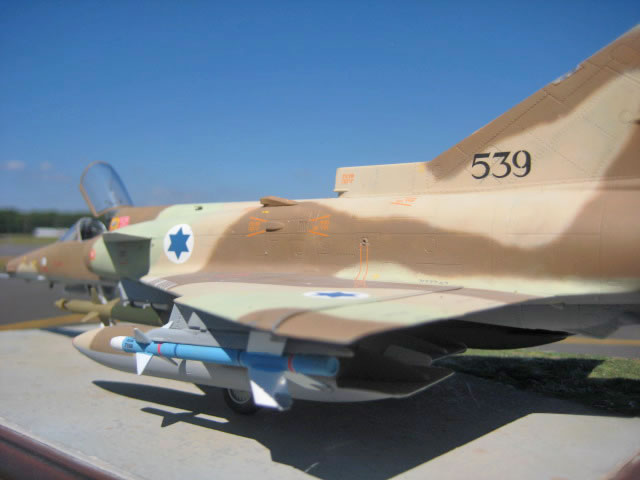
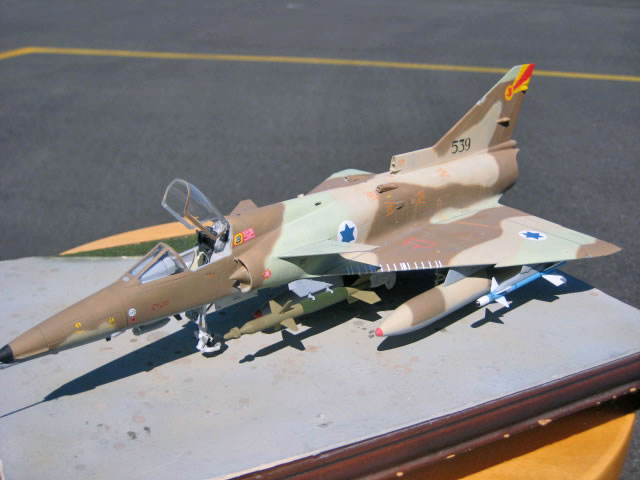
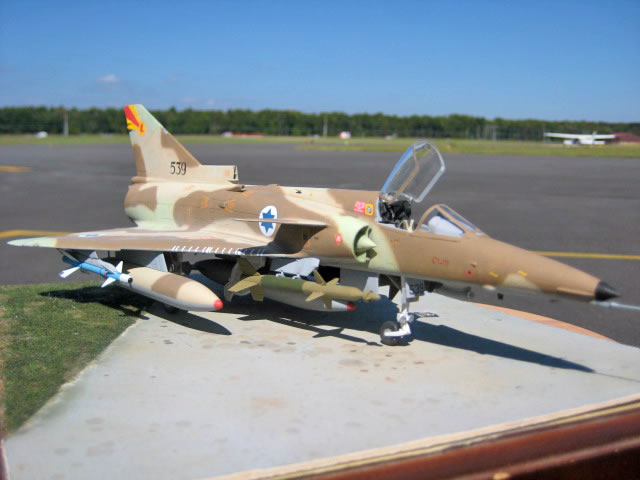
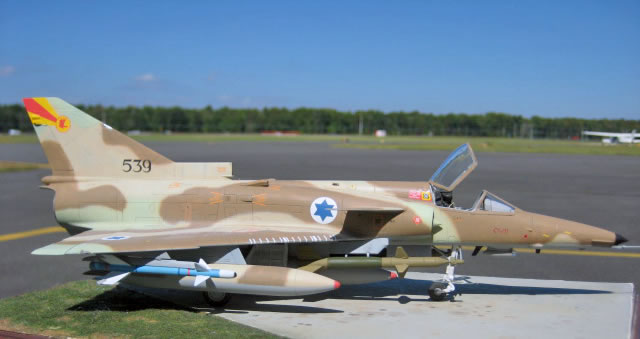
Gunze Light Ghost Grey was sprayed on the bottom. A couple of drops of white lightened up the grey which broke up the monotonous color. Gunze 313 Desert Tan was added next. I tried to get a tight but freehanded edge to my colors so this was followed up with Gunze Sky. These two colors are very close to each other and they need something to contrast against. Enter the next color Model Master Desert Brown. This makes the model pop. Once everything was dried I masked off the wheel wells and painted them white. Some other minor things were painted like the flat black tip of the nose. I think if I were to do this camouflage next time I will use masks.
Decals
A coat of Alclad Agua Gloss prepped the model for the decals. The decals are printed by Cartograf and are simply gorgeous. I started at the front and worked my way around instruction sheet. There are plenty of stencils on this model. They worked so well I didn’t even use setting solutions except for a few areas where I had a little silvering because my gloss coat wasn’t as good as I thought. It was all my fault and not the problem of the decals. There was only one problem area. The squadron tail markings are required to conform over a sensor at the top. They didn’t quite make it all the way around it. I ended up using some Polly-S RLM-04 which proved to be a perfect match for the yellow. I can’t remember what I used for the red, but I think it was Tamiya Flat Red. After that a coat of Alclad Flat was used to seal everything in place.
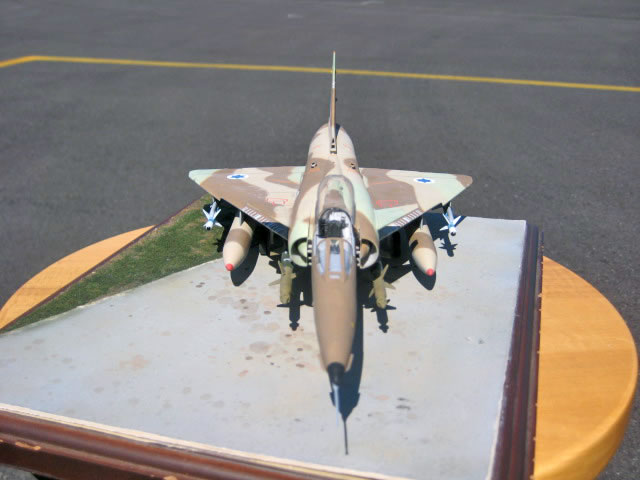
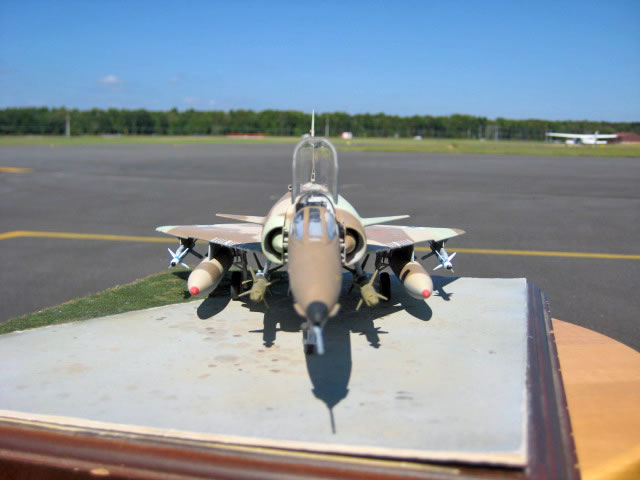
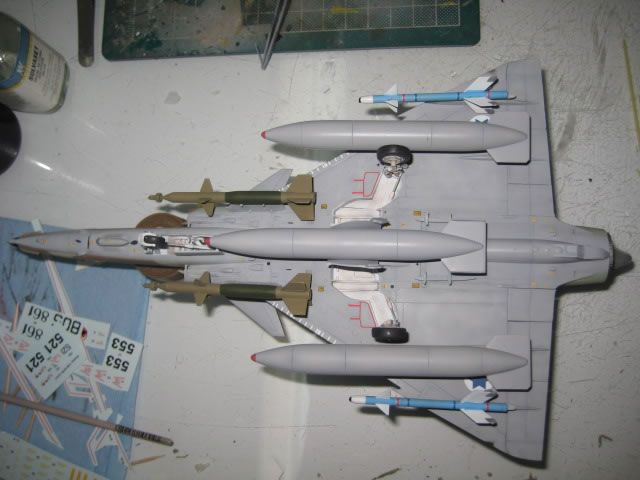
Adding some of the small items prepped the model for the ordnance. There is a bunch of ordnance in the kit. There are bombs, drop tanks, and Laser bombs. The fit of the supersonic tank tail was a little less than spectacular, but since I wasn’t going to use them. Another thing that I thought was a little off was the sway braces for the Laser Guided Bombs. I thought I should have cut them down a little more, however, I built it the way they were designed. They don’t look bad but I think they could have looked better tighter. The fit of the forward pylon for the laser guided bombs was less than perfect and required some sanding and fitting to fit properly. After that everything else worked well and added a whole dimension to the belly.
Weathering
I elected not to weather the model heavily as I feel jets just don’t get as dirty as a reciprocating engine WWII fighter. The pictures in the IsraDecal Publications “IAI Kfir in IAF service” proved this to be correct. Also while speaking of this book, I found it essential for putting this model together. I used some burnt umber artist oils to dirty up certain components.
Final Bits
Adding the canopy and the some clear parts brought the model to a conclusion.
The instructions are a little vague in some areas. An internet search or the IsraDecal Publications book proved to make up the shortcomings. The leading edges of the wings did require some thinning, however, nothing drastic. Some filling was required here and there but nothing too bad and certainly within the limit of all but the most notice modeler. The model scales out perfectly with the plans in the IsraDecal book. The decals are excellent. I enjoyed the build. Was it worth the money? I’d have to say yes.
Highly Recommended
Thanks to Kinetics and IPMS/USA for the review copy. You can obtain your copy at your local hobby shop or online retailer.
Model, Images and Text
Copyright ©
2014 by Floyd S. Werner Jr.
Page Created 6 January, 2014
Last Updated
6 January, 2014
Back to HyperScale Main Page
|
 Home
| What's New | Features | Gallery | Reviews | Reference | Resource Guides | Forum |
Home
| What's New | Features | Gallery | Reviews | Reference | Resource Guides | Forum |