|
Lockheed P-38L-5 Lightning
Hobby Boss, 1/48 scale
S
u m m a r y |
| Catalogue Number: |
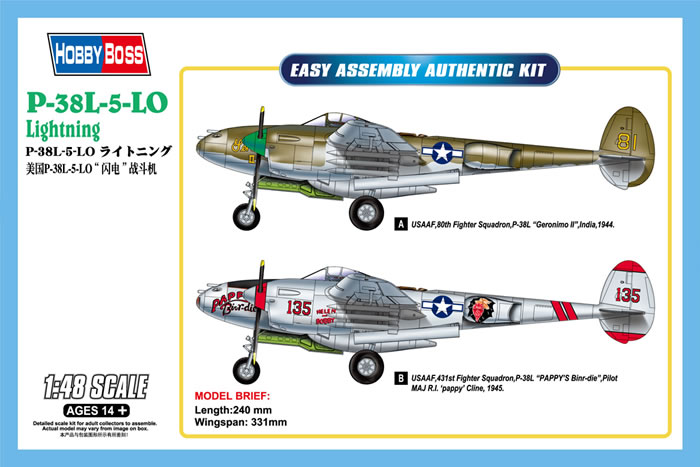
Hobby Boss Kit No. 85805 - Lockheed P-38L-5 Lightning |
| Scale: |
1/48 |
| Contents and Media: |
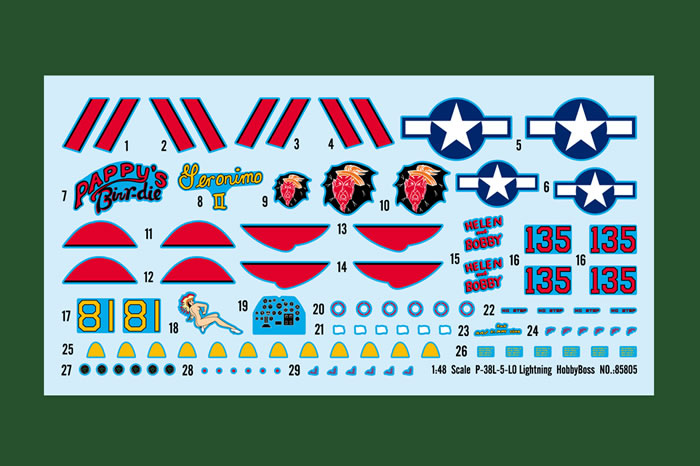
90+ grey plastic parts on four sprues; markings for two aircraft. |
| Price: |
$25.89 plus shipping from Squadron
and specialist hobby retailers worldwide |
| Review Type: |
FirstLook |
| Advantages: |
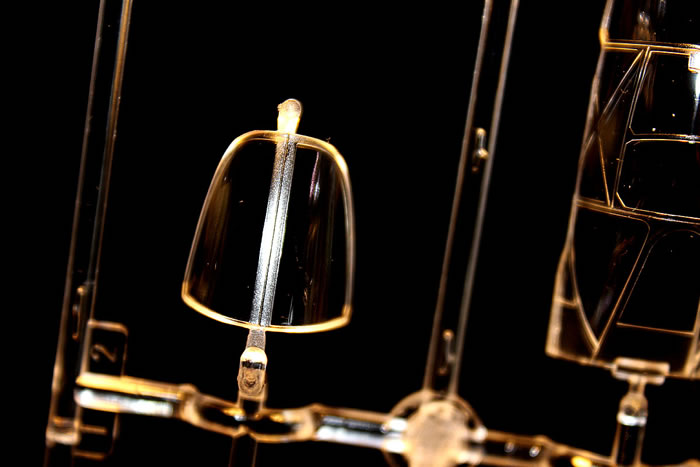
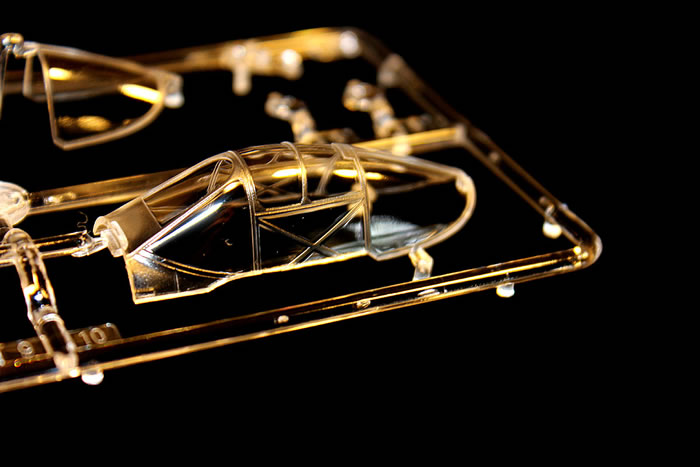
Ingenious wing and fuselage parts breakdown; excellent clear parts; simple construction. |
| Disadvantages: |
Quite a few! See summary in body text. |
| Conclusion: |
It ain't perfect by a long shot, but it can be worked with, and it will get you to a halfway decent P-38 quicker than any of the other kits on the market. My hope is that they’ll follow this up with other variants, particularly the earlier E/F/G/H and recon types. Recommended. |
Reviewed by Lynn Ritger

Hobby Boss' 1/48 scale Lockheed P-38L-5 Lightning is available online from Squadron.com
The P-38 Lightning surely needs no introduction to the vast majority of modelers, so I’m simply going to skip straight to a discussion of the plastic and how it stacks up against other 1/48 Lightnings on the market.
It may come as a surprise that an avowed 109 nut like myself would bother with the P-38, but it’s long been a favorite of mine- I’ve built several of the venerable Monogram kits over the years, and have examples of the Hasegawa and Academy kits in the stash as well. Having struggled with the Hasegawa P-38J, I also understand the challenge of getting everything aligned just right on such an unusually-configured aircraft. Monogram’s construction breakdown has largely been followed by all subsequent P-38 kits: each boom is split vertically into two halves containing the vertical stabilizers and rudders, inner and outer radiator pods and engine halves, while the wing is separated into upper and lower halves which also carry the horizontally split central nacelle. The horizontal stabilizer was a single piece which slid through corresponding holes on the Monogram kit- you never hear people complaining about aligning that one!- while the Hasegawa and Academy assembly sequence has the primary stabilizer and outboard tips separate.
The precise alignment of the Hasegawa kit has always been somewhat problematic- any slight bend or twist in the sprues as they rest in the box will throw off the alignment just enough to kick it out of contest consideration. For some reason Academy kits don’t seem to have the same sort of twist issues; a look at the sprues suggests Academy’s structural parts are just slightly thicker, plus Academy was smart and included vertical blanking plates in the radiator pods which help to prevent twist and add a little extra strength to the boom halves. Still, getting all the bits together cleanly requires quite a bit of patience- a P-38 has rarely been considered a “slammer”, a project one could knock together in just a couple days and have something ready for the contest table in short order.
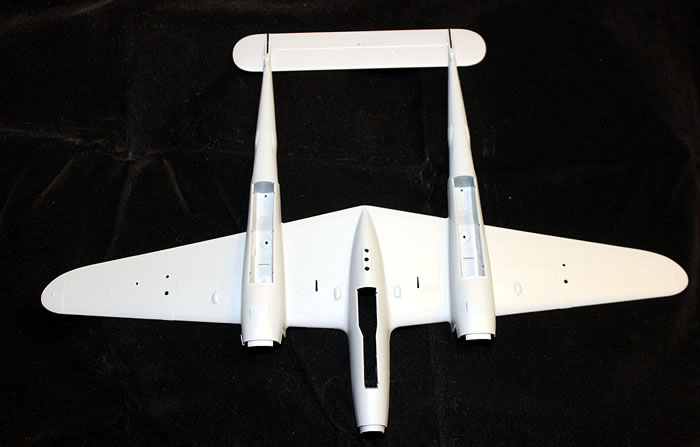
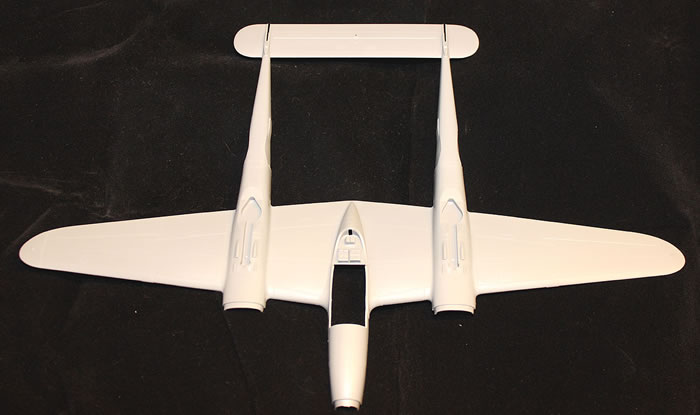
It’s against this background that Hobby Boss has decided to enter the fray with their own P-38 kit. It would be a significant understatement to say that Hobby Boss has something of a spotty record with their releases recently; some are very highly regarded such as their Fw 190D-9 but much of what they’ve put out in the past few years has been rife with errors of one sort or another. Thus, the news that Hobby Boss would be releasing a P-38 was greeted with no small amount of trepidation. Eyebrows were raised in surprise around the internet modeling community, however, when the first sprue shots were released- the kit looked half-assembled in the box! Hobby Boss took a different path with the engineering of their Lightning, and in one shot they have almost completely solved the alignment issues with the wing, nacelles, and horizontal stabilizer… they tooled this entire assembly in two pieces, upper and lower halves!
That one feature automatically made this a kit I was eager to investigate further, and when Bill Wesley of Hampton Roads Hobbies brought one to the IPMS Tidewater meeting, I bought it and immediately commenced the IPMS Judge review process- i.e., find the flaws. There are some issues, yes, but I will admit to being pleasantly surprised by what Hobby Boss has provided us. The positives and negatives are laid out in a list format below:
High Points
-
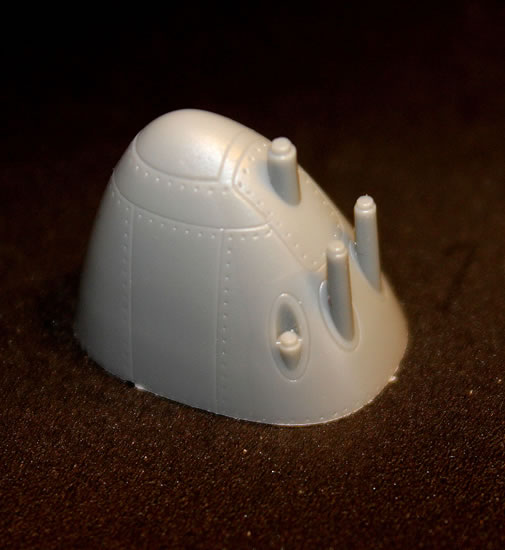
The nose has the guns already molded in. Personally, I'll mark that as a high point as I think they look pretty good and only need to have the ends bored out to finish the job, but others may not like it- wartime photos show P-38Js and Ls used solid blast tubes (like those fitted to a P-47) so there’s no cooling jacket perforations to complain about, and this engineering solution means the alignment is already correct AND you don’t lose any of the guns to the Carpet Monster. That’s a solid win in my book.
-
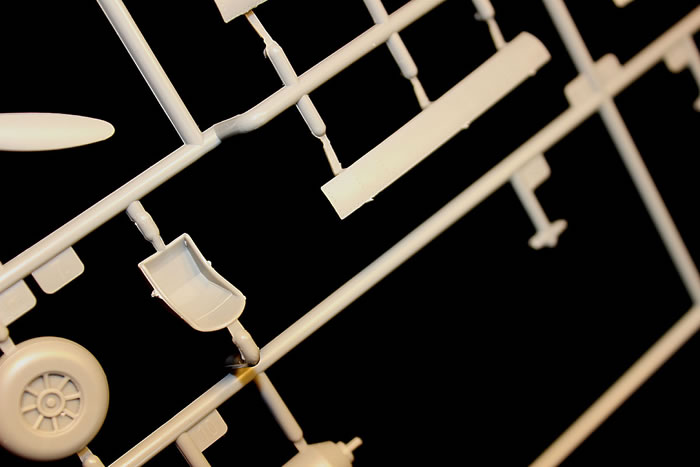
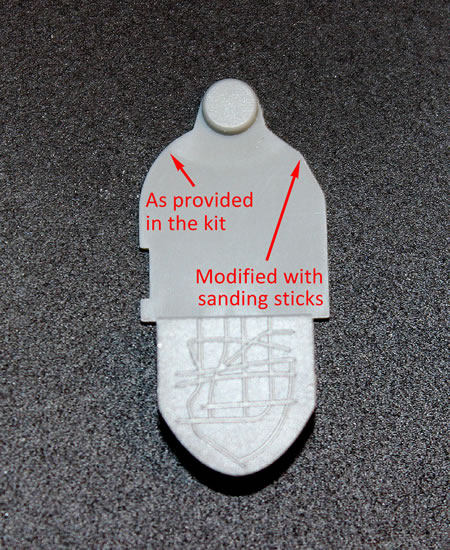
The instrument panel and cockpit assembly looks quite nice, although the aft armor plate is too rounded- that’s easily fixed with a bit of sanding (see pic below). Just an FYI: because of the construction sequence of the cockpit and nose gear bay, it would be tricky (at best) to get the True Details resin cockpit to fit for those so inclined.
-
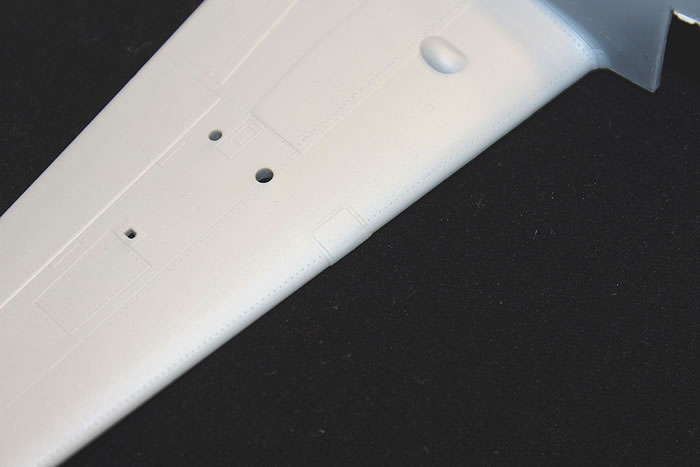
All major L subtype identifiers are here- external booster pump covers, dive recovery flaps, and the leading edge landing light (see Low Points for more on that). Outboard rocket trees are also provided; if you don’t want to use them, you’ll need to fair over the holes in the wings.
-
The fit looks like it will be absolutely superb- dryfitting the upper and lower airframe halves suggests no surprises awaiting us, and having separate nacelles means more space to work on cleaning up the inevitable seam through the gun bay doors.
Low Points
-
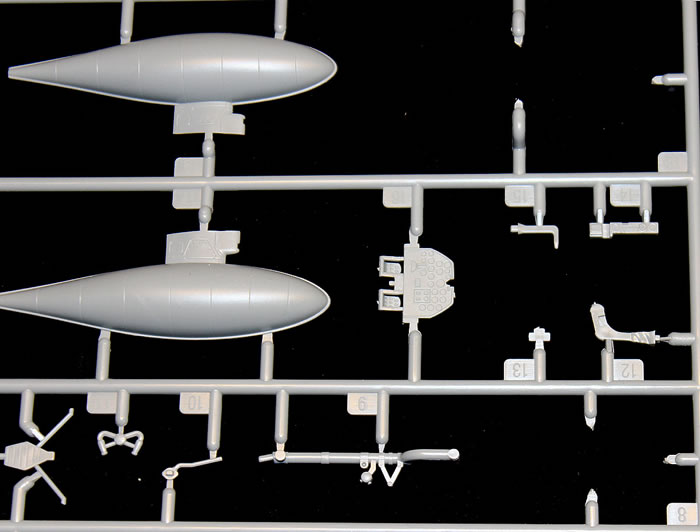
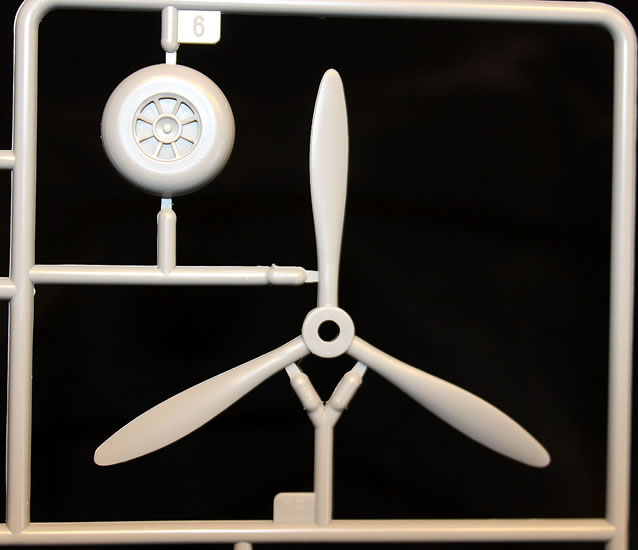
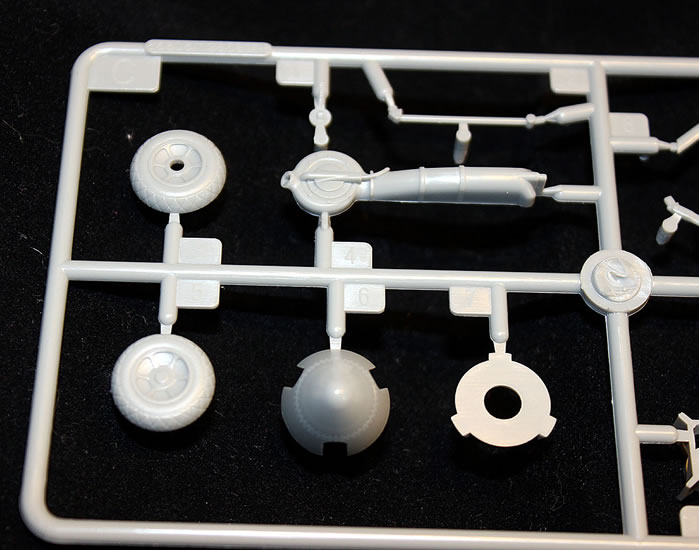
The main wheels are absolutely TERRIBLE, there’s simply no other way to put it. The nosewheel isn't bad, but it's nothing to write home about either. Fortunately, the extra spoked mainwheels in my Hasegawa P-38E/F/G/H kit are a drop-fit replacement, for those with one in the stash. Otherwise, resin replacements are an absolute must here.
-
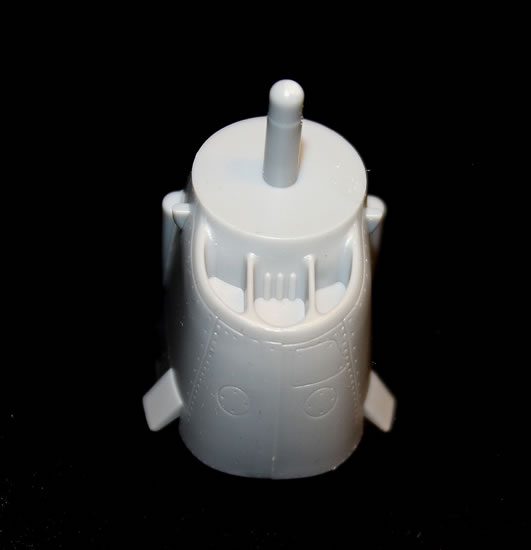
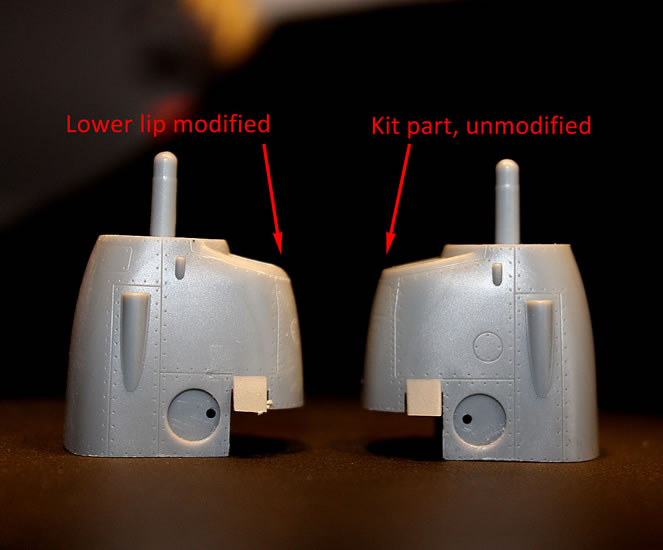
What is it with Hobby Boss and squaring off Lockheed intakes? They squared off the subtle curves of the P-80 intakes, and have squared off the lips of the chin intakes in this kit. It throws off the look something fierce; I've sanded one of them to introduce a radius which helps a little bit (see photo below), but it still won't quite have the beefy jowl look of an actual Allison power unit.
-
The small doors on either side of the nacelle are molded in the open position- that’s fine, although I’m hard pressed to see any opened quite that far on operational aircraft, but the reason it’s mentioned here is that the doors themselves are too long. They need to be trimmed back just a bit.
-
Radiator shutter doors are radiused on their trailing edges instead of straight up and down- a straightforward fix (cut out, replace with sheet styrene) but still, a very curious miss on a fairly obvious detail.
-
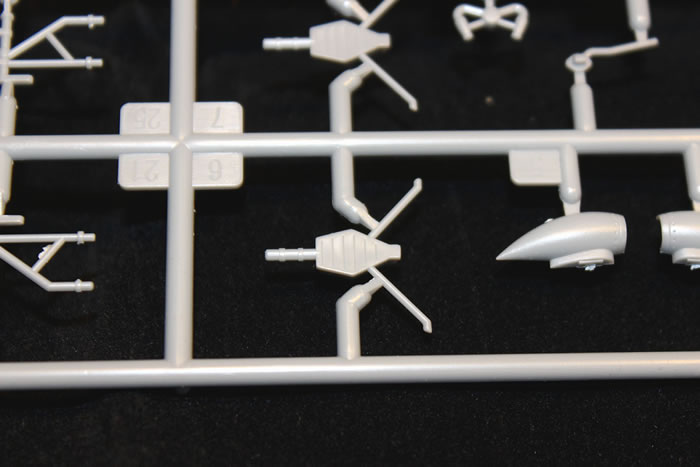
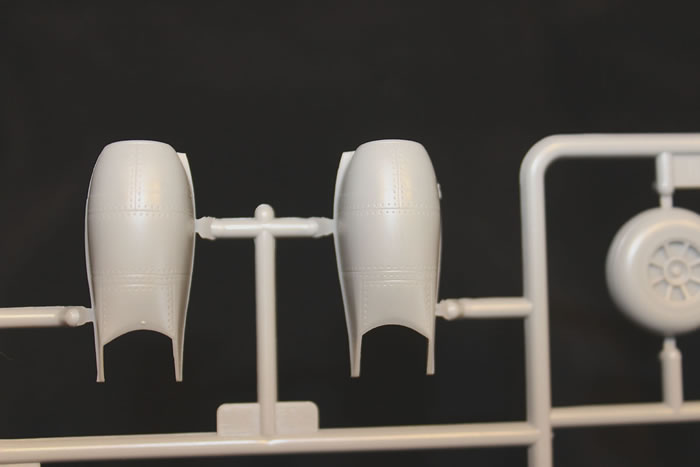
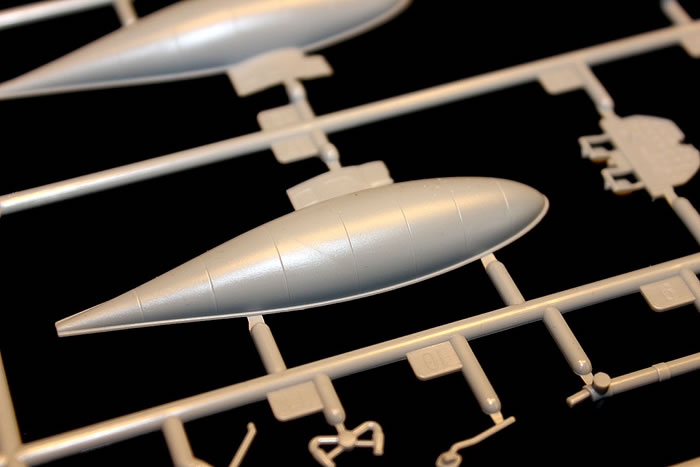
The supercharger intakes are oddly shaped; I’m not sure if I can sand them into a proper teardrop or not, might have to rob some from a Monogram kit or something. (I imagine Quickboost or someone will quickly turn out drop-fit replacements)
-
As noted elsewhere, the lower wingtips are missing the characteristic upwards washout... again, not a hard fix, but a curious miss.
-
The rudder hinge lines extend across the mass balances- you'll need to fill and sand those areas. That was dumb.Speaking of dumb, the leading edge landing light (one of the distinguishing features of the L) is solid. Yes, solid- no clear part present.

-
Gun camera fairings are on both pylons- this is no big deal, just make sure you remove the correct one (just like Monogram 50 years ago!)
-
The prop tips are a bit too broad and rounded; again, not a huge deal, easily remedied with a bit of sanding but it still rates a mention.
-
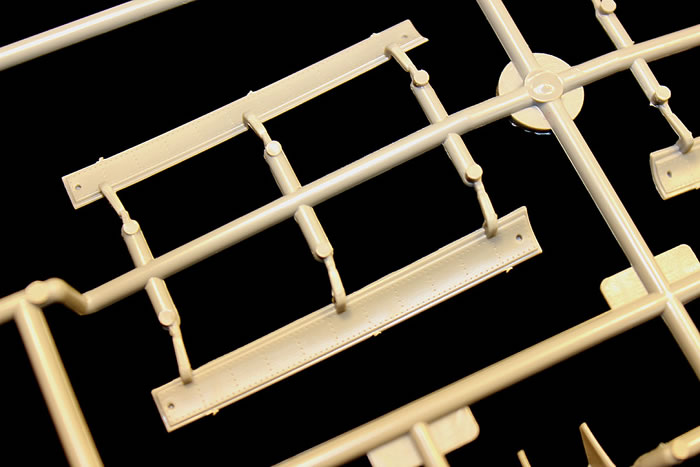
The main gear wells include the retraction mechanisms missing from the Hasegawa and Academy kits, then leaves out the prominent coolant pipe running through the center of the gear bays. Also, the main gear doors have nicely riveted inner faces, which are nothing like the real gear doors- the inner skins are heavily perforated on the full-sized aircraft. Not a deal breaker, but needs to be mentioned.
-
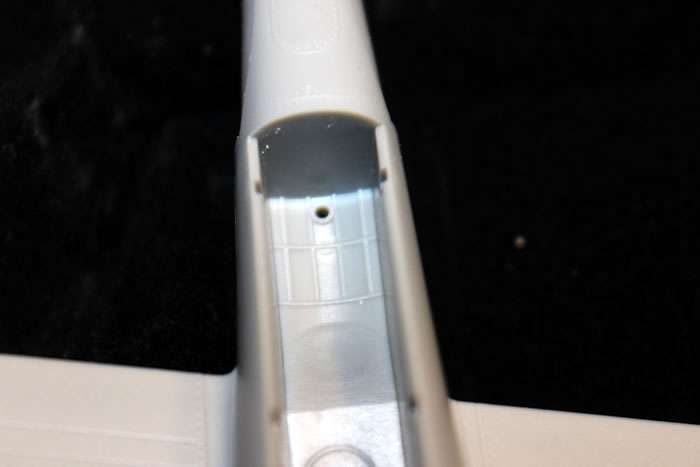
There was an oval section of polished metal on the inboard side of each nacelle on the full sized P-38, which Hobby Boss helpfully rendered as a circular clear piece. Oh wait, did I say “helpfully rendered”? I meant “What the heck were they thinking”. Just put the clear piece in, fill and sand flush- when the model is done, use some Chrome Silver (or similar) to paint the ovals.
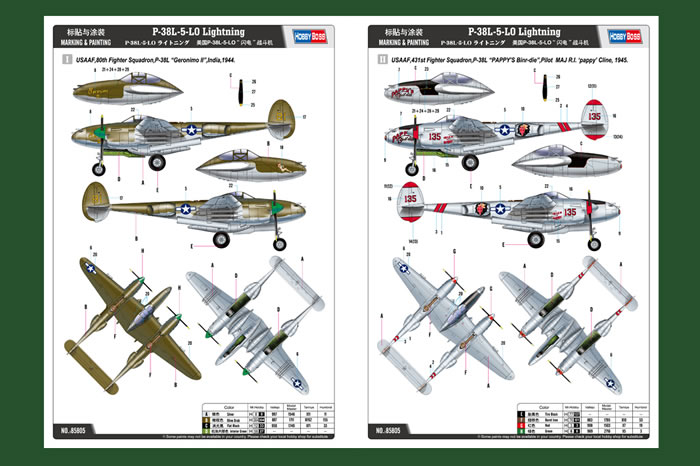
- The decals. “Pappy’s Binr-Die”? Yeah, how about no. For those interested, there’s a recent Kagero Top Colors release with some positively AMAZING Pacific P-38 schemes from the 8th FG which you might consider tracking down. (Not a paid endorsement, I don’t even own a set, but I hope to track one down myself because they’re just that cool)
Things that may or may not be right:
The upper surfaces of the booms just forward of the fin are somewhat flattened... all other P-38 kits give the aft booms a constant oval section. I suspect they should be rounded but cannot confirm positively at the moment.
Both the tailplanes and the wings are just a tiny bit wider in span than the Hasegawa kit - I haven't measured them but it seemed worth mentioning.
It ain't perfect by a long shot, but it can be worked with, and it will get you to a halfway decent P-38 quicker than any of the other kits on the market. My hope is that they’ll follow this up with other variants, particularly the earlier E/F/G/H and recon types. Oh, and a side note, you’re going to need some weight in the nose- that probably sounds obvious but if I didn’t mention it, somebody would surely light a torch and grab a pitchfork, so there we go.
On a scale of 1 to 10, as a non-expert on the type who isn’t afraid of a little sanding and fiddling to fix some of the minor shape issues, I'd rate it a 7... a true Lightning devotee might be more disappointed and rate it lower, though. It has its flaws, but none are so serious as to warrant a twelve-page flame war on the modeling forum of your choice and assuming nothing terrible reveals itself during the construction process, will surely look terrific.
Recommended.
Purchased by Reviewer
Review Text and Images Copyright © 2014 by Lynn Ritger
Page Created 8 May, 2014
Last updated
8 May, 2014
Back to HyperScale Main Page
Back to Reviews Page |
 Home
| What's New |
Features |
Gallery |
Reviews |
Reference |
Forum |
Home
| What's New |
Features |
Gallery |
Reviews |
Reference |
Forum |