|
Flettner Fl 282V-23
"Hummingbird" (Kolibri)
MiniArt, 1/35 scale
Reviewed by James Hatch

MiniArt's 1/35 Fl 282 V6 Kolibri is available online from Squadron.com
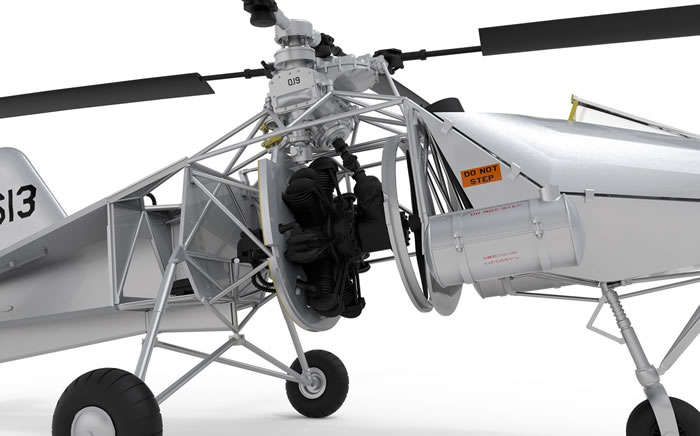
The Flettner Fl 282 Kolibri ("Hummingbird") is a single-seat intermeshing rotor helicopter, or synchropter, produced by Anton Flettner of Germany. According to Yves Le Bec, the Flettner Fl 282 was the world's first series production helicopter. though other writers claim the same for the Focke-Achgelis Fa 223.

Flettner’s Fl 282 Kolibri was an improved version of the Flettner Fl 265 announced in July 1940, which pioneered the same intermeshing rotor configuration that the Kolibri used. It had a 7.7 litre displacement, seven-cylinder Siemens-Halske Sh 14 radial engine of 150-160 hp mounted in the centre of the fuselage, with a transmission mounted on the front of the engine from which a drive shaft ran to an upper gearbox, which then split the power to a pair of opposite-rotation drive shafts to turn the rotors. The Sh 14 engine was a tried-and-true design that only required servicing every 400 hours, as opposed to the nearly 27 litre displacement, nine-cylinder BMW/Bramo Fafnir 750hp radial engine powering the larger Focke-Achgelis Fa 223 helicopter, whose outdated design required maintenance every 25 hours. The Fl 282's fuselage was constructed from steel tube covered with doped fabric, and it was fitted with a fixed tricycle undercarriage.
The German Navy was impressed with the Kolibri and wanted to evaluate it for submarine spotting duties, ordering an initial 15 examples, to be followed by 30 production models. Flight testing of the first two prototypes was carried out through 1941, including repeated take-offs and landings from a pad mounted on the German cruiser Köln. The first two "A" series prototypes had enclosed cockpits; all subsequent examples had open cockpits and were designated "B" series. In case of an engine failure, the switch from helicopter to autorotation was automatic. Good handling in bad weather led the German Air Ministry to issue a contract in 1944 to BMW to produce 1,000 units. However, the company's Munich plant was destroyed by Allied bombing raids after producing just 24 machines. Towards the end of World War II most of the surviving Fl 282s were stationed at Rangsdorf, in their role as artillery spotters, but gradually fell victim to Soviet fighters and anti-aircraft fire. A total of 24 machines were built.
Edit courtesy of Wikipedia
When Ukrainian company, MiniArt, announced their new Fl 282 kit, it caught us all pretty much by surprise, despite the company’s more leftfield releases. We’ve not exactly been inundated with large scale models of this quirky yet important helicopter, with the only other kit being Anyuta’s 3D-printed 1/18 kit.
MiniArt’s initial release started to trickle into retailers earlier this year, and this new kit only shares some of the DNA of the previous, with lots of new plastic here, including the second crew seat within the rear fuselage, behind the engine.
This release is packaged into a box which is perhaps a little bigger than it should be, with the bag of contents rattling around it inside.
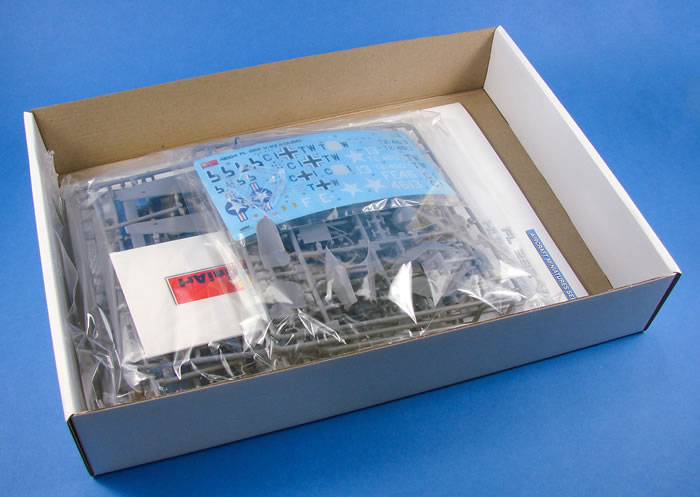
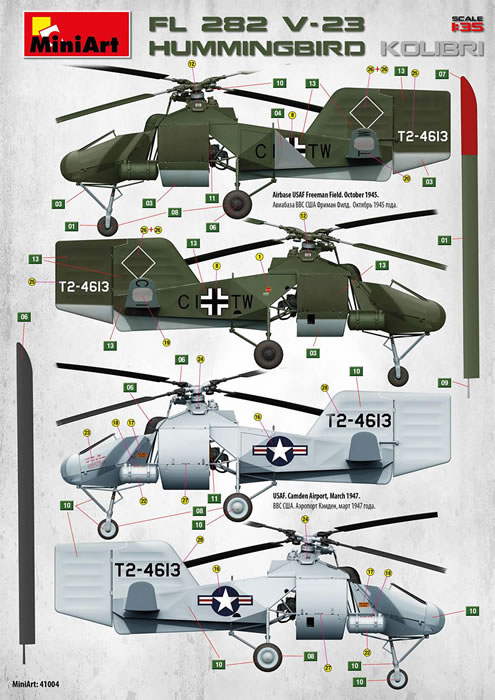
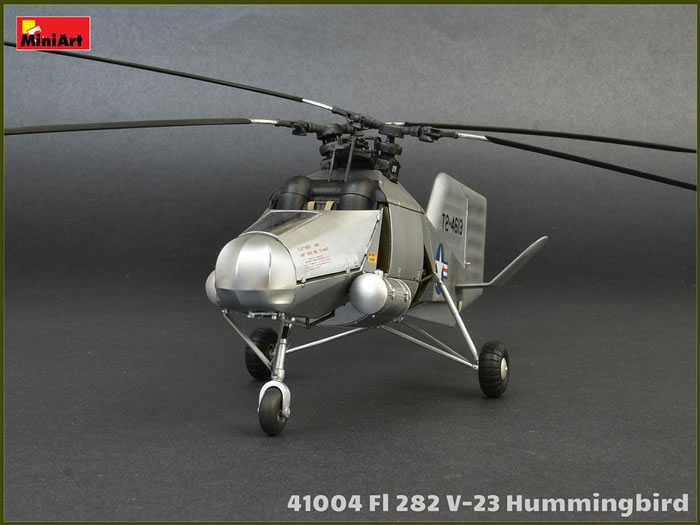
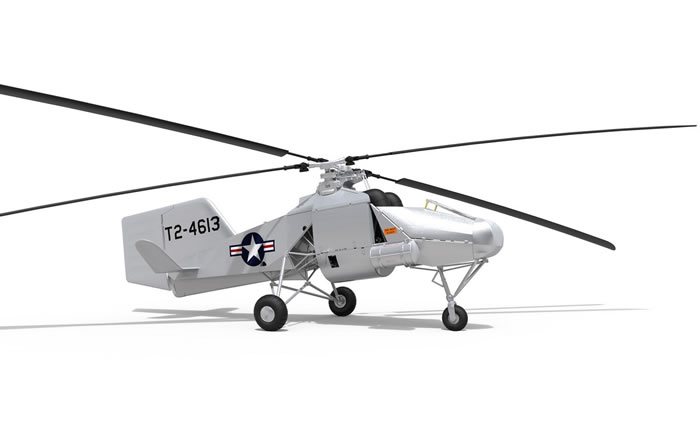
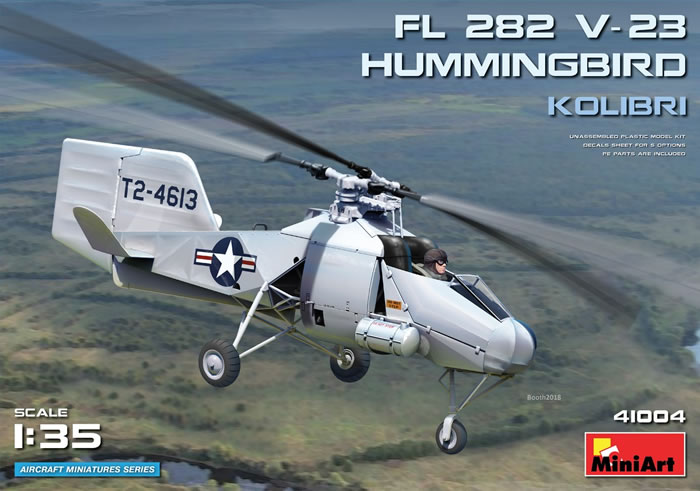
The box artwork depicts the V-23 machine in its US colours and doped silver finish, flying high over American terrain, circa 1947. Box side images show some coloured CAD renders of the Fl 282. Inside the box, EIGHT medium-grey sprues are packed into two bags, and then sealed into a single, heat-sealed bag. Out of those grey sprues, two are duplicates (rotors), and a small clear sprue is separately packed within the main bag to protect it from scuffing.
A single PE fret is included, and this is packaged into a small cardboard sleeve.
Of course, decals are also a part of this release, and the small sheet is also packaged into a separate sleeve, again within the main bag.
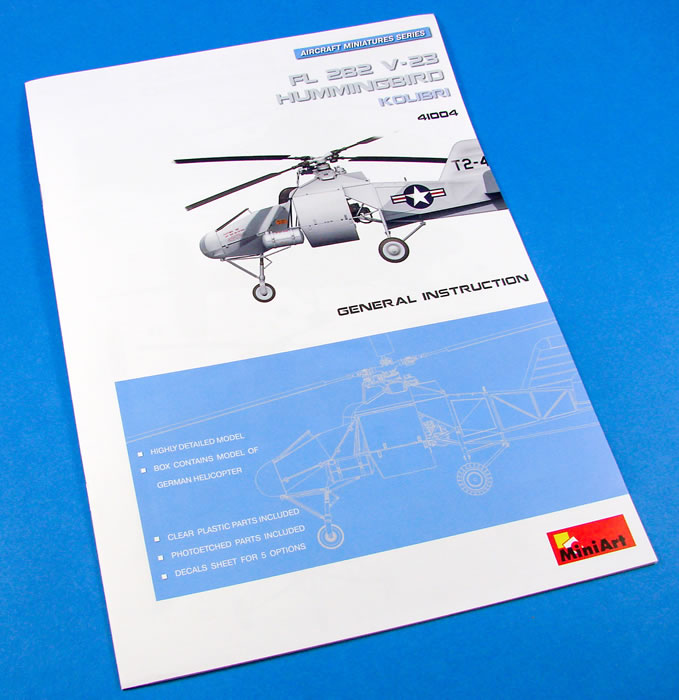
The kit’s instruction manual is a 12-page A4 publication in a mix of matt and glossy paper, with the glossy leaves containing the various artworks etc. More on that later.
Sprue Ab
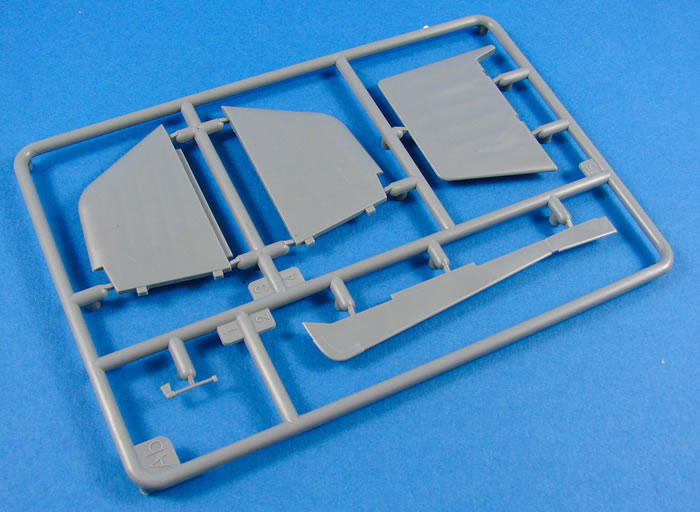
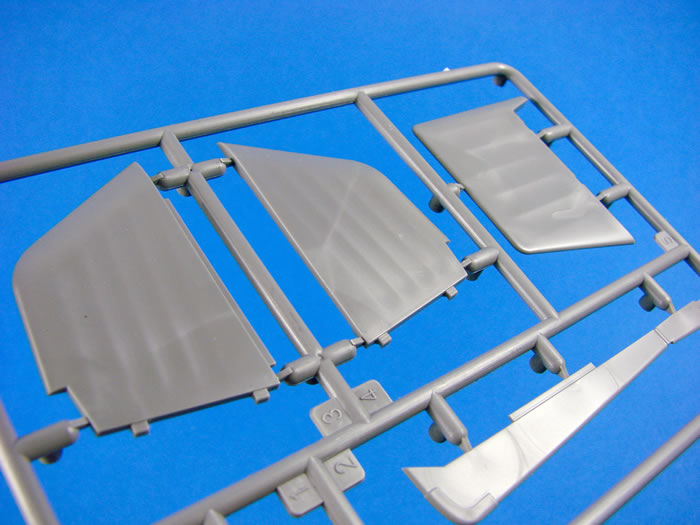
We only have five parts on this small sprue. These are for the fin, rudder, lower fuselage fairing, and rudder actuator. The fin is produced in halves, whilst the rudder is a single piece. All of these parts exhibit a very nice rib and fabric finish which I am certainly more than happy with.
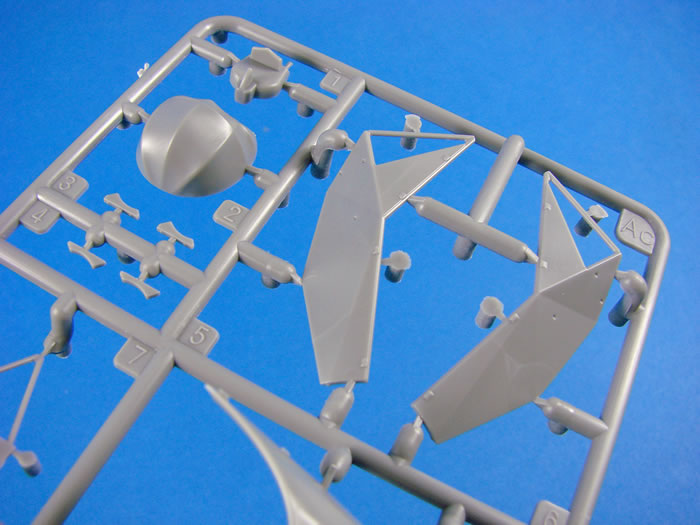
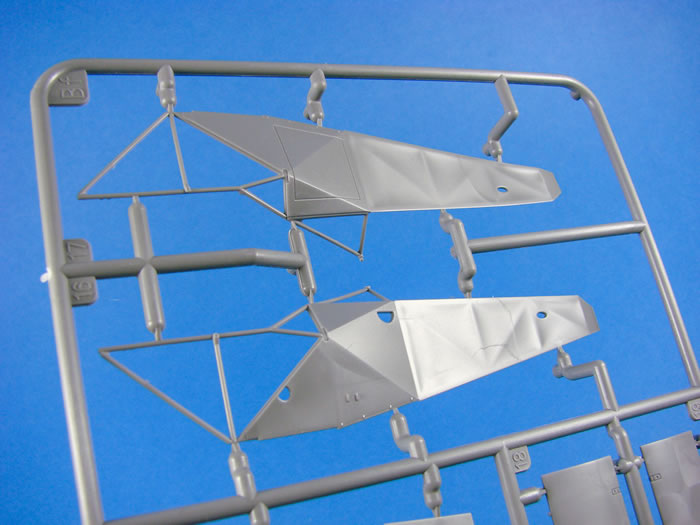
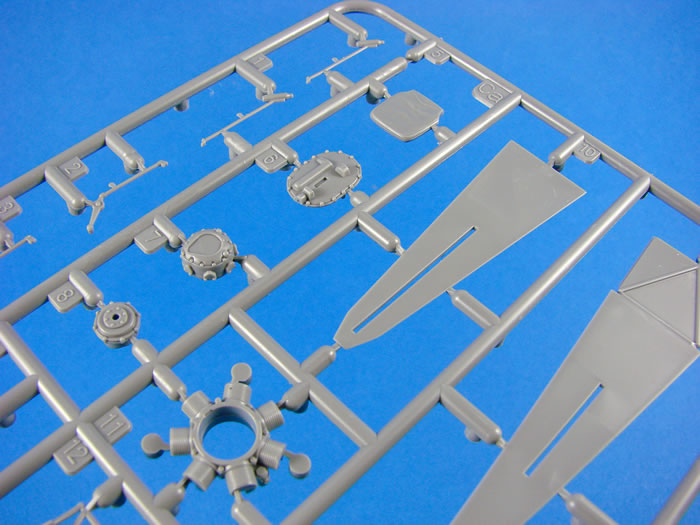
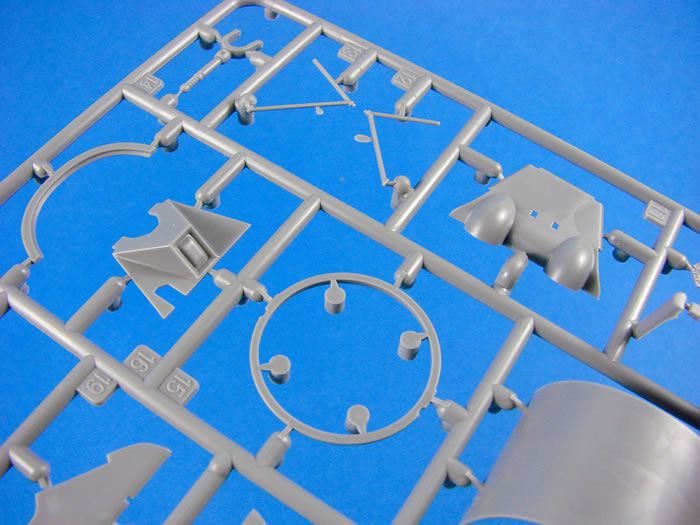
Sprue Ac
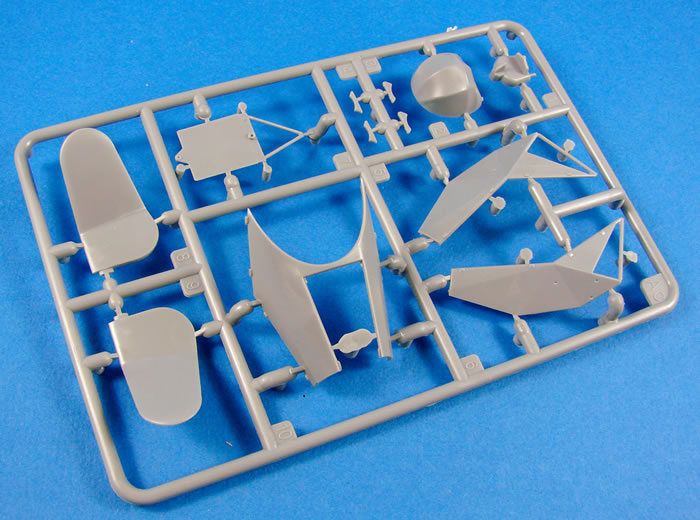
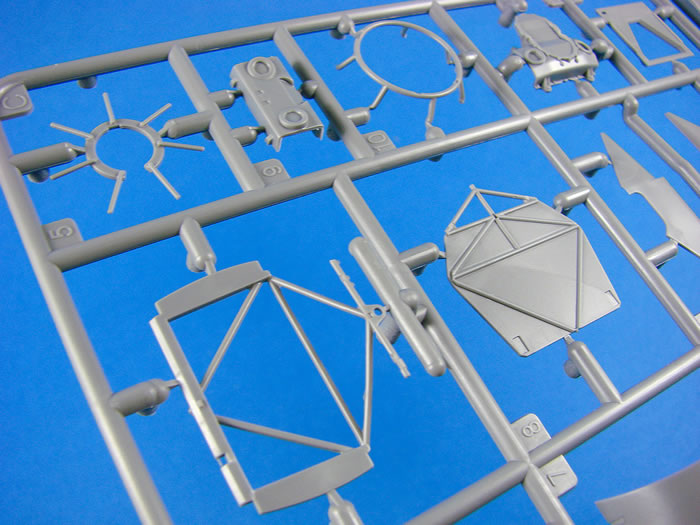
Here we see the major changes between the original V-6 kit release and this new incarnation. However, not all changes are manifested here. The V-23 had different horizontal tail planes which were kinked upwards not far from their root, and these are moulded here as single-piece units. Quite a lot of cockpit enhancements are found here too, such as the fabric and ribbed nose, lower floor tubular frame and covered side frame panels, instrument panel frame, upper cockpit tub cowl, and brackets to mount the external fuel tanks which sit either side of the cockpit tub.
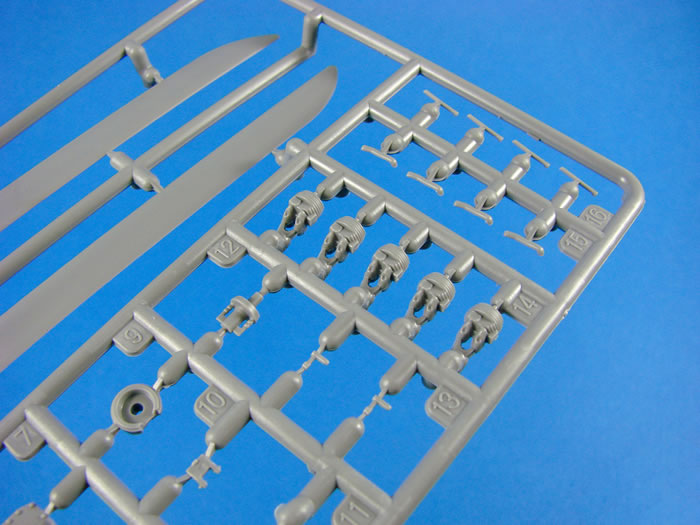
Sprue B (x2)
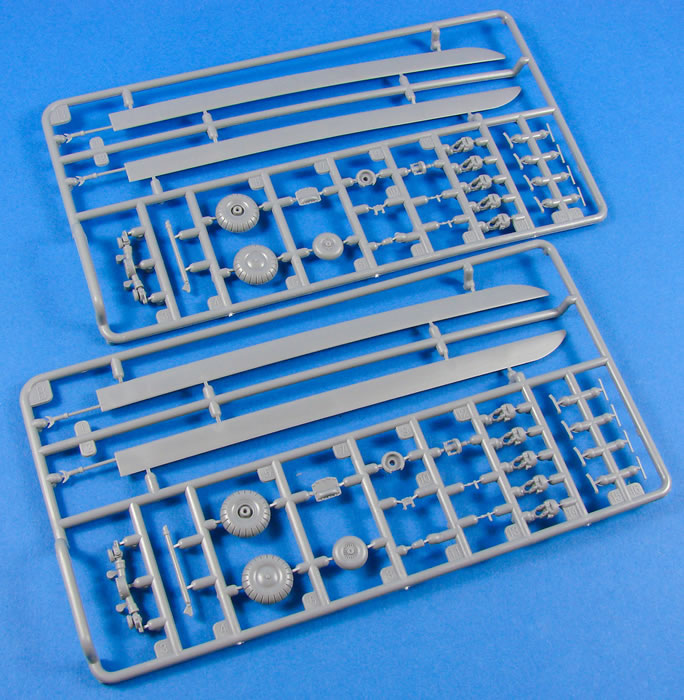
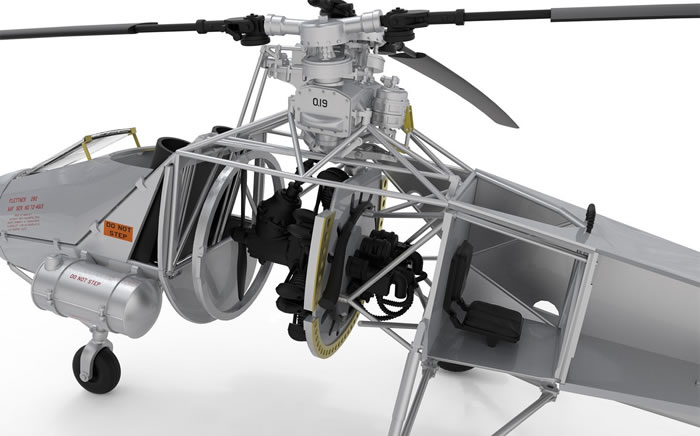
Remember, this isn’t a 4-blade rotor, but instead two 2-blade intermeshing rotors. Here you can see the blades for those, moulded with a sag in them so that you don’t need to manipulate the plastic and bend them yourselves. Other parts on here are for the two-part main and nose gear wheels, engine and gearbox parts, and rotor connection areas etc. Whilst the wheels don’t have any flat spots on them for the weighted effect, they are still bulged, strangely enough, in that area.
Sprue Bc
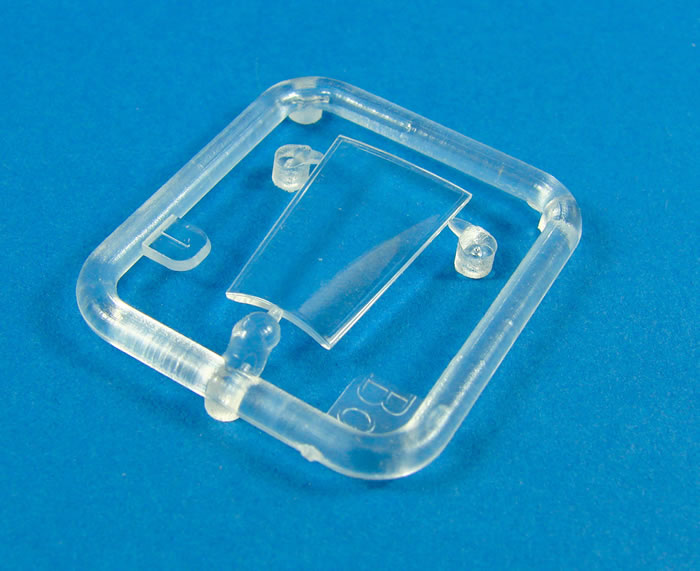
Here, we have the only clear part on the whole model, and this is the rather slick looking, sloped windscreen. Moulding is superb and crystal clear with no distortion present.
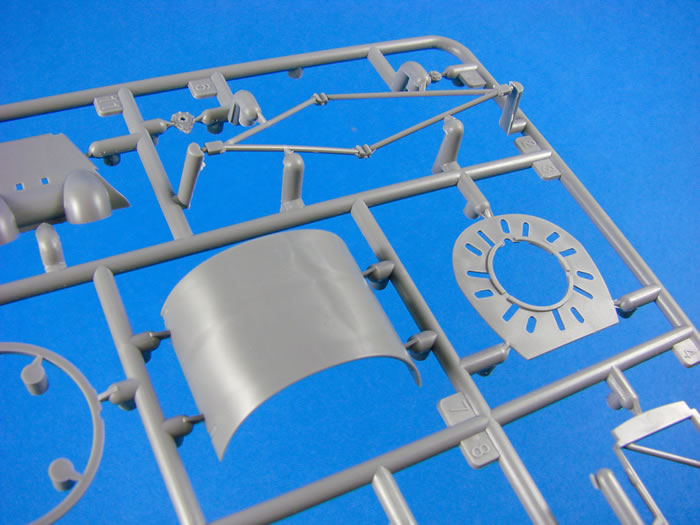
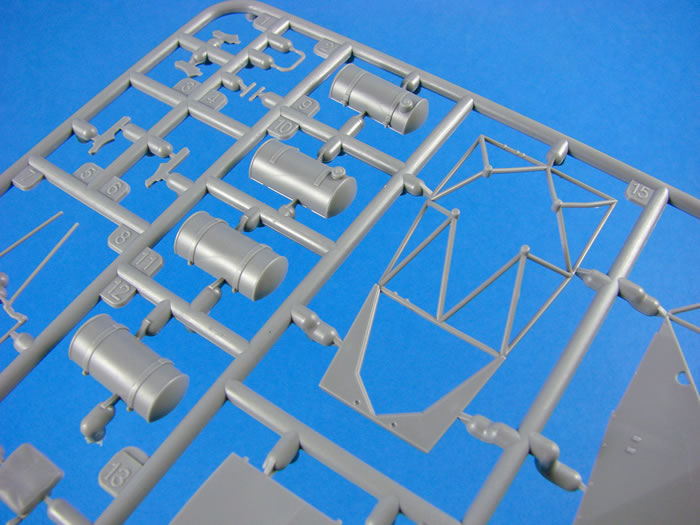
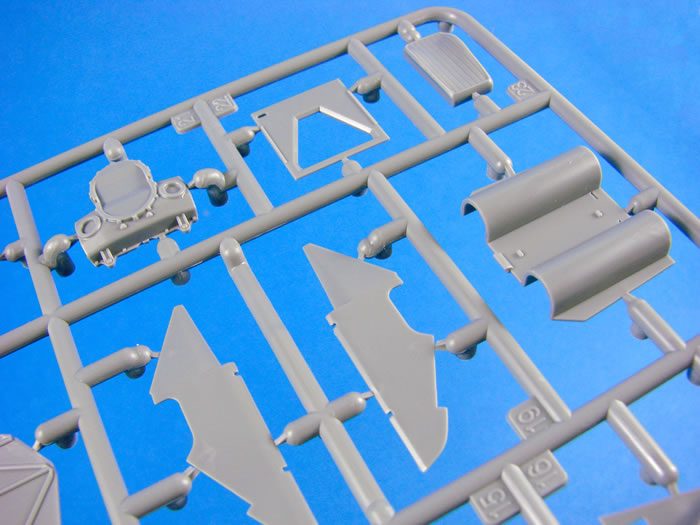
Sprue Bf
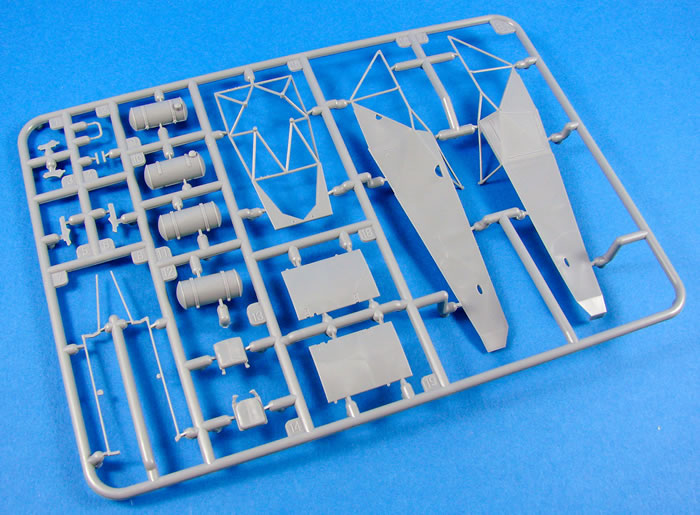
On this new sprue, we are presented with most of the larger parts of the Fl 282, pertaining of course to the fuselage. The Fl 282’s fuselage was constructed from tubular steel and the majority of it was covered in fabric. This effect is clearly seen in the port and starboard halves, with the forward section being uncovered and the rear portion exhibiting a nicely reproduced taught fabric effect, hinting at the structures below. Note also a panel for allowing the second crew member. It would’ve been nice to have had this as a separate part. Other parts on this sprue are the upper deck with forward tubular framework, engine side panels and control surface rods. In order to cater to the multitude of thin frame parts, MiniArt has used a series of small tags for their ejector pins, and these simply need to be snipped off and cleaned up
You will also find the parts for the two external fuel tanks, presumably moved to the sides of the cockpit in order to accommodate the second crew member in the rear fuselage.
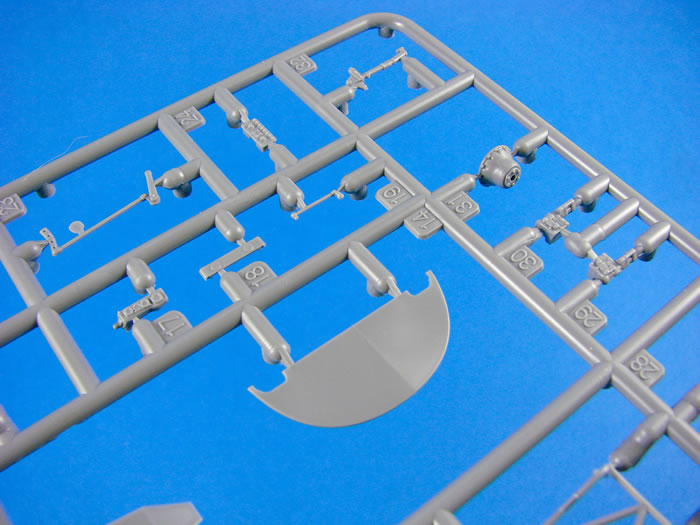
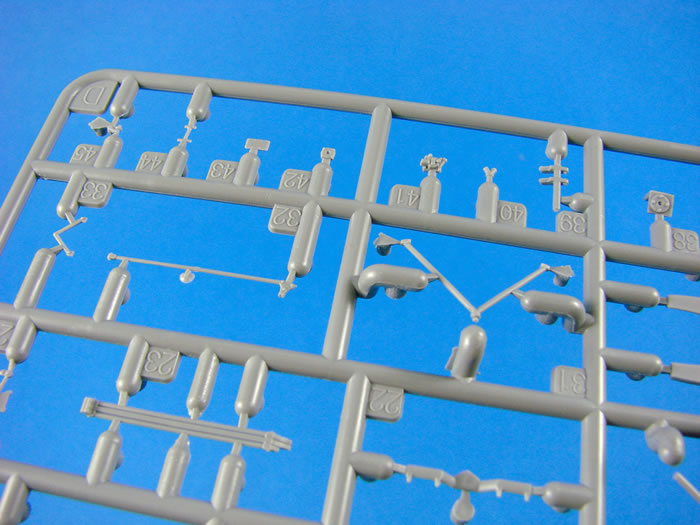
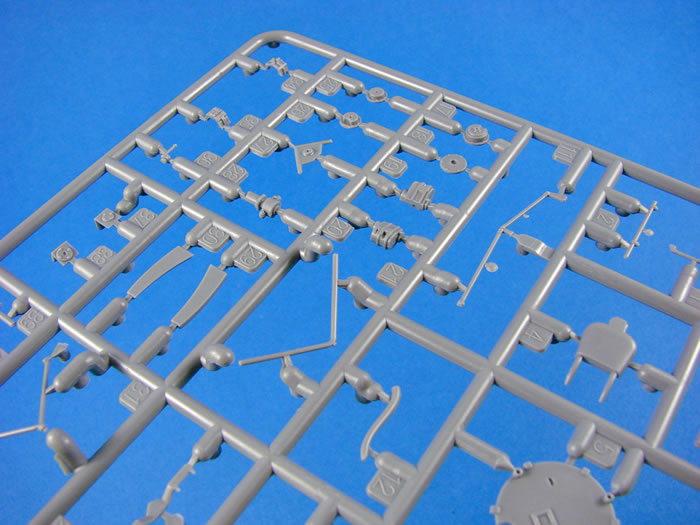
Sprue C
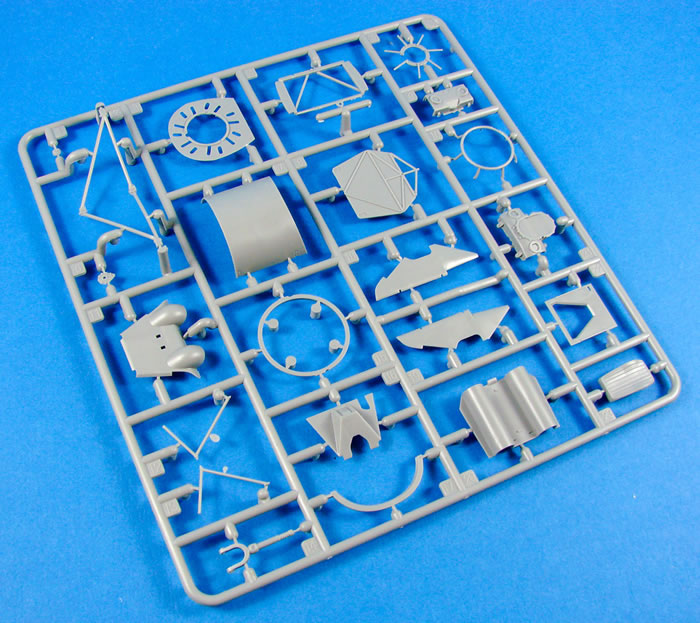
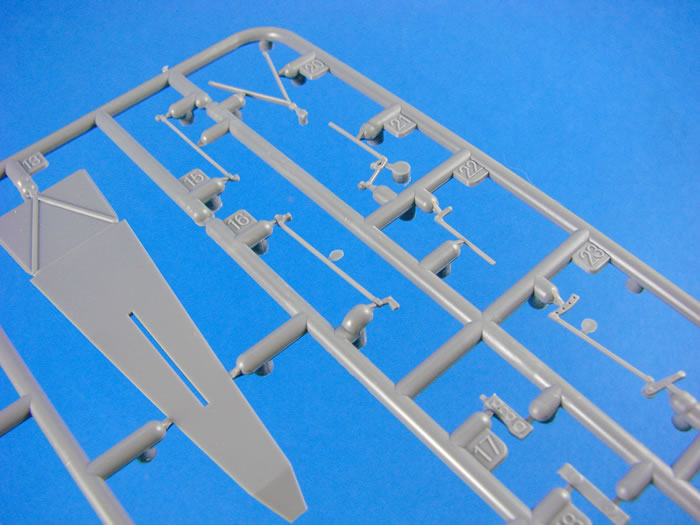
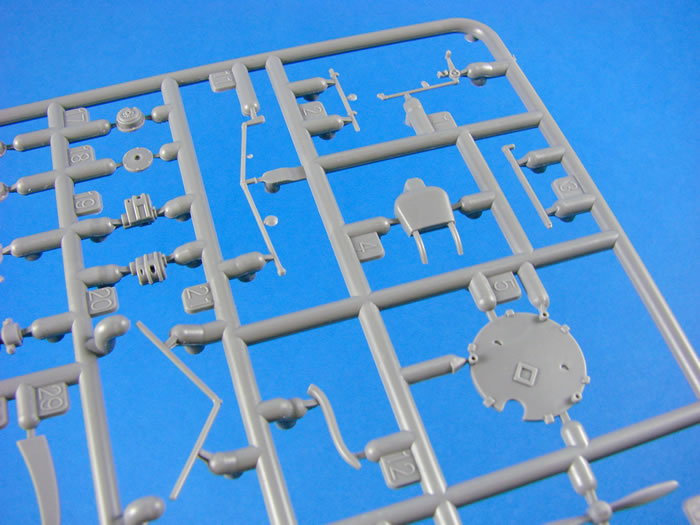
Here we have the lion’s share of the engineering that went into the technology that made this thing fly….i.e. engine parts and gearbox/transmission units. You’ll note engine pushrods, transmission housing plates and drive shafts, propeller housing ring, exhaust gases collector ring, pilot seat back with nicely detailed cushion, main gear spreader tubes, nose gear forked strut, etc.
A number of bulkheads are also moulded here, including the engine mounting backplate. I don’t think we can call the latter a firewall, in this instance. Note also the transmission/gearbox cowl panels and the plate which separates the brave pilot from the propeller spinning around to his rear.
Sprue Ca
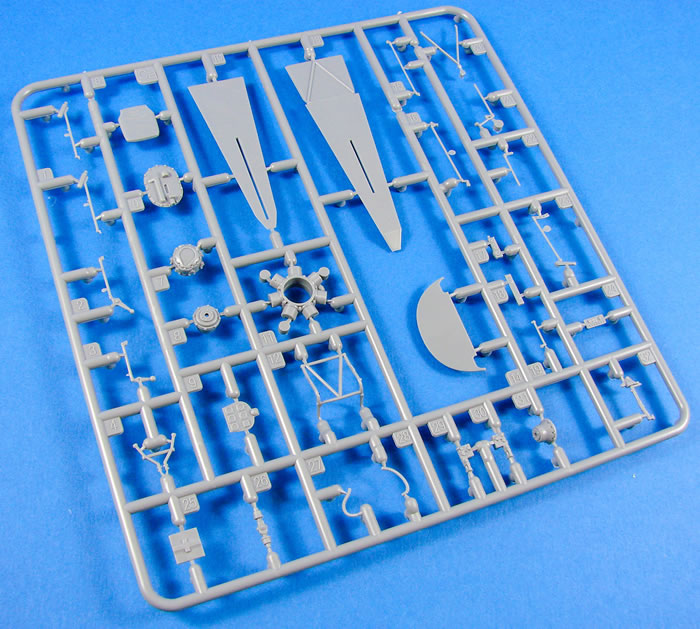
I admit that the sprue nomenclature is a little confusing here. This is presumably because MiniArt will use other sprues with subsequent kit versions of this model. This sprue contains the engine and hub, more parts for the drive/gearing and transmission units, upper rear fuselage top into which the fin sits, lower fuselage belly, instrument panel with blank instruments (good!), pilot seat base with realistic wrinkles cockpit components, numerous other small frame components, etc.
Sprue D
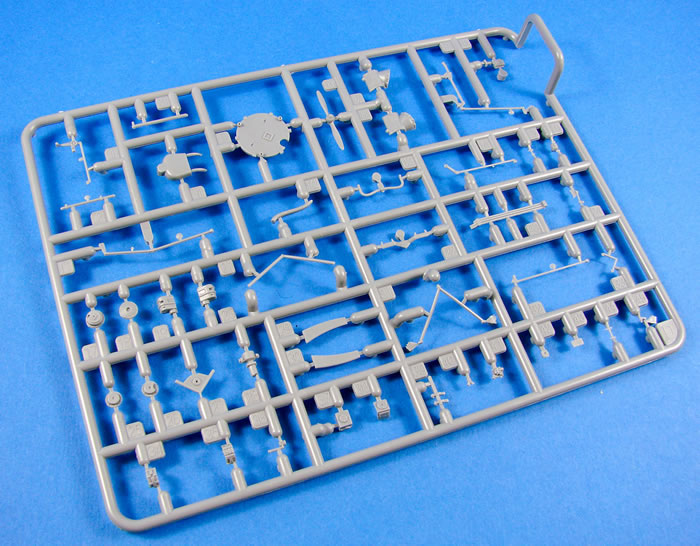
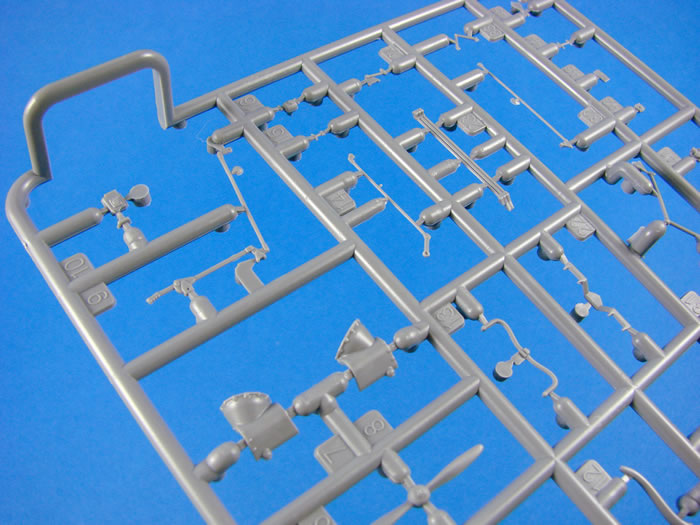
This is the last sprue in this release. It appears that the majority of the parts here concern the engine and other ancillary elements. Note the transmission housing, fuel piping, propeller, control rods and their linkages, side panel interior details, and of course, a few more pieces of tubular frame. This is probably the busiest of all sprues, and the parts tend to be either small or fragile, or both. One part is broken from the sprue, but that part is undamaged.
Photo-Etch
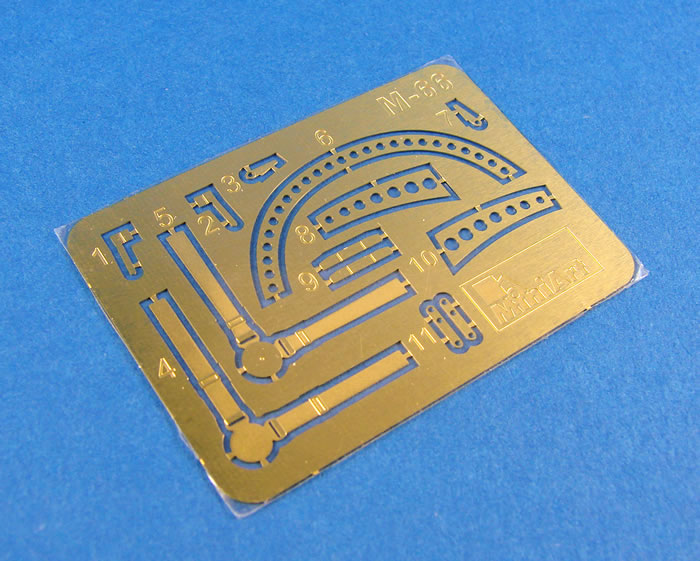
Like many kits these days, this one also comes equipped with a fret of PE parts, albeit quite small. Packaged into a cardboard sleeve to protect it from the rigours of the oversized box, this fret contains 11 parts. These make up the seatbelts, frame edge sections, and a small number of parts for the engine. The PE itself is nicely manufactured and left in its bare metal state. Both sides are covered in film which needs to be removed before use.
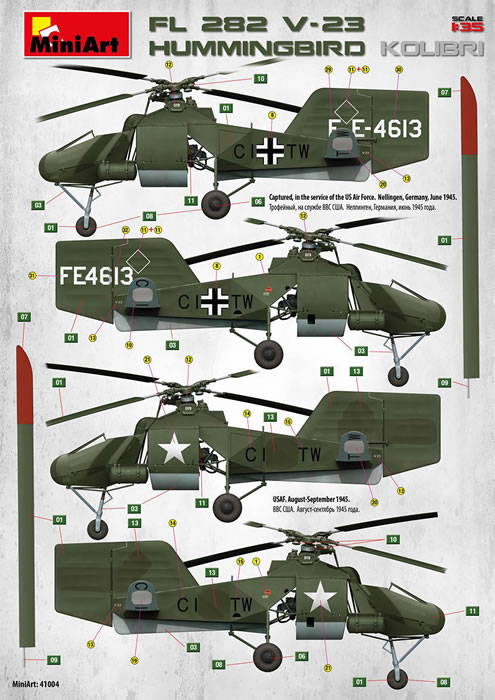
Marking Options and Decals
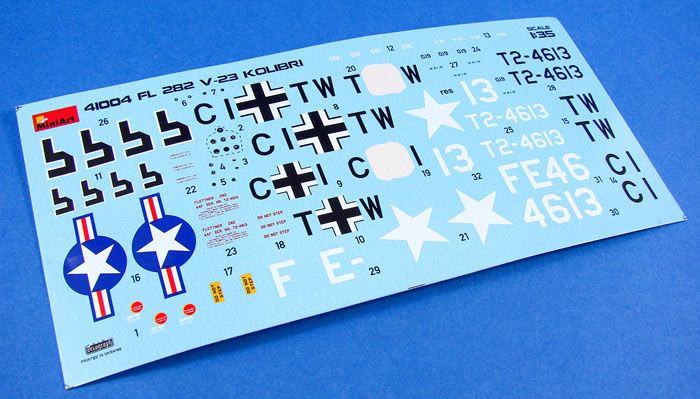
A single, small sheet of decals, printed in the Ukraine by Decograph, is included in this release. Printing is thin, with minimal carrier film and the colours appear to be opaque. Swastikas are supplied, but in a two-part format. Instrument decals are provided as a single panel or separate dials. I would use the latter, and also a punch & die to remove them so as to eliminate carrier film. The red bars on the US insignia look a little too vivid for me, but I could be wrong. The schemes provided in this kit are:
-
Captured in the service of the US Air Force, Nellingen, Germany, June 1945
-
USAF, August – September 1945
-
Airbase USAF Freeman Field, October 1945
-
USAF Camden Airport, March 1947
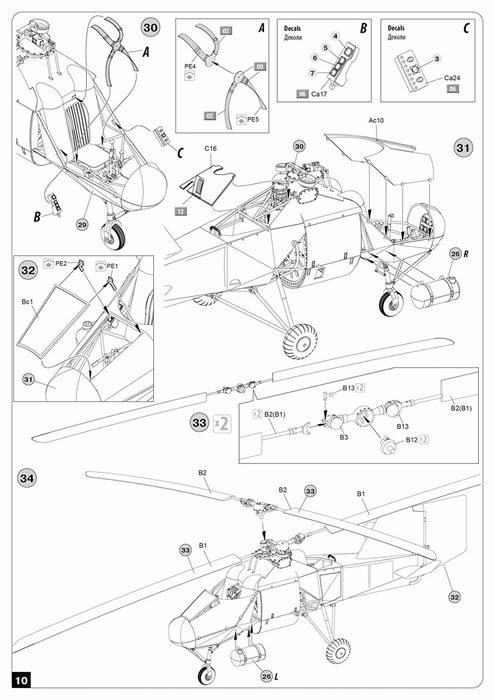
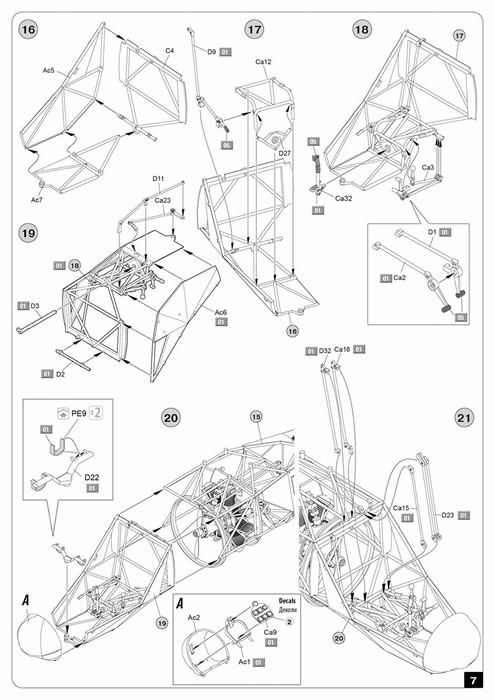
Instructions
These are printed as a 12-page, glossy A4 publication, with a scheme profile and blueprint-style image on the front page, along with a brief resume of the kit contents. Inside the manual, the first thing we are presented with is a proper set of German scheme profiles for CI+TW, despite being under American ownership at that time. Please remember that all schemes in this kit are for the same prototype, and generally just vary in base colour, with the exception of the silver-doped US scheme which adorns the box lid. A parts map is then supplied, complete with a paint chart for Vallejo, Mr. Color, Humbrol, Testors, and an unknown type, with a generic list of colour names too. Construction is shown in clear line drawings over 34 stages, in easy to follow imagery and annotation. The last pages are given over to the remaining scheme profiles. Decal placement is easy to follow and the painting codes are easily referenced.
This is MiniArt’s second Fl 282 Kolibri release and differs in a number of ways from the original, with this only having around half of the original sprues. In that respect, it’s certainly not just an extra sprue bundled with new decals. I would say this is a release in its own right, and one that more than justifies the new catalogue number.
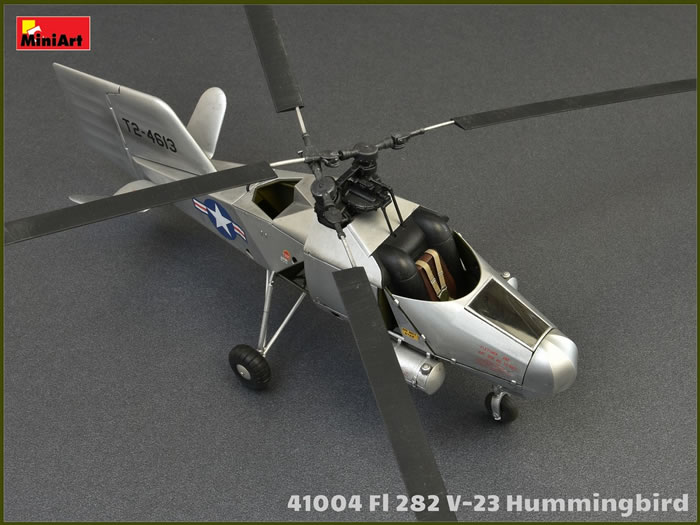
Of course, this also includes the American scheme, which looks quite neat in doped silver, and a real contrast to the standard splinter schemes of the previous German owners. The fact that this is a two-seat machine, with a second seat in the rear fuse, also sets it aside.
A great kit with a lot of detail that can be seen in and around the frames, and of course this has a proper cockpit area instead of just the tubular version we saw on the V-6 release. I really can’t fault this at all, and like MiniArt kits in general, the price-point is very attractive.
Thanks to MiniArt for the sample
Review Text and Images Copyright © 2018 by James Hatch
Page Created 27 December, 2018
Last updated
27 December, 2018
Back to HyperScale Main Page
Back to Reviews Page |
 Home
| What's New |
Features |
Gallery |
Reviews |
Reference |
Forum |
Home
| What's New |
Features |
Gallery |
Reviews |
Reference |
Forum |