Revell's 1/25 scale
1967 Chevelle SS 396
by Brad Huskinson

|
1967 Chevelle SS 396
|

Hobby Boss's 1/48 F4U-7 Corsair is available online from Squadron.com
Revell 1/25 scale Kit No. 85-4285, ’67 Chevelle SS 396, 2’n 1 Street Burner
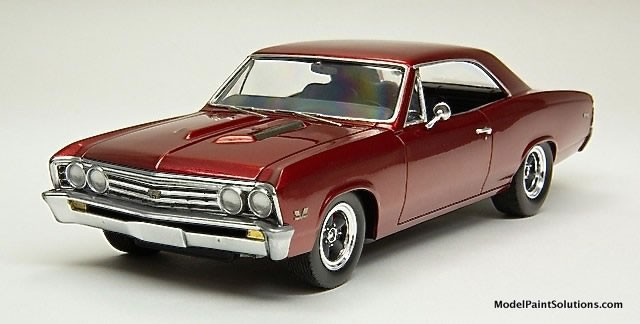
The ’67 Chevelle SS 396 was always an exceptionally good-looking muscle car. I love the tunneled-in rear window and clean design. I decided to build a custom version that I would love to own in 1:1 scale.

There were definitely some issues with the kit and painting along the way, but I’m extremely happy with the final results.
I used sprue clippers to remove all parts and then scrape mold lines with a special tool or the edge of a #11 blade. I then used both sandpaper and sanding sticks to clean up after scraping.
Parts were assembled using a combination of CA glues (often with Zip Kicker) and Tamiya Thin for unpainted parts.

Modifications included cutting out the handholds on the exterior door handles and then covering with Bare Metal Foil: No easy task. Bare Metal Foil was put on all window trim and windshield wipers.
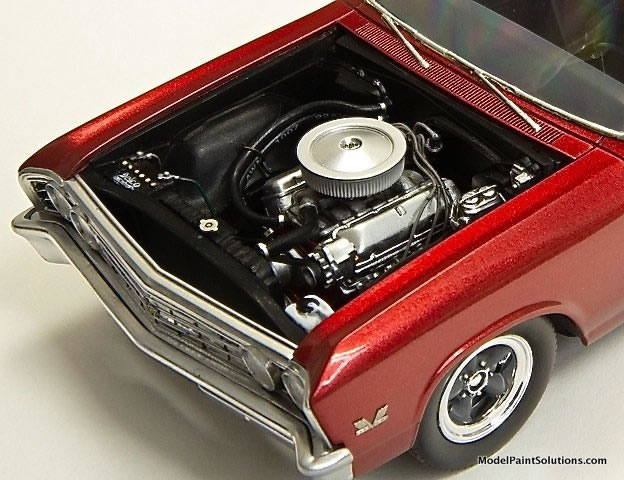
I also removed the center of the grill and replaced it with photo-etch, along with photo-etch hood vents. I sanded off all brand and model badging and replaced some with photo-etch. The interior was detailed with photo-etch door handles, window cranks, seatbelt buckles, and steering wheel center spokes.
I really don’t like kit chrome, so I stripped all the chrome pieces in Purple Power Degreaser and airbrushed them with Molotow Chrome.

The biggest kit issue for me was the rear bumper, which was quite a bit too wide. I installed and removed it 3 times before getting what I felt looked acceptable.
Dupli-Color Grey Hot Rod Primer was decanted and sprayed undiluted. I chose this color primer because it made the Tamiya TS-95 Pure Metallic Red look the way I wanted.
And now for the best part: I used Splash 2k Clear shot with my H&S Infinity. I cut the clear 50/50 with thinner and shot it at 18 psi with a .4 needle and got a stunning finish to a tedious painting job!
Decals and Final Finish
I only used the decals that came with the kit for the gauges. It took some amount of Set and Sol to get them to settle into place.
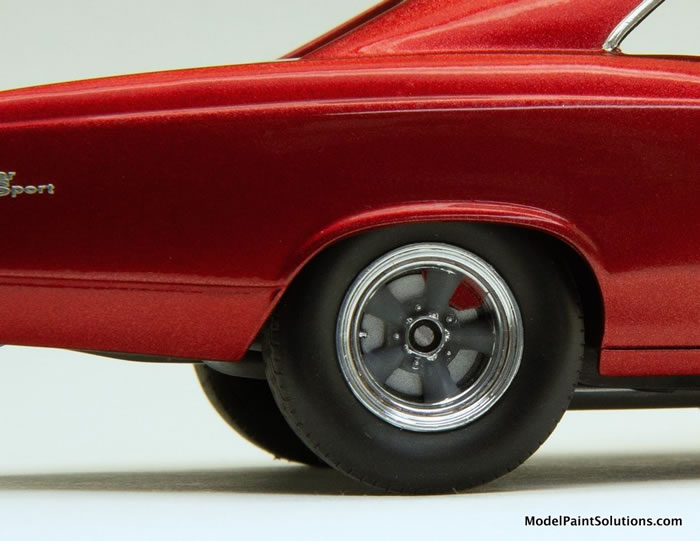
The wheels and tires came from a 1968 Corvette racecar kit. The spokes of the wheels were hand painted with flat grey paint. In the interior, I painted the seat centers with the Dupli-Color grey primer and Mr. Hobby 1500 for the black. I used Tamiya semi-gloss over the primer grey seat sections.
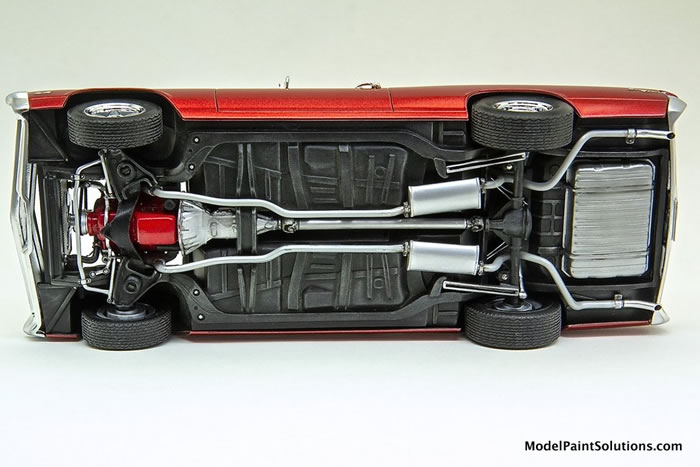
I plumbed and wired the engine bay. Photo-etch hose straps, wire looms, radiator cap, and battery cable accessories were added. I also made aluminum tube exhaust tips, disk brakes from washers, and my own coil springs on the rear axle.
This took longer than any other build I’ve done but the results were totally worth it.
I love looking at this car and wish I either had the 1:1 or I was 3” tall!
For more details on this build visit ModelPaintSol.com.
Text and Model Copyright © 2019 by Brad Huskinson for Model Paint Solutions
Page Created 1 February, 2019
Last Updated
1 February, 2019
Back to
HyperScale Main Page

|
Home
| What's New |
Features |
Gallery |
Reviews |
Reference |
Forum |
Search