|
Tamiya's
1/72 scale
P-47D Thunderbolt
by Tetsuro Matsuo
|
 |
|
Republic P-47D
Thunderbolt Bubbletop |

HyperScale is proudly supported by Squadron.com
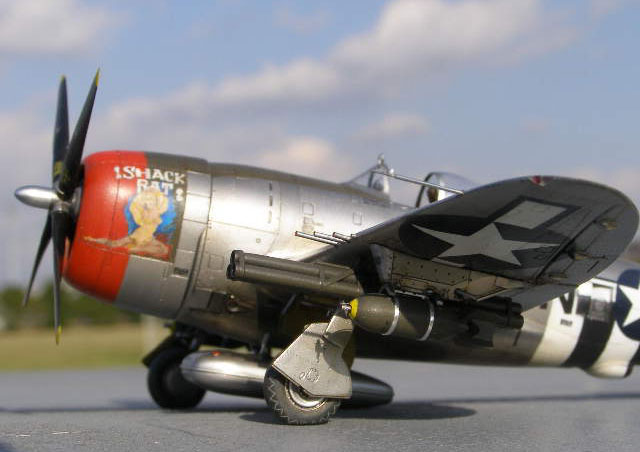
Here is Tamiya’s 1/72 scale P-47D
finished as ”SHACK RAT”. I drew my inspiration from another Tamiya
Thunderbolt painted in these markings. Moreover, I was initially made
aware of the charming nose art after reading the decal review here on
HyperScale.
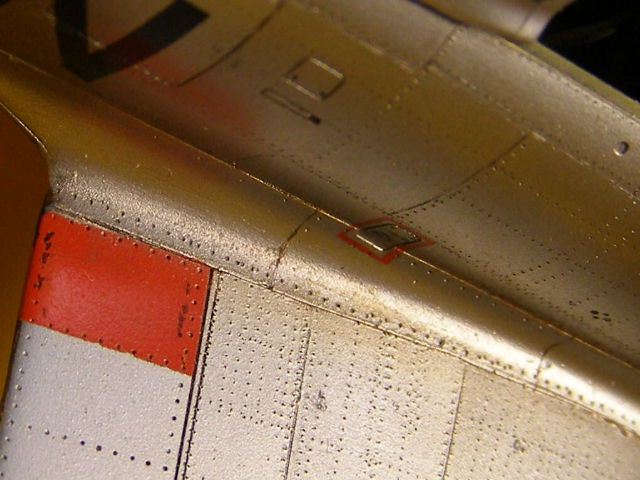
As I expected, I did not need to make many major changes to the surface
of this excellent kit. I only rescribed some panel lines and added
rivets.
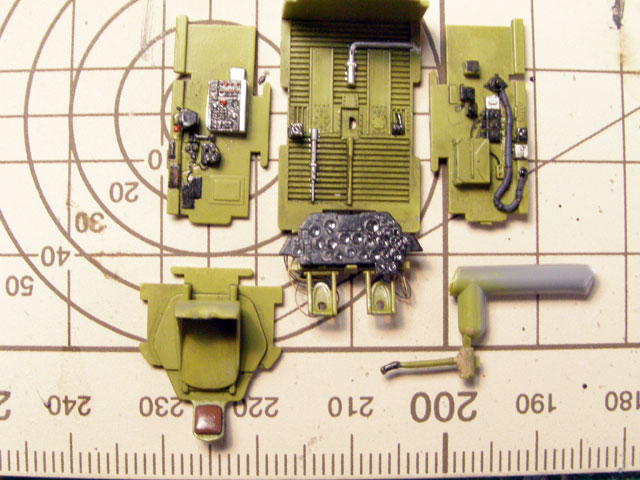
In the cockpit, I replaced hoses, levers and wires with scratch built
parts to enhance their three dimensional appearance.
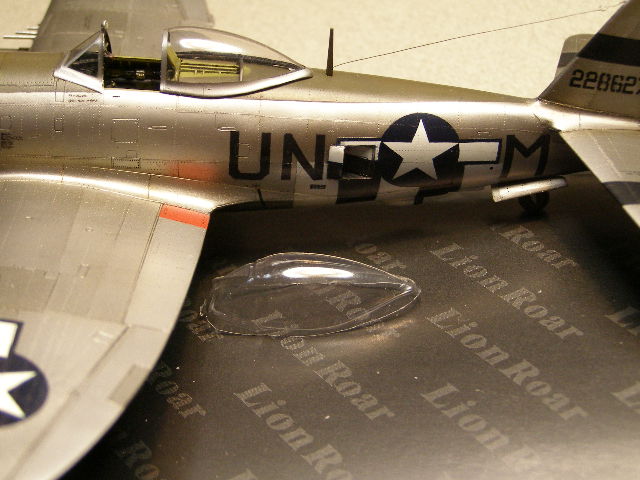
Clear parts were vacuum-formed using the original parts as masters,
packed with clay. To make this, only the time to drag the vacuum cleaner
and a clear sheet of 10 square cm were required.
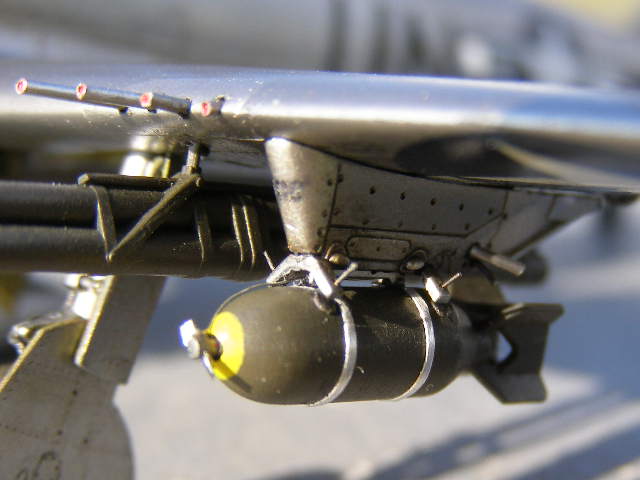
I installed my home made fuze and sway braces, but the coloring and
metal bands are doubtful, I know.
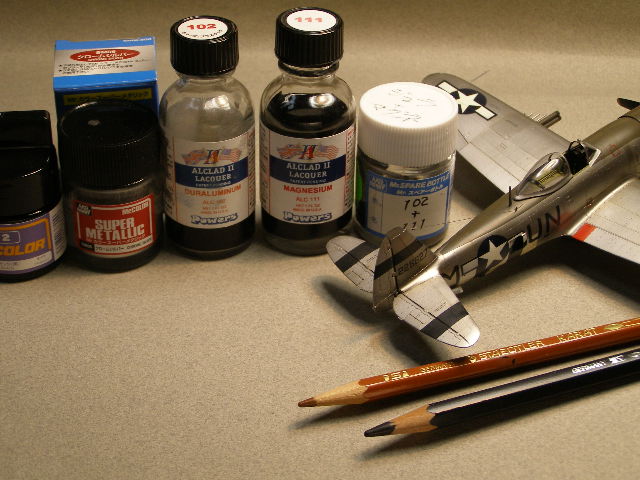
Paints I used were as follows:
Base: gloss-black, ground-color &
spinner: Creos super-metalic chrome-silver, light area: alclad 102
“Duraluminium ” (filtered by 2 sheet of tissues and thinned), dark area:
alclad 111 “Magnesium”(ditto), tone: 102+111, moving blades: alclad 101
“Aluminum”(ditto). This was an experiment for the painting with Alclad.
I think that I succeeded because the layer of paints are not too thick.
Nose-art and all marks are painted but the Curtis propeller logo marks
are decals.
Appendix: How to Represent Overlapping Panels
I want to answer Mr. Steve Heeb’s
question about my B-26 in the Plane Talking discussion forum on
September 13, 2007. I mentioned the method of representing overlapping
panels using super glue and aluminum foil.
STEP1: The foil is pasted to the area where low is left.(If you want the
area to be thicker, glue several layers of foil) This can be used as a
instant template, too.
STEP2: Glue is piled up in the raised area.(I always black instant glue,
it is not too hard and easy to find the leaving.)
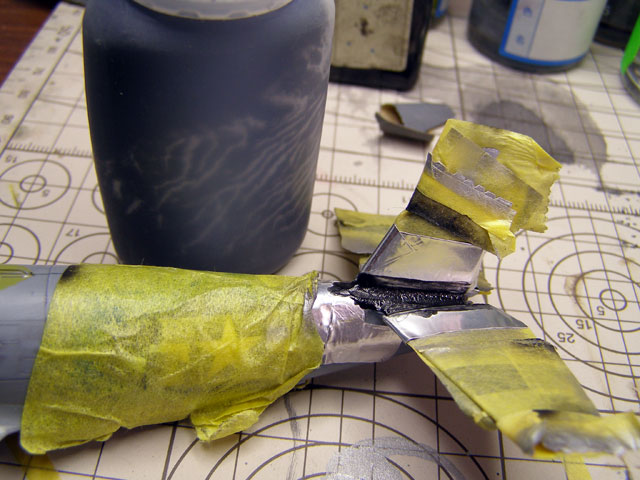
STEP3: Sand down the glue until surface of the tape planed by the
sanding-paper.
STEP4: The edge goes out beautifully by putting the pause before peeling
off the tapes.
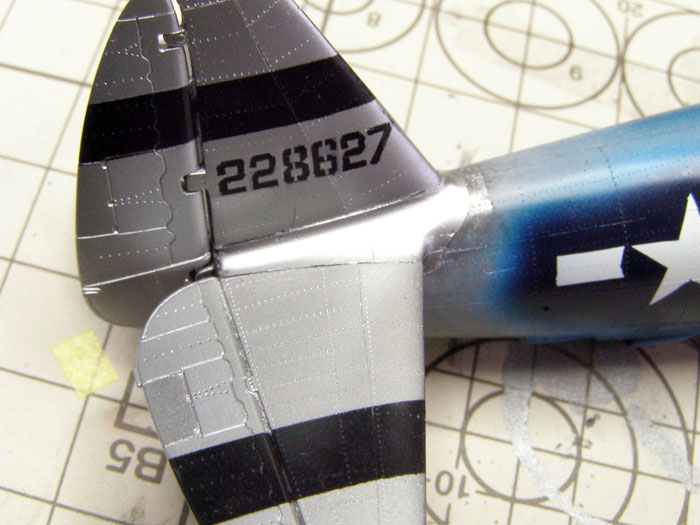
This method is effective to represent a hatch or an armour plate, or the
step at the top of the wing root fillet.
Click the thumbnails below to view larger images:
[../../photogallery/photo00004327/real.htm]
Model, Images and Text Copyright © 2007
by Tetsuro Matsuo
Page Created 18 December, 2007
Last Updated
24 December, 2007
Back to
HyperScale Main Page
|
 Home
| What's New |
Features |
Gallery |
Reviews |
Reference |
Forum |
Home
| What's New |
Features |
Gallery |
Reviews |
Reference |
Forum |