|
Planet Models' 1/48 scale
Messerschmitt Bf 109 Z
by
Greg Goheen
|
Messerschmitt Bf 109 Z |

HyperScale is proudly supported by Squadron.com
There is conflicting data concerning the Bf 109Z, although seems plausible that the RLM put forth a directive around 1942 for a new addition to the Zerstorer family.
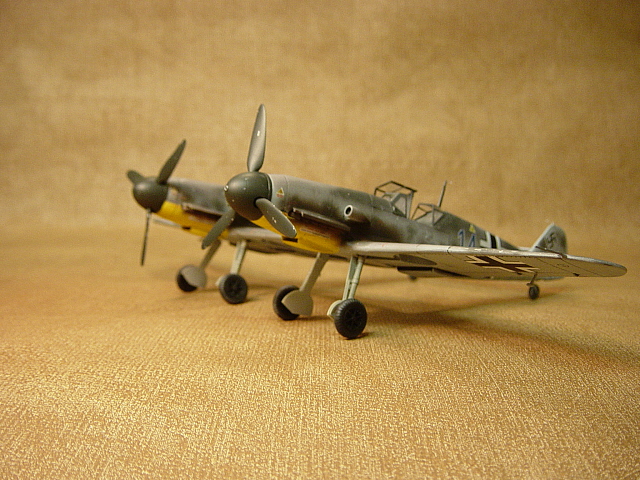
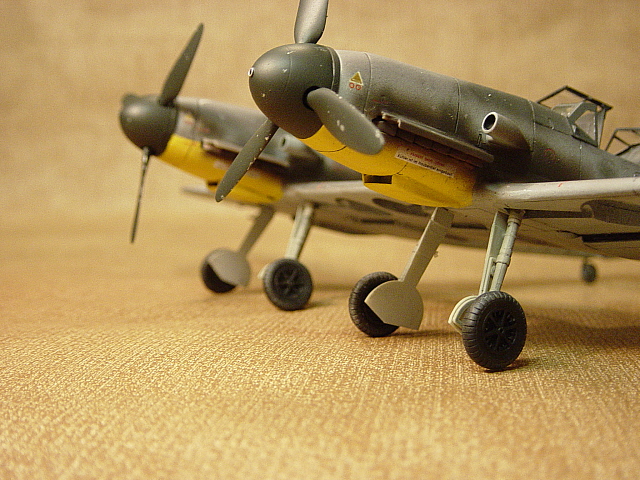
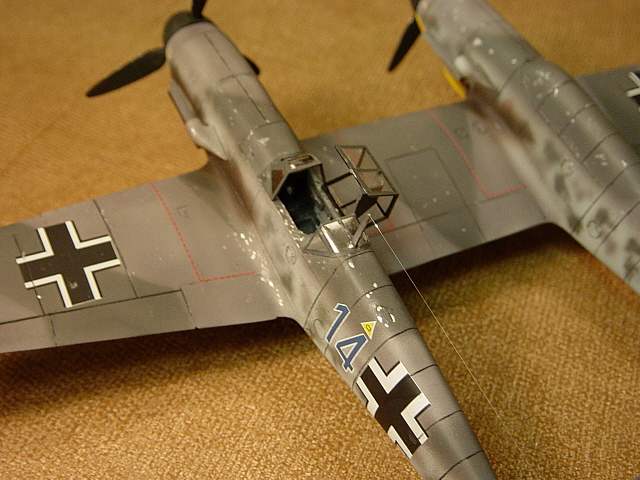
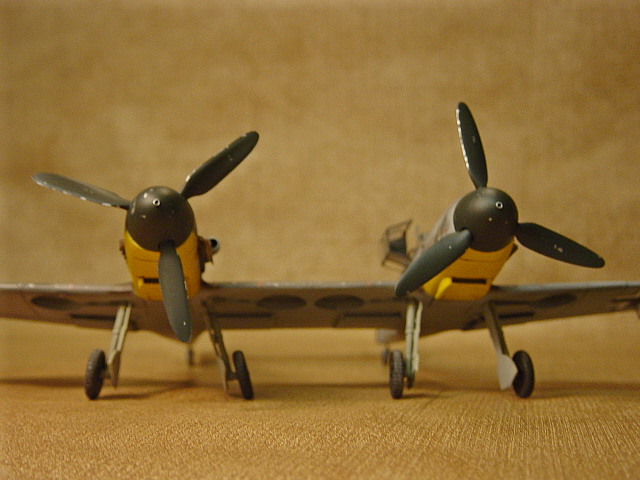
Keeping in mind that production schedules were extremely rigorous to keep manufacturers on task to roll out production aircraft it seems likely that the design put forth by Messerschmitt incorporated existing airframes and components to arrive at the design of this new Zwilling variant. This involved marrying two Bf 109F-4 halves together with a new constant chord wing center section as well as parallel chord tail section. Main landing gear attachment points were moved inboard and were attached to the strengthened centerline keel in each fuselage. The starboard cockpit was faired over and used for extra fuel storage while being piloted in the port cockpit.
Records reveal the prototype was completed sometime in early 1943, yet nearly destroyed during an Allied bombing raid on the test center. Apparently the damage was so severe and coincided with production of the Me 262 that any repair efforts were abandoned for this usual aircraft. Unfortunately, as seems the case with many Luftwaffe aircraft, there does not seem to be any recorded photographs of this plane which only opens the door for aficionado’s to debate of its existence.
The Kit
Planet Models 1/48th scale kit #086 consists of 64 resin pieces, 2 vacuform canopies, decals for two (2) aircraft and detailed instructions. I found it rather usual that two markings were included for this kit too, one of which depicts the Bf 109Z in overall RLM02 but so opens that door for debate once again.
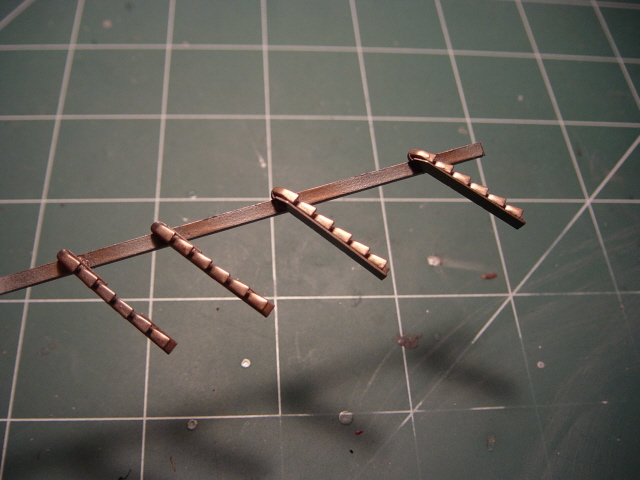
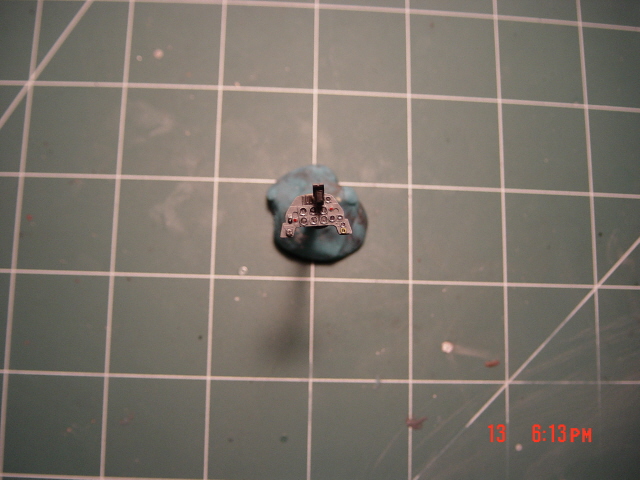
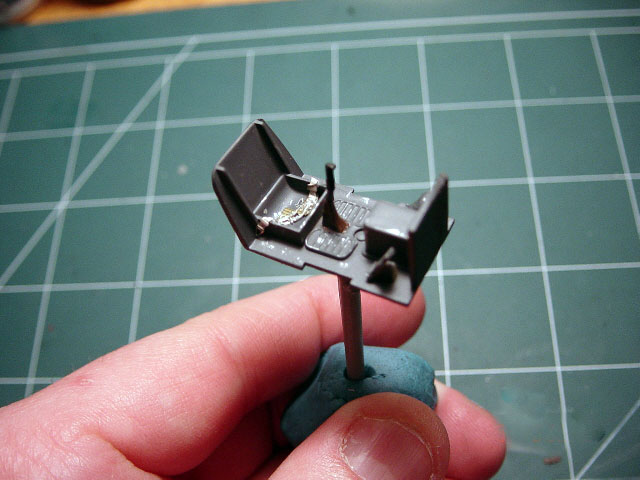
The resin pieces are beautifully done throughout, although I must say I was a bit disappointed with the cockpit and sidewalls, as it appears Planet Models/CMK used the rather plain molds from Hasegawa. While these aren’t entirely “bad”, one has to wonder why an all resin kit such as this wouldn’t provide a more detailed cockpit for the builder. My only addition, since this is a kit review, was adding Eduard photo-etched seat-belts to round out the cockpit detailing, although builders might well want to replace the kit cockpit with one from another aftermarket resin manufacturer.
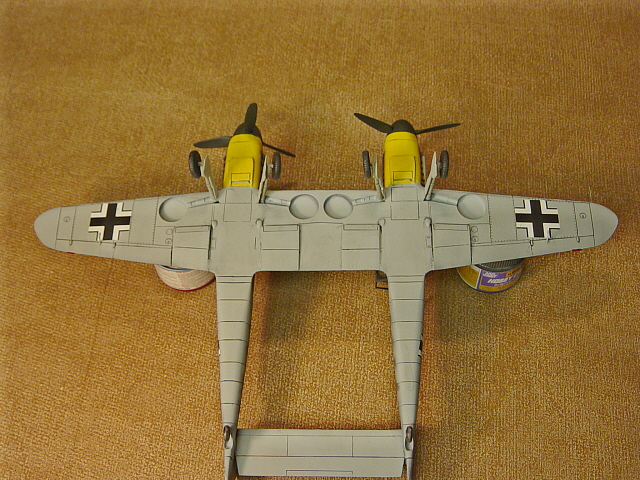
The kit parts are virtually free of any flash and have minimal casting molds for the modeler to contend with. Included in this kit are (2) –R2 300 litre drop-tanks and (2) –R7 underwing 15 mm MG151/15 cannons.
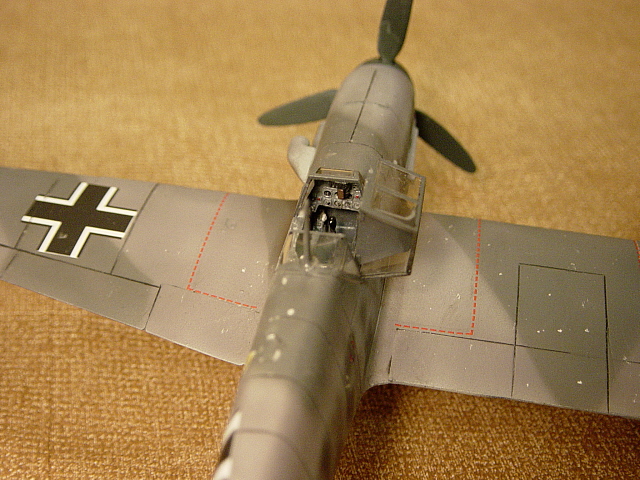
The overall construction of this kit is similar to that of the Hasegawa kits in 1/48th scale, beginning with the cockpit and sidewalls. As aforementioned, this was done by removing the small casting blocks with my Dremel and painting such.
The cockpit was painted RLM66, using Gunze lacquer for such, before details and instrument gauges were picked out with other colors. A light wash of the cockpit tub and I was ready to fit into place.
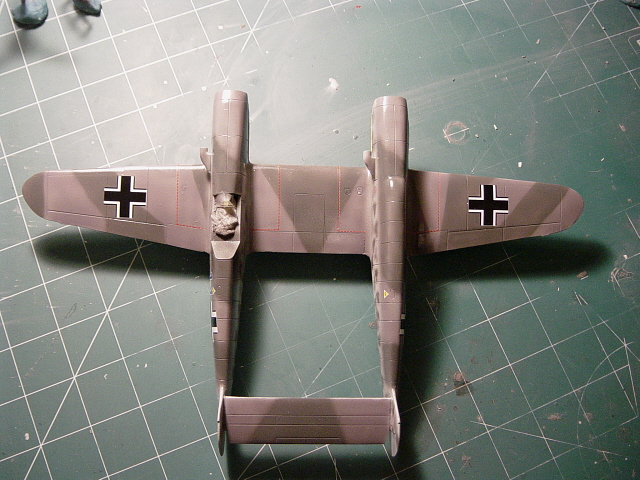
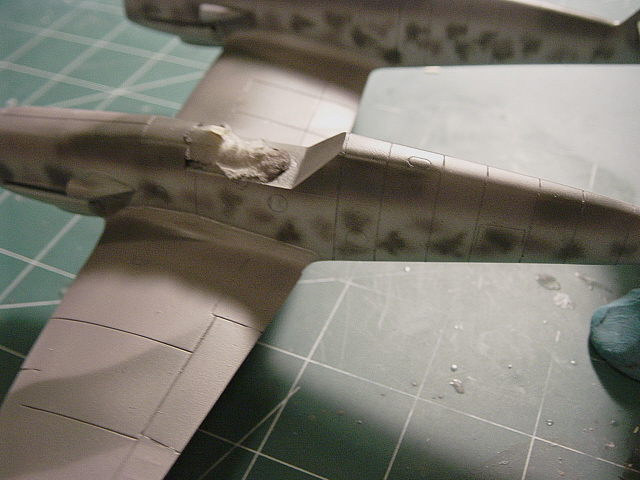
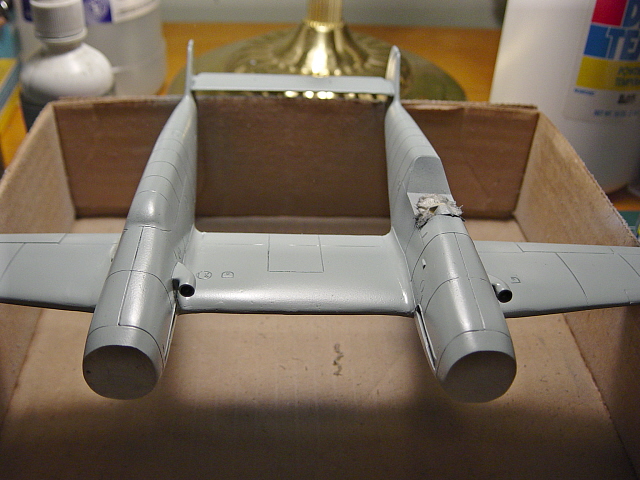
The modeler is treated to both fuselages being conjoined by the center wing section molded as one component, only further delighted by the fit of the outer wing sections being extremely precise. No filler was needed at the attachment points of the wing joints and only minimal on the underside.
I did note that much of the engravings on this kit were faint and went to task rescribing all panel lines throughout. This was achieved with some Dymo tape butted up to the panel lines and then scribing a deeper, more precise panel line in place. It was at this point, however, that I discovered perhaps one of the only drawbacks to this kit….vast numbers of air bubbles just under the surface of the resin. Despite several coats of Mr. Surfacer 1200 airbrushed and several bubbles filled with Mr. Surfacer 500 I was able to fully fill all of the micro bubble holes and had to fill such with CA.
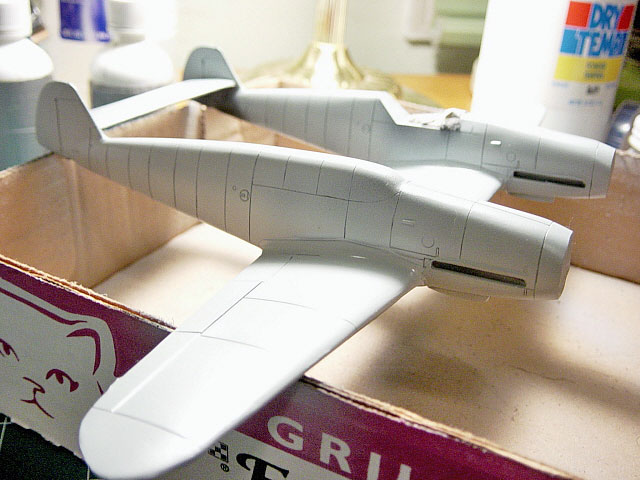
After several sessions of wet sanding the airframe and repeat coats of CA and Mr. Surfacer I was finally happy with a nearly blemish free surface to work with and was ready for paint.
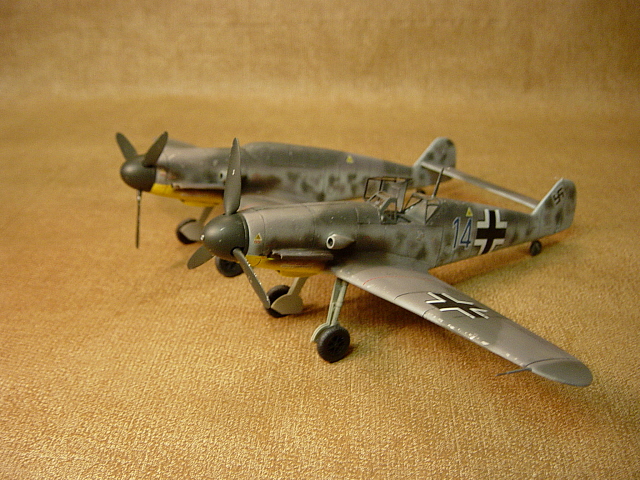
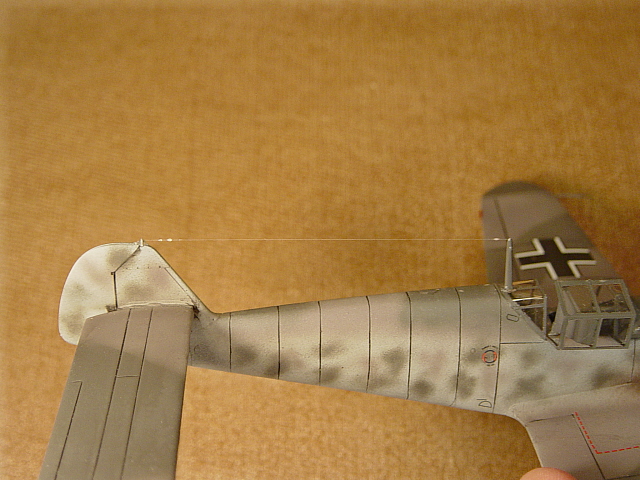
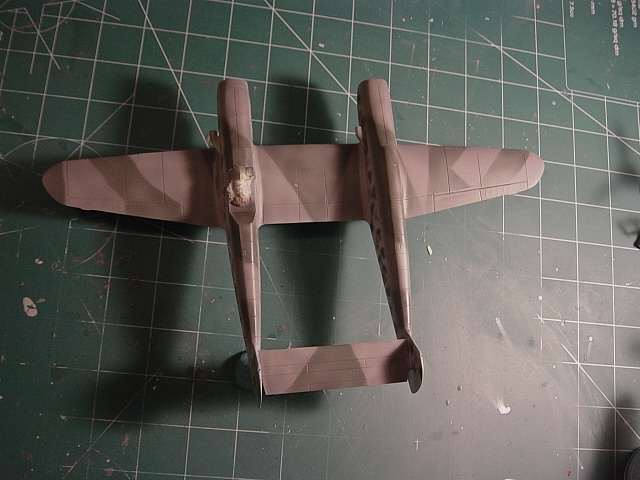
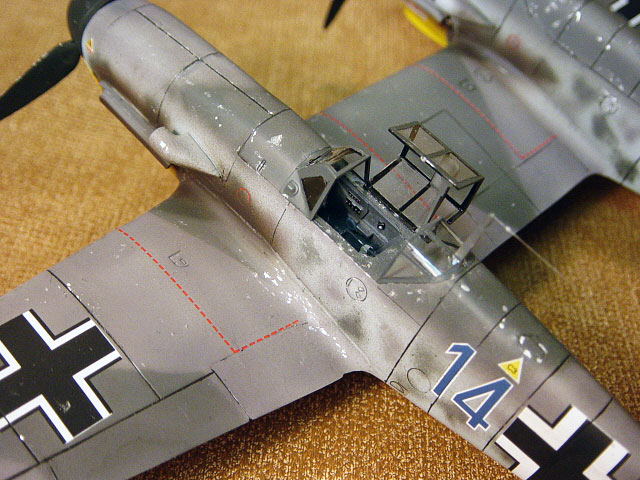
I opted for a fairly straight forward scheme of RLM 74/75/76 with RLM 04 on the lower portion of the cowlings. RLM 76 was first applied over the prepped airframe before I applied the RLM 75 to the tops of the wings and spines of each fuselage.
Masks were then cut from note paper in my office and then brought off the surface with blobs of Blue-Tac for a soft, feathered edge as the RLM 74 was then applied. Likewise, mottling was achieved freehand with heavily thinned Gunze acrylics applied very close to the surface and at about 8psi. The cowlings were then masked off accordingly before receiving several coats of RLM 04 until satisfied. The entire model was then sealed with several light coats of Future to ready for the minimal decals.
Around this same time I was working with the resin props before I inadvertently dropped one and crushed it by rolling back in my chair to sandwich it between the hardwood floor and caster. Not to worry, that’s what the spare box is for, right?....where I found the necessary replacements.
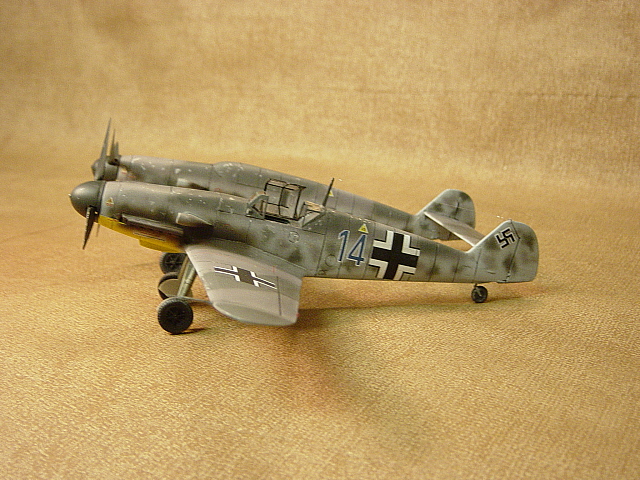
Decals were then added to this build, keeping the stenciling to a minimum to keep her clean, given she was only a prototype that had been derived from existing aircraft. While laying down the wing-walk stencils to the center section I learned that those from the spares box was a bit short, since this center chord is slightly wider than the areas by the outer wing root and truly square, unlike the outer wing root area. This was solved by surgically grafting the added distance to the spare stencil to make up the required distance.
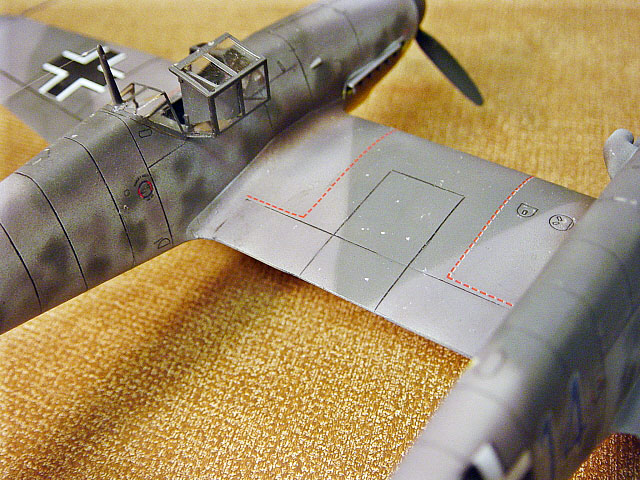
The wash consisted of Tempra powdered paints (Red/Black) mixed with only a small amount of water and dish soap to a slightly thick consistency and applied to the panel lines throughout. Once dried, I simply used damp tissue to remove the excess and reveal only the panel line desired.
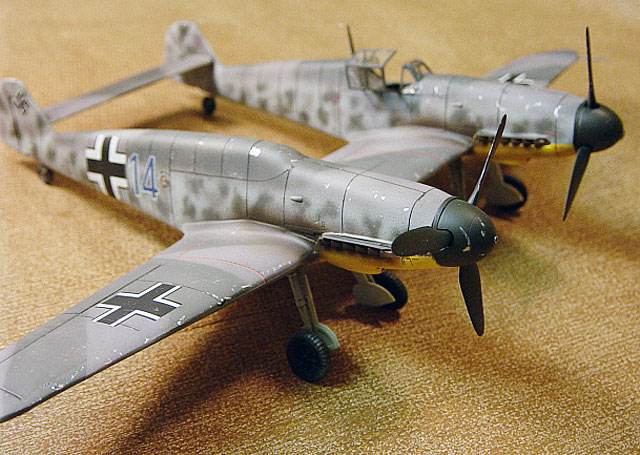
The entire aircraft was then treated to several coats of Model Master clear flat lacquer coat before chips and scuffs were added with a small brush and silver enamel paint.
I opted to use clear parts from the spares box of Hasegawa parts as I simply didn’t want to fiddle with the vacuform canopy on this build, although it would work fine.
What else can I say but truly a pleasure to build.
Despite some shortcomings and obstacles this truly is one well manufactured kit by Planet Models and truly a must have for any Bf 109 fanatic.
My sincere thanks to Planet Models/CMK for their kind donation of this kit for review.
Highly recommended!
Model and
Text and Images Copyright © 2008 by Greg Goheen
Page Created 3 April, 2008
Last Updated
3 April, 2008
Back to HyperScale
Main Page |
 Home
| What's New |
Features |
Gallery |
Reviews |
Reference |
Forum |
Search
Home
| What's New |
Features |
Gallery |
Reviews |
Reference |
Forum |
Search