Polikarpov I-16 UTI-4 Conversion Sets
for Eduard
AML, 1/48 scale
S u m m a r y: |
Catalogue Numbers: |
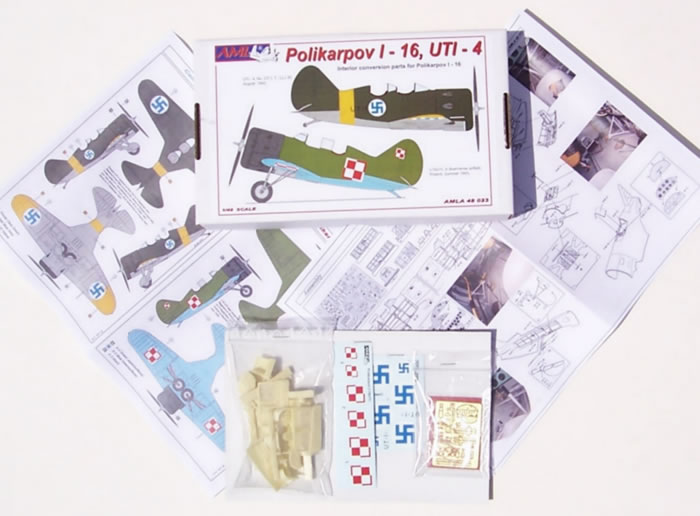
AMLA 48023 (Finnish & Polish)
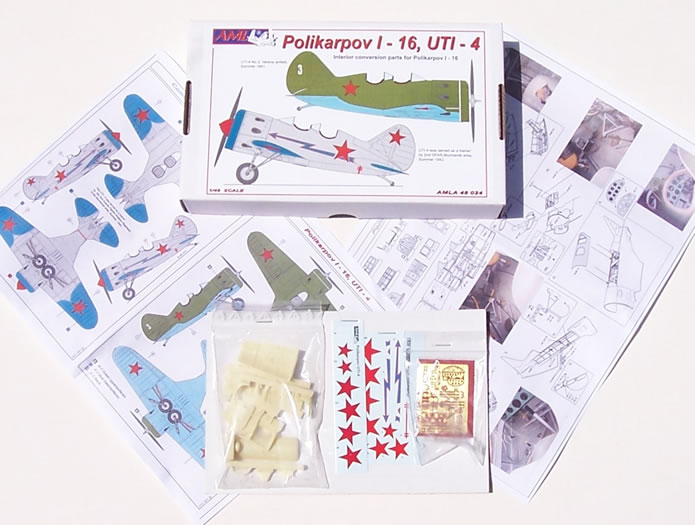
AMLA 48024 (Soviet)
AMLA 48025 (German) |
Scale: |
1/48 |
Contents & Media: |
Common to all: 17 x resin cockpit parts (1 x extra resin part for the Polish option with #48023), 30 x PE detail parts, 2 x 2 vac-form windscreens, decals for 2 subjects. |
Price: |
Available on-line from:
Hannants for £21.57: AMLA 48023, AMLA 48024 & AMLA 48025.
Modelimex for €16.66: AMLA 48023, AMLA 48024 & AMLA 48025.
Or from these AML distributors.
(Currency conversion here) |
Review Type: |
First Look |
Advantages: |
Well produced and seemingly straightforward conversion sets of an interesting subject. |
Disadvantages: |
Minor issue with the absence of guide for cutting the donor kit, or interior detail colour call-outs. |
Conclusions: |
Good quality conversion set for I-16 fans that should easily convert the Eduard kit after some careful cutting. Recommended. |
Reviewed by Mark Davies

HyperScale is proudly sponsored by
Squadron.com
Background
The Polikarpov I-16 needs little introduction. When it first appeared it was in many respects a ground-breaking design. But such was the pace of aircraft development in the late 1930’s better designs from future adversaries soon emerged, and unfortunately for Soviet fighter pilots it stayed in frontline service for far too long.
Early recognition was given to the benefit of a two-set trainer version, as the I-16 was not a straightforward aircraft to transition to from the Polikarpov U-2 primary trainer, or even to convert to from biplane fighters such as the I-15 and I-152 etc. The first of these was the I-16 UTI-2 produced in limited numbers in 1936, and derived from the I-16 Type 4 with a 480 hp M-24 engine. In 1937 this was superseded by the UTI-4based on the I-16 Type 5 with the more powerful M-25 engine (and pilots now transitioned from the monoplane Yak UT-2 primary trainer). In fact at initially every fourth I-16 on the production line was to be a UTI-4, so they came to be widely used at a time few other air forces had a two-seat version of their frontline fighters.
The UTI-4 tended to mirror the engine fit of production I-16’s and had a few other variations. These included some early machines with fixed undercarriages (and no undercarriage doors), later machines with a tail-wheel in place of a skid, no spinner on some machines, and the option of a canvas or curved plywood blind-flying hood over the rear cockpit.
The Conversion Sets
AML produces kits, decals, accessories and conversion sets. The production of the I-16 UTI-4 conversion sets reviewed here will be welcomed by lovers of the I-16; which is a fairly popular subject judging by the frequency of its appearance in magazine articles, model shows and on-line forums. There is quite a choice of schemes as well because the UTI-4 was used by a number of operators.
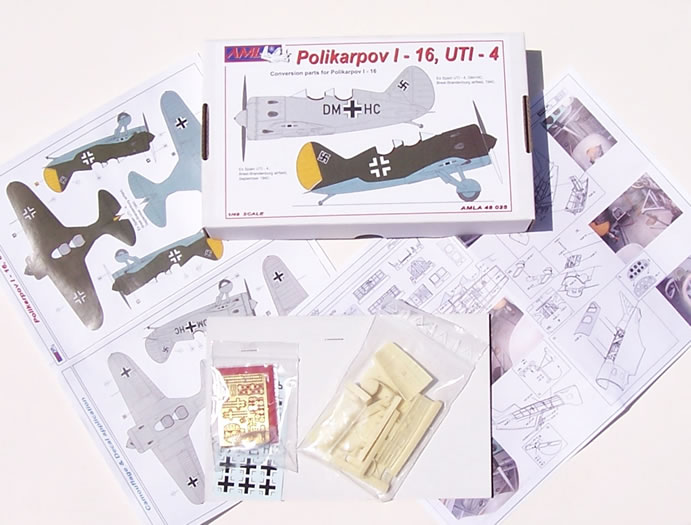
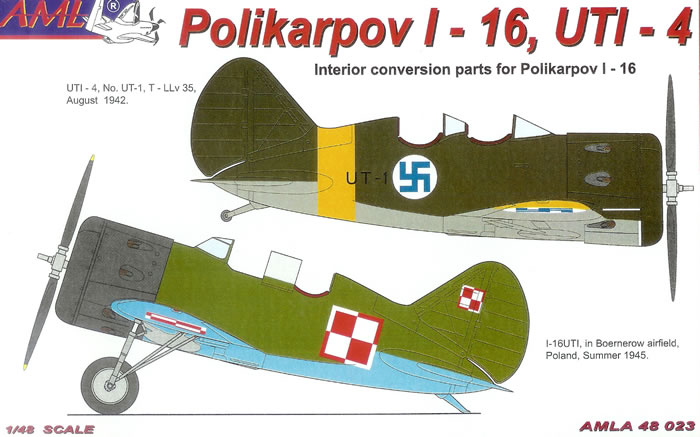
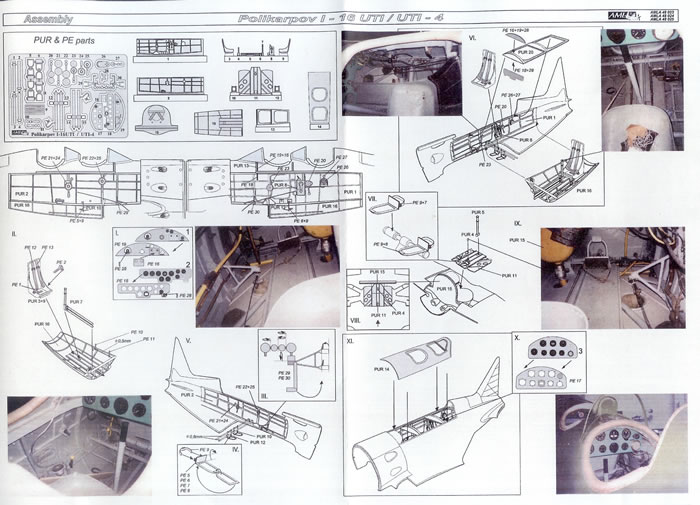
Each set is packed in a sturdy top-opening box with the components in zip-lock bags which along with the decals are stapled to a sturdy piece of card. Instructions are common to all boxings, and include a parts map, cutaway drawings, small colour walk-around images from what looks like a restoration project, and assembly diagrams. The package is rounded out with attractive colour four-view painting and decaling guide with generic colour call-outs, although in the case of the Luftwaffe version RLM codes are given.
At first I could find no reference to the injected kit to be used as a donor on or within the packaging, and then I saw that AML's web-site advises that it is intended for the Eduard Kit. Several days later a friend of mine noticed that there was a small note on the end of the box stating it was designed for the Eduard kit. I assume that the conversion could be adapted to fit the Hobbycraft/Academy kit as well (as a dedicated 1/72 builder the only other 1/48 I-16 kit I can think of is a very early version resin kit by Air Model).
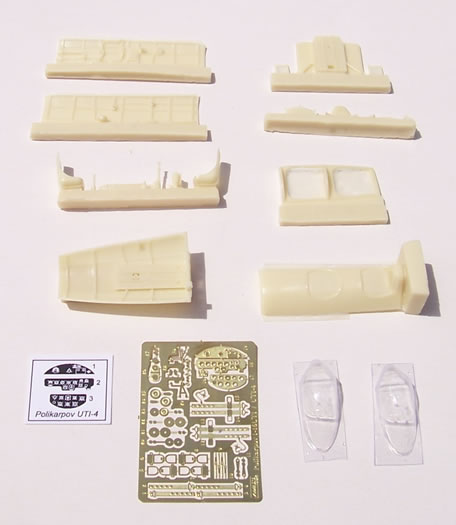
The kit has resin parts mainly cover the cockpit decking and quite extensive cockpit detailing. The very nice PE fret predictably caters for the seatbelts and instrument panel. The instrument faces appear to be printed on decal film, which obviously is cut out but not soaked off to maintain a white background. I’m not sure that instruments dials are as crisp in appearance as the more traditional photo-foil method, but at least you don’t need to paint the reverse side white.
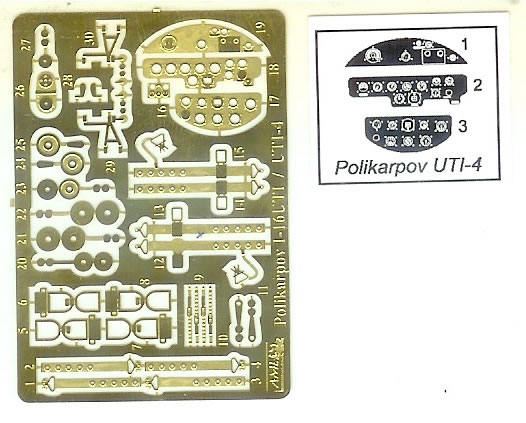
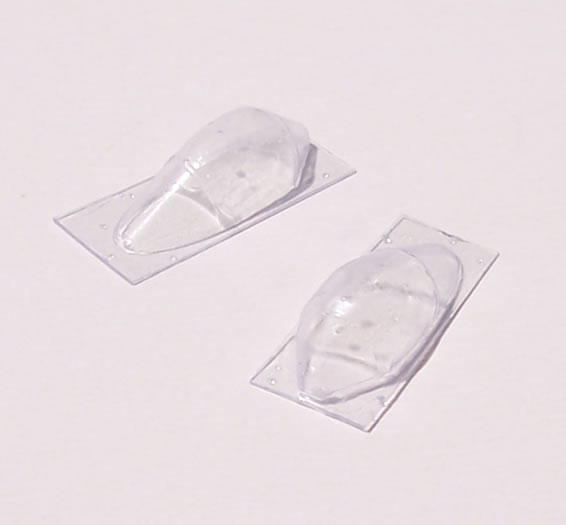
Two copies of vac-form clear pieces provide for the windscreens, allowing for practice or insurance depending on how you look at it. These appear nice and clear, but will need care cutting out.
Although they are drawn and printed very nicely, the instructions are not really definitive in terms of where to cut the rear fuselage decking from the donor kit. However I think all would soon become clear upon having the parts in the your hands, as it seems the replacement decking starts from behind the cowl line and finishes just behind the original headrest. The small colour images provided with the instructions presumably negate the need for colour call-outs in AML’s eyes, but I think that their inclusion wouldn’t hurt.
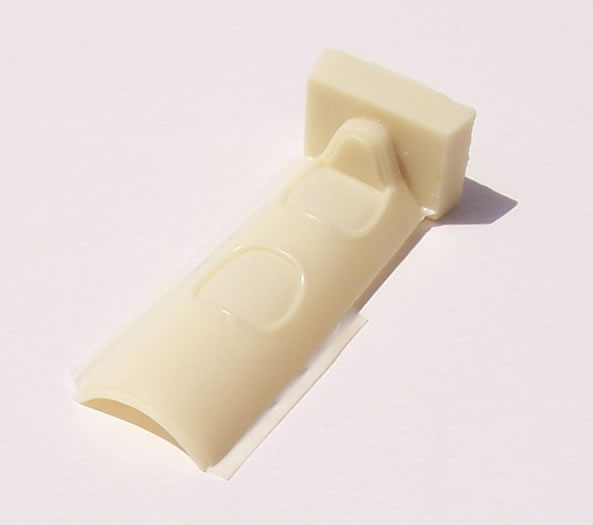
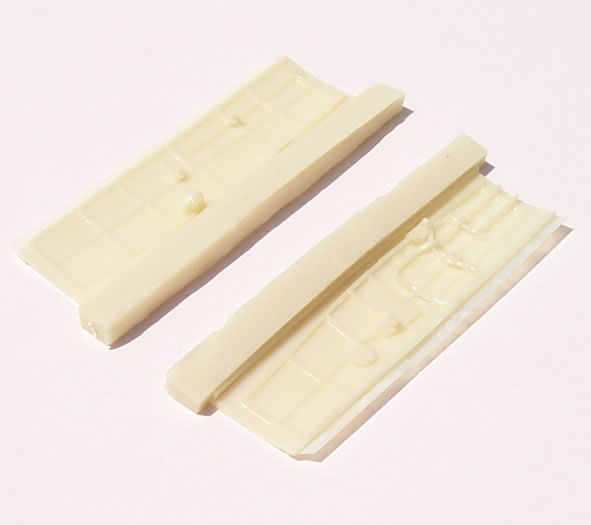
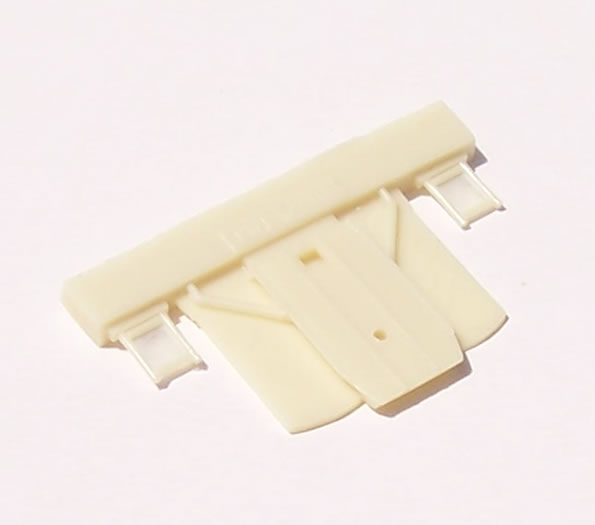
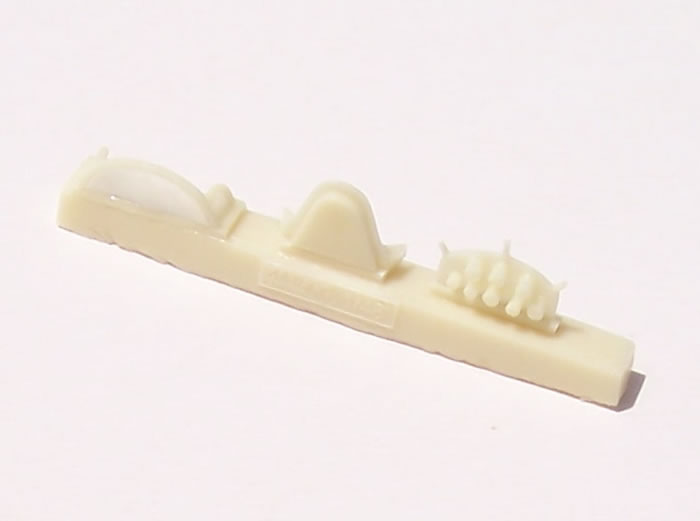
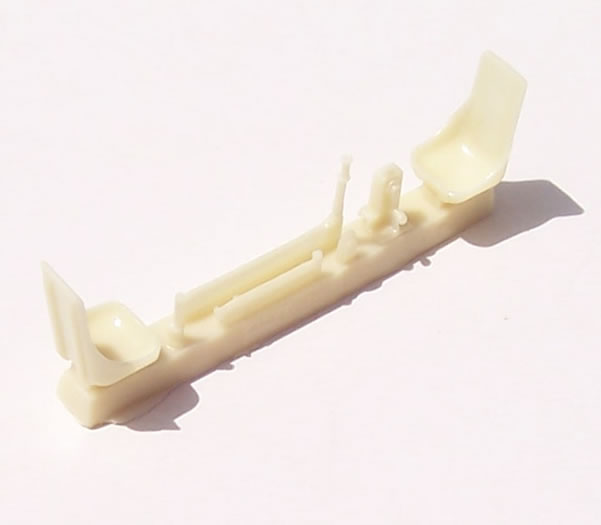
The resin parts are nicely cast, and the quality is good with no obvious flaws or failings. Much of the resin fits out the two cockpits, and consists of lower fuselage, fuselage sides, seats, internal horizontal bracing between the cockpits, a bulkhead and fuel tank, control columns and other small details. One piece of resin only provided with #48023 for the Polish option is a solid resin upper fuselage decking to go between the two cockpits. AML’s own artwork on the box top and decaling guide show this to be transparent, yet it is cast solid in cream resin with some internal bracing (see image).
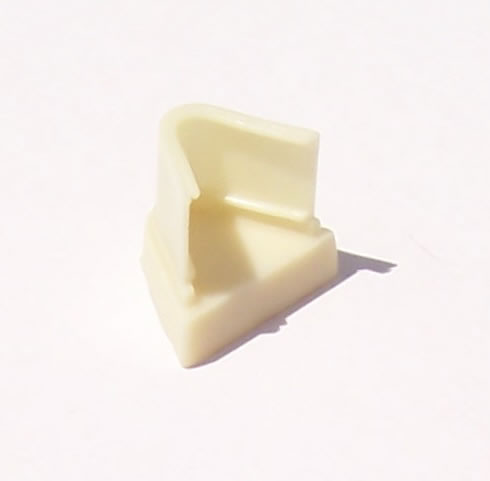
I searched several books on the I-16 but could not find any information to clarify this point.
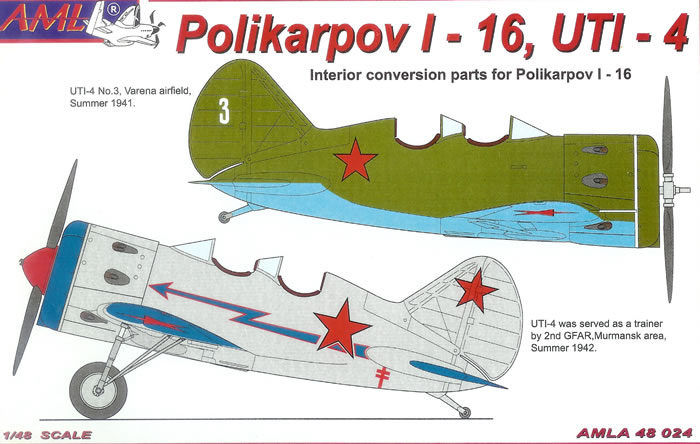
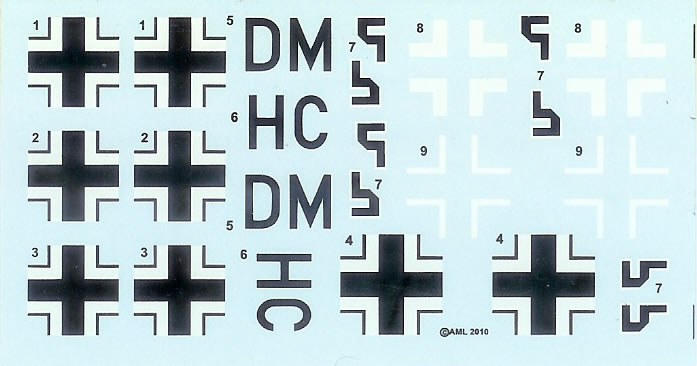
Each boxing comes with two decal options.
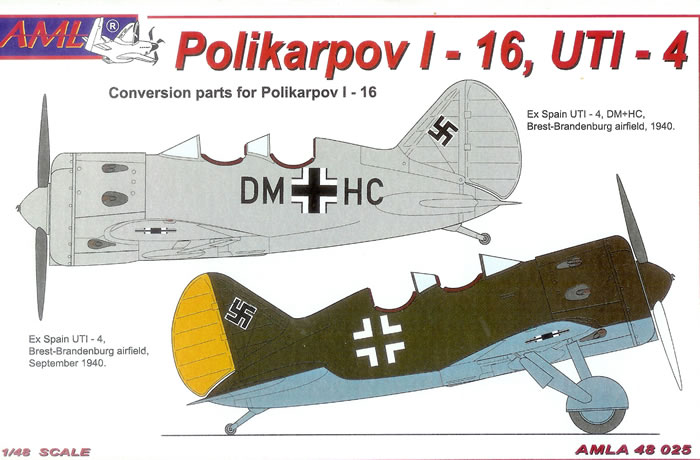
The choices for each boxing are apparent from the accompanying images of the box art. In all cases the decals are well registered with good colour density.
These are well executed conversion sets of a fairly significant early fighter conversion trainer. The I-16 seems to be a popular subject, so hopefully there will be modellers out there only too pleased to be able to easily build the two-seat version. The lack of colour call-outs for cockpit painting and no cutting guide for the top decking are relatively minor niggles. And I would like to know for sure if the Polish option’s section between the cockpits should be clear as per AML’s artwork, or solid as per the actual part. However, overall these are nicely produced conversion sets that should result in some interesting and attractive models – Recommended.
These samples came to me courtesy of a Czech modelling friend.
Text and Images Copyright © 2010 by Mark Davies
Page Created 6 October, 2010
Last updated
4 November, 2010
Back to HyperScale Main Page

|
 Home
| What's New | Features | Gallery | Reviews | Reference | Resource Guides | Forum |
Home
| What's New | Features | Gallery | Reviews | Reference | Resource Guides | Forum | 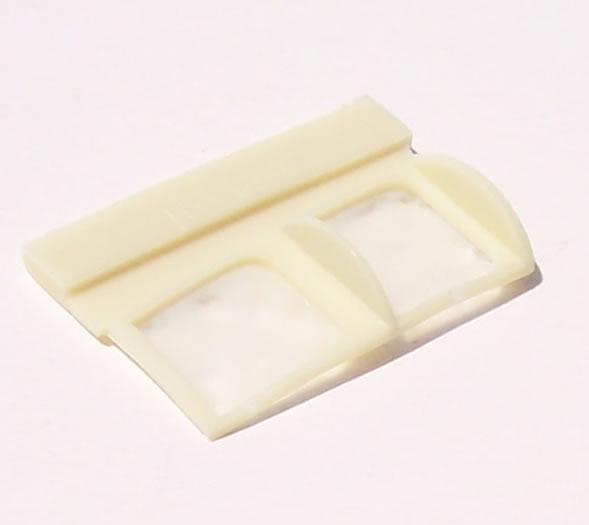

_fs.jpg)
_fs.jpg)