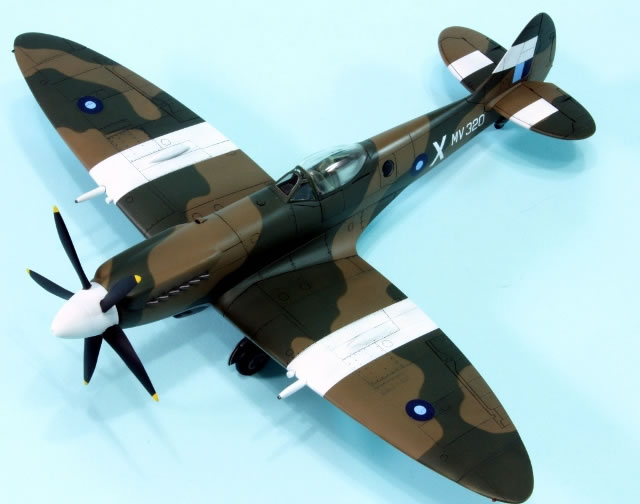
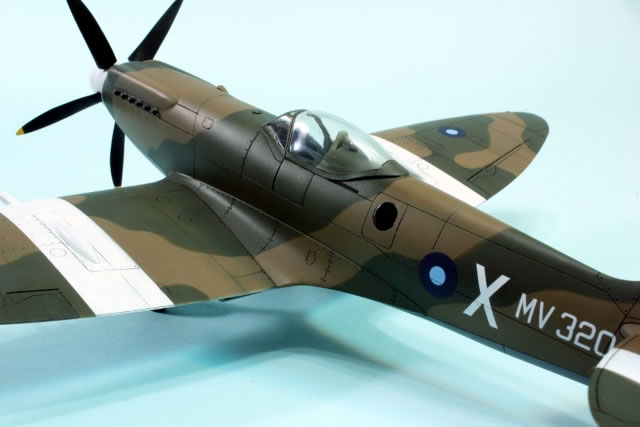
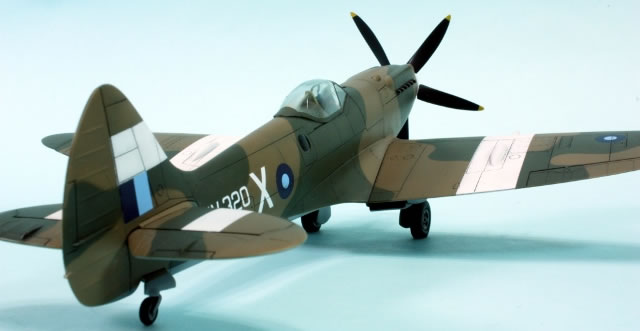
Academy's 1/48 scale
Supermarine Spitfire FR.XIVe
by Jon Bryon
 |
F/A-18F Super Hornet |

Academy's 1/48 scale Spitfire Mk.XIVe is available online from Squadron
When I made the decision to restrict my model collection to aircraft that served post-WWII there was a tinge of regret in the back of my mind that this would exclude lots of interesting aircraft. Consequently, I am always on the look out for decal sheets that allow me to build WWII aircraft that served in the immediate post-war years, and this Spitfire is a good example. Many years ago I saw an Aeromaster decal sheet advertised that had markings for two Spitfire FR.XIVes from 1946, and immediately ordered the sheet.
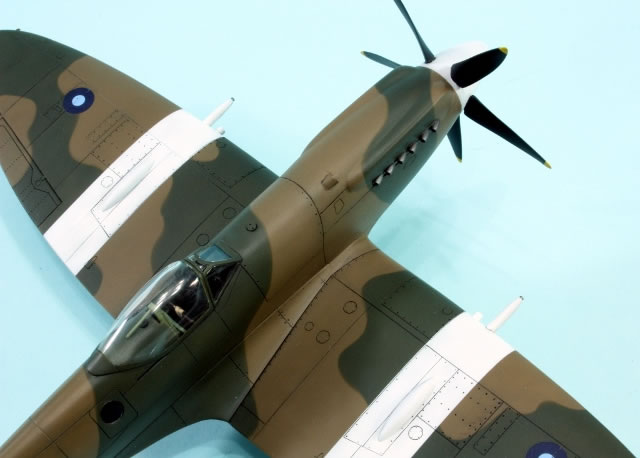
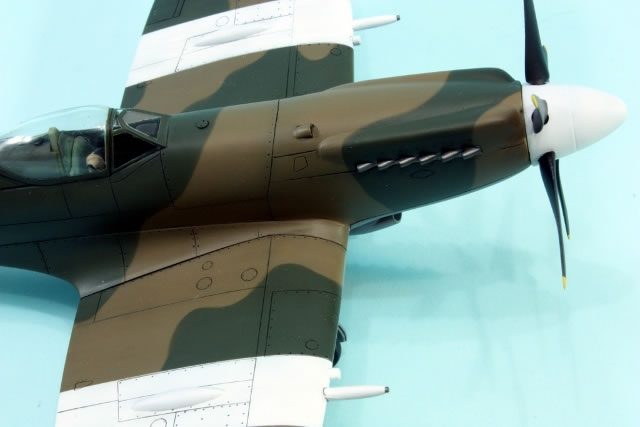
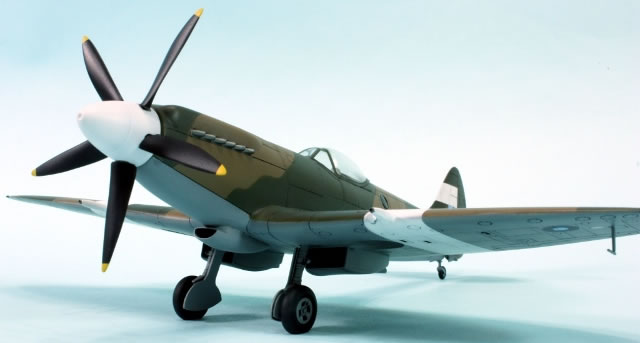
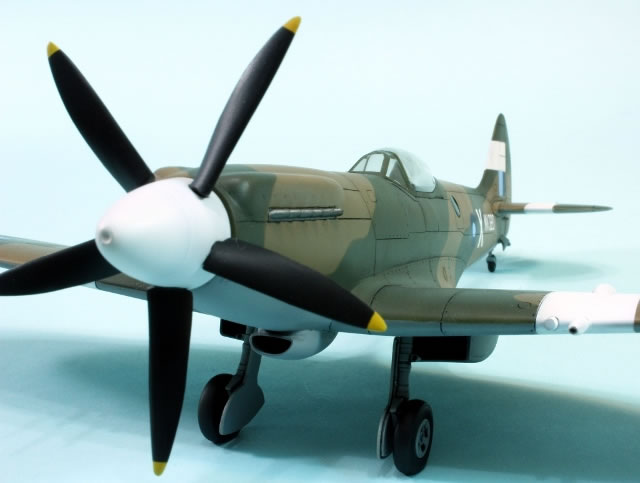
Having the decals meant I also needed a kit, and I recalled a glowing review of the Academy FR.XIVe in an issue of Scale Models International. Unfortunately, as I was to discover, this kit is rather inaccurate, especially in the shape of the nose, spinner and props. A little while later I found out that Daco Products made a correction set in resin and white metal. After reading Brett Green's review of this on Hyperscale, I ordered a set from Hannants.
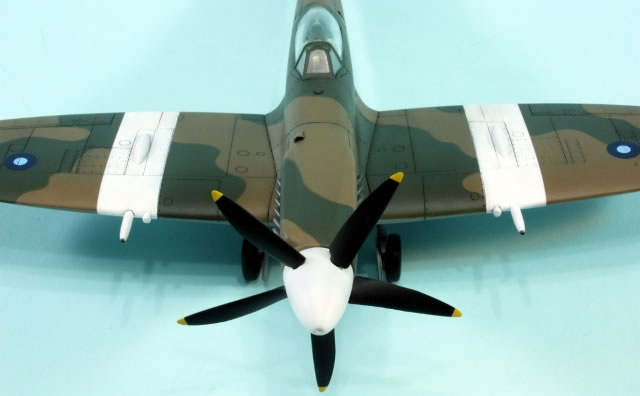
The Daco set comes with a large number of components: replacement nose, spinner, prop blades, underwing radiators, rudder, guns, gun covers, main undercarriage legs, tail wheel, wheel hubs, exhausts, and for some reason, a very plain seat. To be honest the set was a bit of a disappointment. The quality of the castings was a bit rough. The nose was a little asymmetric, had very washed out panel line detail and a huge mould scar near the wing root that took a lot of super glue and Mr Surfacer to fix, as well as sanding scratches around the small intake where clearly the master had not been constructed very well. The spinner also had some imperfections and the prop blades a couple of air bubbles; the resin is very thin here and hard to fix. Fortunately there are 6 blades provided and only 5 are needed. The guns and radiators also had moulding imperfections -- small blobs, scratches, scars, indistinct surface detail. The undercarriage was unusuable, with so many surface imperfections that once cleaned up there would be nothing left.
My first task was to determine which components of the set were necessary. In the end, about 50% of it could be ignored for the particular airframe I was modelling. After putting out some requests on the modelling forums, I got some good guidance on the most likely configuration for MV320. In particular, that it most likely had the regular wingtips (which fortunately come in the kit as spare parts), four spoke wheels, cylindrical exhausts, regular (not broader) rudder and the shorter guns. This meant the Daco resin wheels, exhausts and rudder all went in the spares box. The resin gun covers are absolutely identical to the kit parts (and are provided so an Academy XIVc can be made into an e), so were also not used. The undercarriage was thrown away. The only difference I could find between it and the kit parts was the length at the oleo, so I just modified the kit parts to match.
With that done, construction could commence!
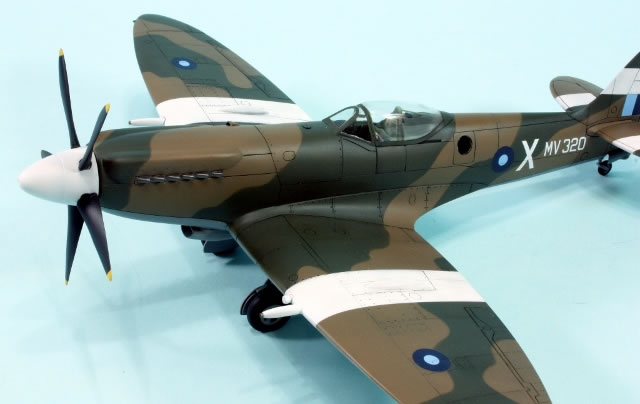
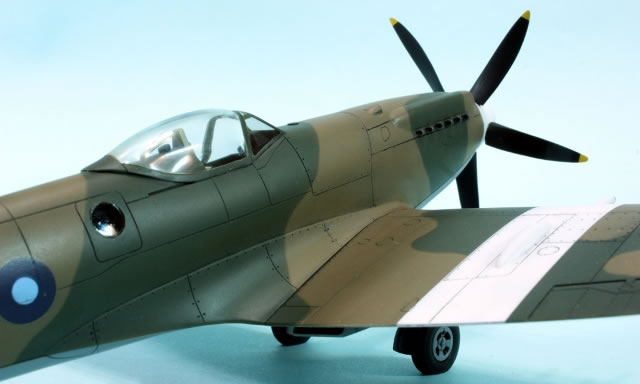
The Academy kit is actually, for all its faults and failings, a beautiful kit. Interior detail is very nice (although I've no idea if it's accurate) and more than adequate; it becomes invisible once the thick canopy is on. I added seatbelts made from masking tape and Reheat photo-etched buckles to the Daco seat, which I used since it is slightly thinner than the kit one. I painted the interior using Mr Color 364, except for the seat, which is a reddish brown. I left some invisible interior components out; I used to subscribe to the 'at least I know it's there' school of thought, but as my modelling time has become scarcer and scarcer, I've increasingly abandoned that philosophy.
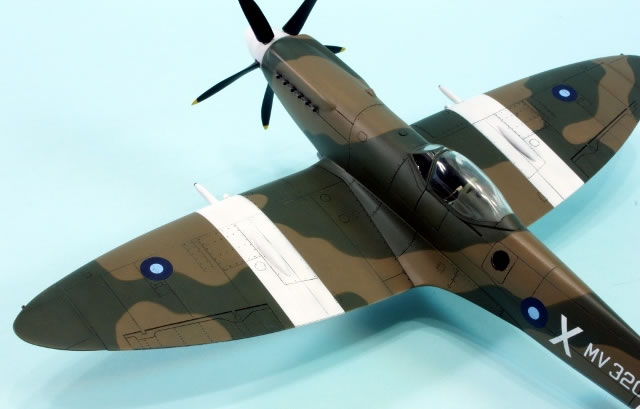
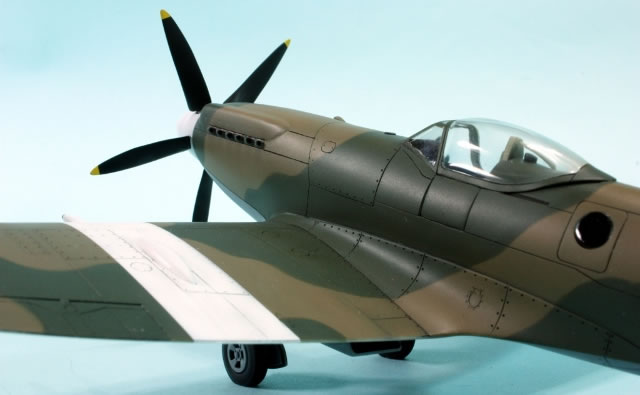
I spent ages trying to get the resin nose to fit. I removed the nose at the panel lines on the kit fuselage halves, leaving myself some excess plastic, then taped the halves together and tried to get the nose to fit with endless dry-fitting, sanding and fettling. I couldn't really get it to fit at all well, and ended up with some pretty big gaps, although fortunately no steps. I was planning to attach the nose to the fuselage first, and then add the wings, but the horrible fit of the nose meant I took an alternative approach.
First I assembled the wings; they went together beautifully, and the fit of the gun covers and wing tips was exceptional. Then I spent a while dry fitting this assembly to the fuselage halves. Once I'd seen how the fit was, the fuselage halves were assembled, sanded down (great fit once again) and the fuselage and wings brought together for one of the best wing root joins I've ever seen. Now to deal with that nose...
To give myself some wiggle room, I decided to use 4 minute epoxy to attach the nose. This was a mistake. I almost never use epoxy, so I'm not familiar with its properties, and on this model I learned you really can't sand it. Once the nose was on I had to slice off the excess epoxy cement, which was not fun. Then the gaps needed to be filled. I thought I'd try some Tamiya epoxy putty I've had lying around for a year, but it never fully cured. I tried making some more batches just to see if I'd not mixed it properly, but everything I tried still resulted in a softish putty that took about a week to get as hard as it could. Maybe it doesn't age well. Anyway, after all that I had a mess: epoxy glue and putty, neither of which took sanding or rescribing well.
In the end it took many iterations of slicing, sanding, filling (using superglue and Mr Surface 500) before I even got something close to what I was happy with. Scribing the panel lines at the resin nose/plastic fuselage interface was a nightmare; I wasn't totally happy with the result, but didn't dare refill and rescribe in case subsequent efforts turned out to be worse. Sometimes you have to cut your losses and run!
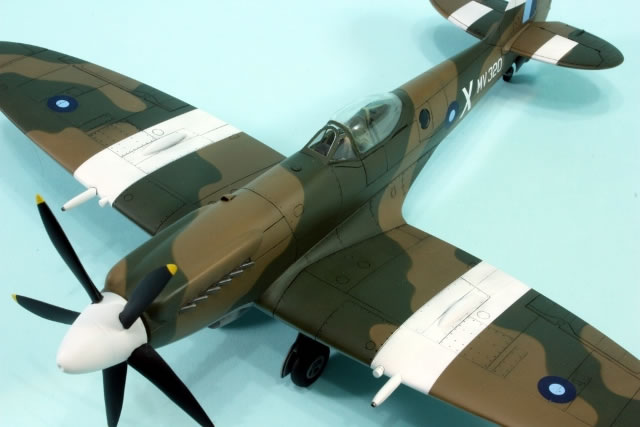
Once the nose was on and dealt with, things sped up. As far as I could tell, I didn't need to fit the underfuselage fuel tank (if that's what it is), and just needed to add in the undernose air intake; fit again was superb. The tailplanes were fine and also attached to the fuselage without any problems. The resin underwing radiators were painted and built up; dry fitting showed they would fit well to the wing after painting. In the course of my searching internet forums for advice on this kit, I did come across various controversies regarding the radiators. Daco provide corrected items because those in the kit have sides perpendicular to the wing instead of the ground. I noted that various people disputed this was a mistake. Others said that the Daco items were also wrong in other regards. Lacking any references on Spitfires, I just went with the Daco items and remained ignorant.
The fuselage under where the canopy was to sit was then painted, and the canopy attached using liquid poly cement, after I'd polished it using the three Tamiya polishing compounds. Fit was fantasic, as it was around the windscreen. Here I made my major boo-boo. I'd used superglue to attach the couple of accessories on the fuselage behind the seat, and, after waiting a while, then attached the canopy. At the end of the build when I removed the masking it became clear I hadn't waited long enough and there was some slight fogging. Lesson learned for next time...
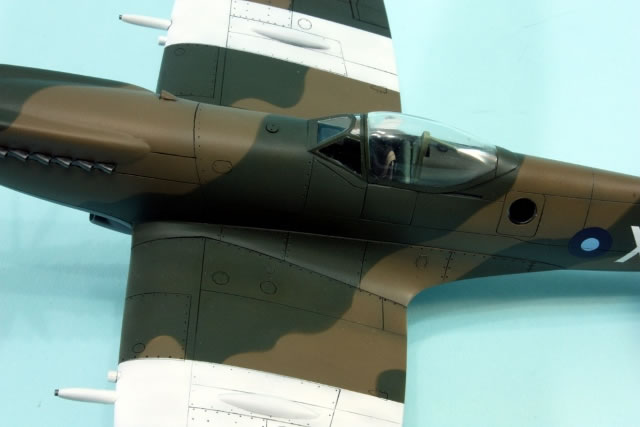
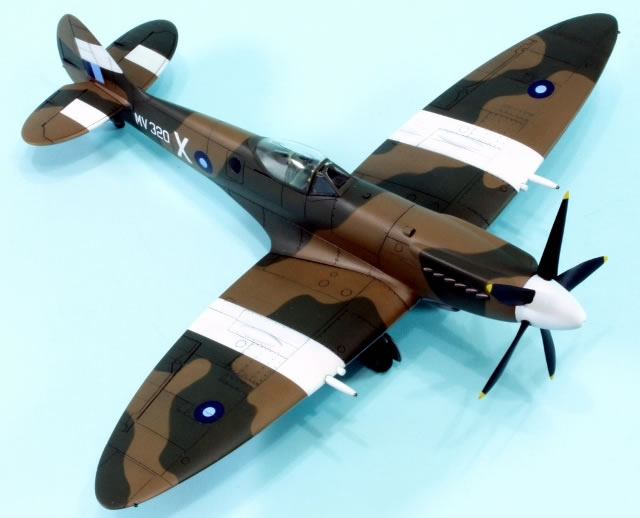
Now I was ready for painting. Determined not to repeat my Super Hornet painting disaster, I didn't wash the model, and instead rubbed it down using a piece of cloth dampened with Mr Leveling Thinner (avoiding the areas treated with Mr Surfacer). The primer coat was well thinned Mr Surfacer 1000, and seemed much more durable than last time. In fact, I experienced no lifting of Mr Color paints for the first time with this build; maybe it was a washing problem before. I like preshading, so this time did the usual black preshade over panel lines, but also masked off some complete panels to get some more interesting tonal variation.
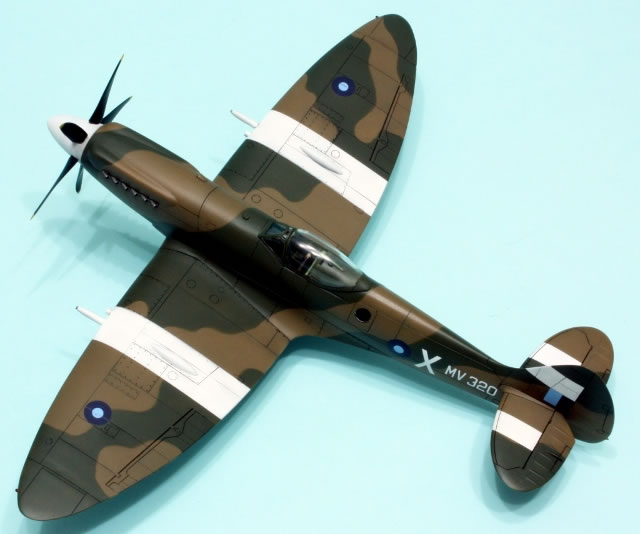
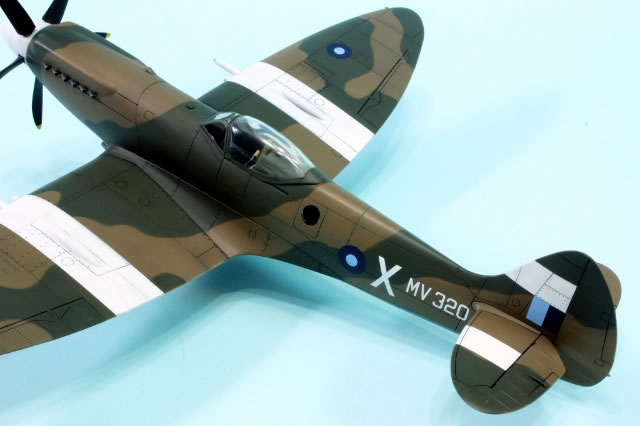
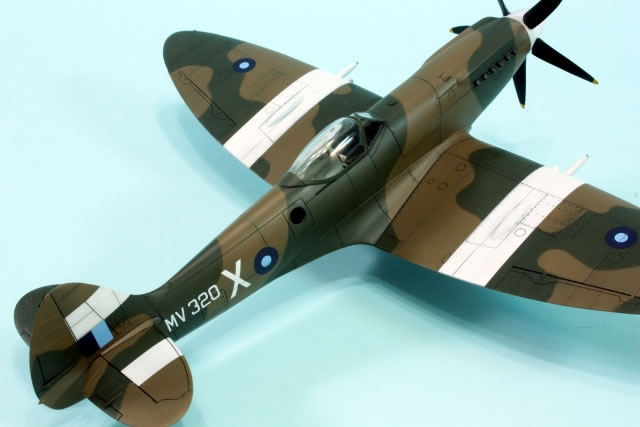
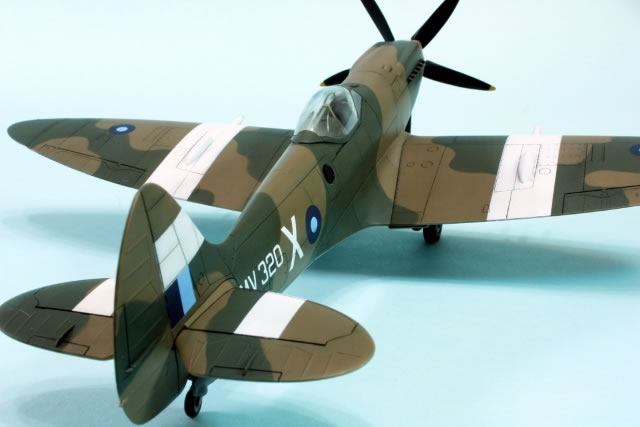
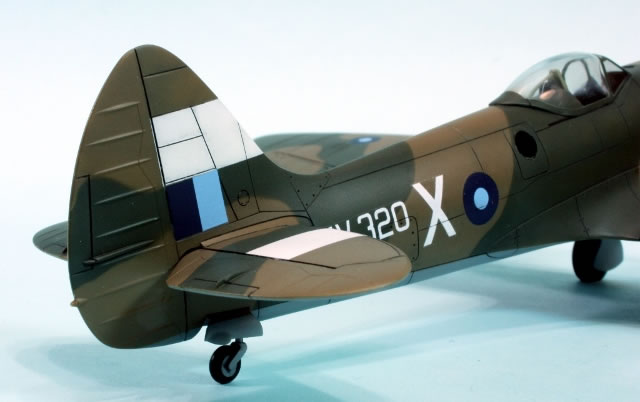
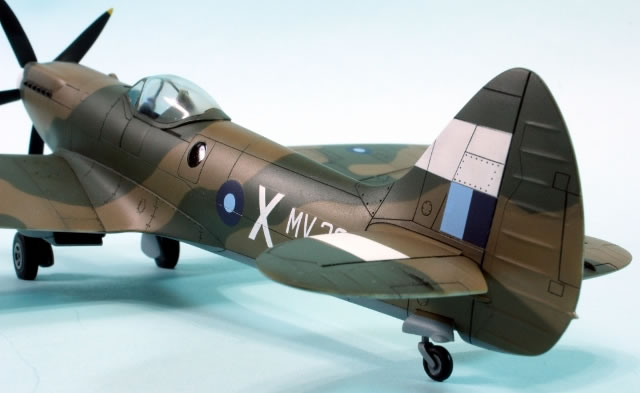
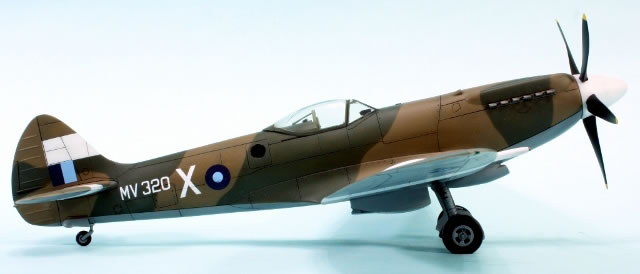
The underside Medium Sea Grey went on first, again Mr Color (335). Once on, this looked rather dark and I spent some time on the web looking at colour chips on places like Cybermodeler. In the end, I decided it was ok; the colour matches the various chips I found quite well, but is darker than I expected. I masked this off using Tamiya tape and then sprayed the Dark Earth (369) according to the camouflage pattern. Unfortunately the Aeromaster instructions only give the starboard pattern, but I figured out that many Spitfires seem to have a common pattern and used some online instruction sheets from Freightdog to help me determine what should be green and what should be brown on the port side. Once I'd figured that out, I masked the brown using rolls of blu-tak infilled with masking tape, and sprayed Dark Green (Mr Color 330). The masking was removed and I was satisfied.
I then masked off the wings and tail for the ID stripes, which were in Mr Base White 1000, and also painted the spinner. I think the bands around the tail are not quite the correct width; I believe they're a little too wide. Once the masking was off the whole lot was sprayed with a coat of Johnson's Klear in preparation for the oil wash.
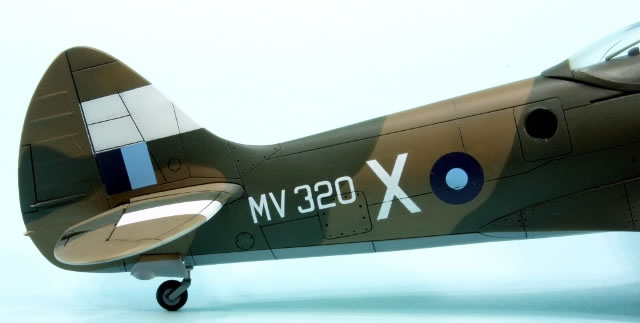
Paynes Grey oil paint thinned with lighter fluid was applied as a pin wash to all recessed detail, left a couple of hours and then wiped off. I skipped another gloss coat (a mistake, it would turn out) and went straight to decalling. Received wisdom on the forums seemed to be that MV320 most likely did have stencilling. However, I've had such bad experiences with Academy decals from the era when this kit was released (especially their F-86F) that I really didn't want to use them. Since Aeromaster didn't supply any stencils, I ended up not applying any, and just went with the basic markings.
Because Aeromaster don't give a port profile, I was unsure how the roundel and 'X' code related to each other. There is a drawing in the instructions, but if you follow this you've no idea what to do with the serial. So I just mirrored the starboard side, which is probably wrong. I wish Aeromaster's instructions were a little more helpful! The decals were nice and rich in colour with good register, but wouldn't budge under Mr Softer or MicroSol. They would reveal some nasty silvering after the matt coat (a mix of Vallejo matt and satin) was applied. I shouldn't have skipped the extra gloss coat! In the end I tried to minimise the silvering by gently jabbing the decals with a pin and scalpel blade and repeatedly applying decal softening solutions. This helped but didn't resolve the problem completely.
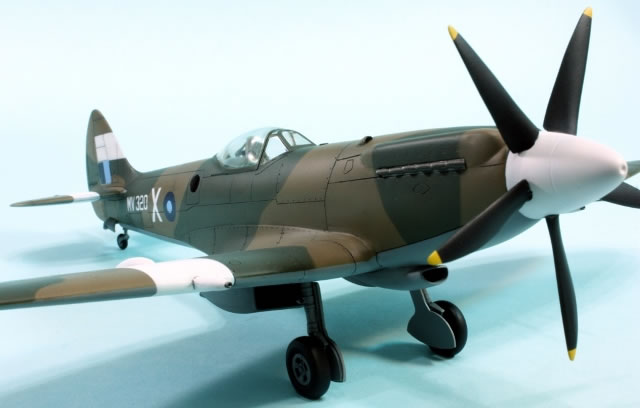
All that remained was to attach all the other pieces: undercarriage, tail doors, radiators, exhausts (painted with Alclad Steel), spinner and props. I actually do this before the matt coat so that everything has the same sheen and any little glue marks are made invisible. One of the undercarriage legs attached very positively at the right angle, so I glued that in first. The other one wobbled around all over the place, so I used some blocks to hold the wings level and then glued the second leg in using epoxy cement to give me time to adjust it to the correct position. The wheels were stuck on last to ensure the flats (moulded onto the kit wheels) were in the correct place.
The final task was to remove the canopy and camera window masking, and see that disappointingly cloudy canopy. Oh well. I was pretty pleased with the rest of it.
Overall the Daco set does improve things, but from the side this Spitfire still looks a little fat. I'm sure there are all kinds of other errors, but I'm very pleased to have added this plane to my collection.
Thanks to those who responded to my questions, especially Edgar.
Model, Images and Text Copyright ©
2011 by Jon Bryon
Page Created 13 June, 2011
Last Updated
13 June, 2011
Back to
HyperScale Main Page

|
 Home
| What's New | Features | Gallery | Reviews | Reference | Resource Guides | Forum |
Home
| What's New | Features | Gallery | Reviews | Reference | Resource Guides | Forum |