Trumpeter's 1/32 scale
Douglas SBD-5 Dauntless
by Matt Odom
|
|
Douglas SBD-5 Dauntless |

Trumpeter's 1/32 scale SBD-5 Dauntless is available online from Squadron
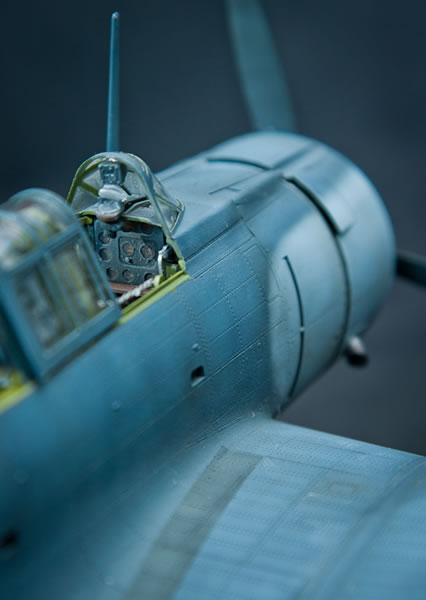
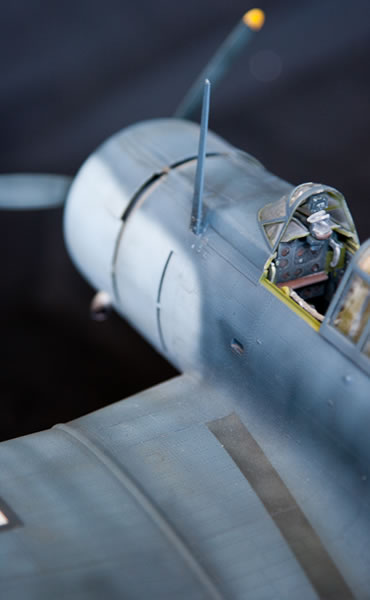
I sit here at my computer, a long arduous road of modelling now behind me, and I struggle to write this article. I struggle not to start off with a terrible pun using alliteration and the name of the aircraft I just completed, I struggle to not sound like I’m complaining about the kit, I struggle not to sound as if I had a miserable time building this model. Truth be told I had a great time building Trumpeter’s SBD-5 Dauntless, it is no fault of the kit that it happened to appear during a stressful time in my life and as such took me four years to build (give me a break, I completed four other kits in the interim okay?)
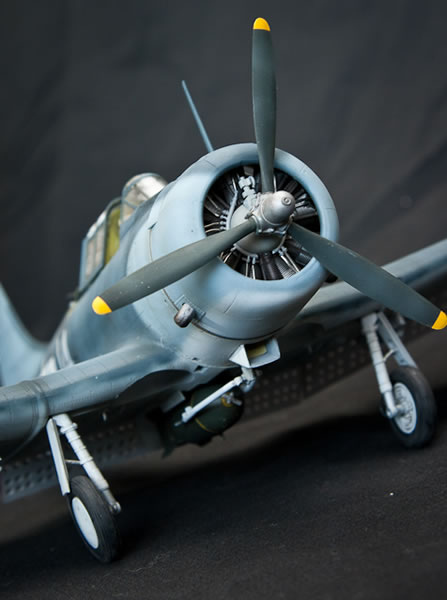
Trumpeter deserves credit for releasing subjects in a large scale which have been obviously highly sought after and ignored for years by other manufacturers. That said they do have their faults, their quirks and some days sitting down at the workbench yields total disaster. Their SBD-5 kit is no different in that respect than the others I’ve built, but at the end of the day I have a gorgeous 1/32nd scale Dauntless on my shelves – and my collection is all the better for it.
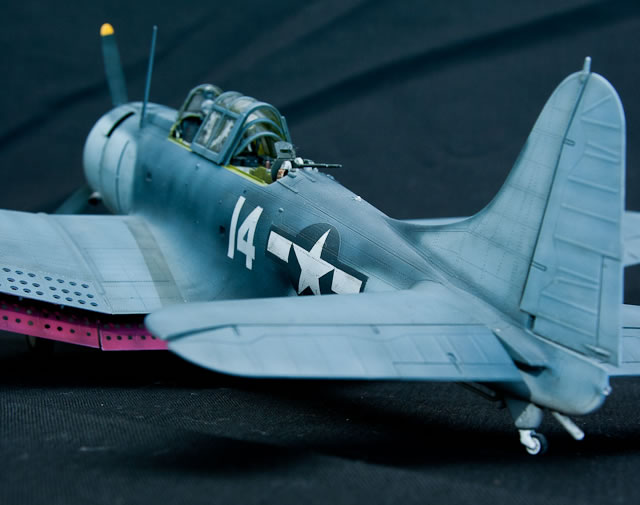
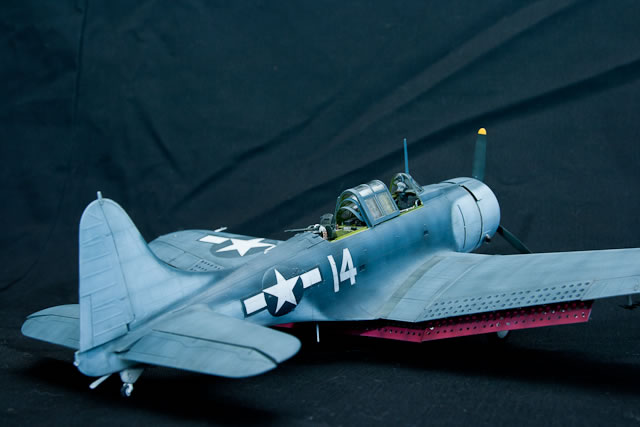
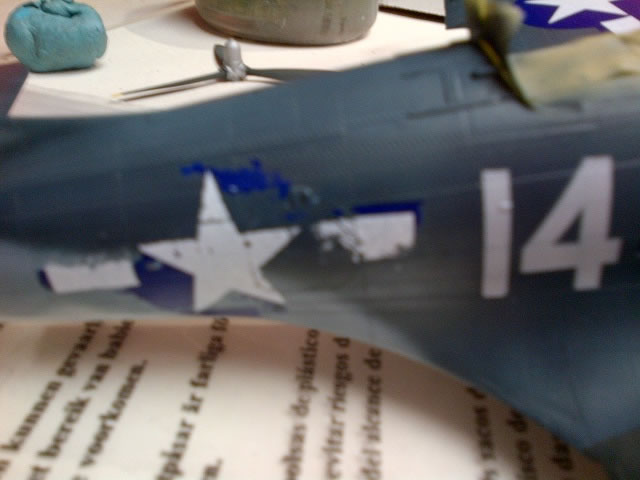
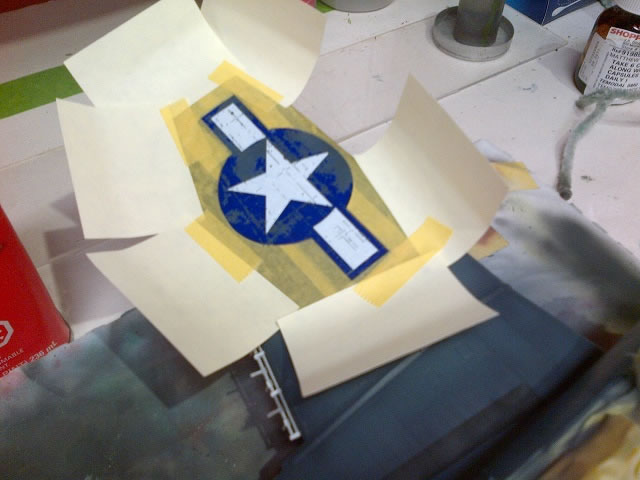
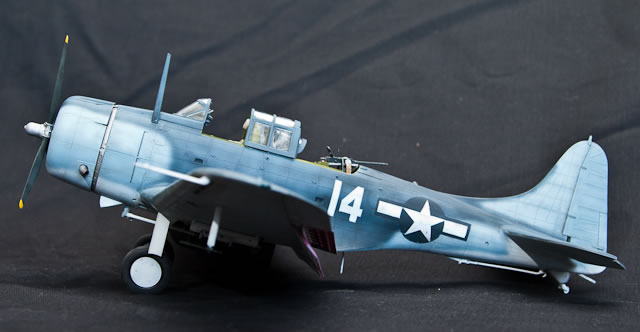
Disaster did strike several times while building this kit however, first the wings didn’t fit (a common issue with this kit from what I understand) and several other bumps along the road, but by far and away the worst was the kit supplied decals. Having chosen to build White 14, an SBD-5 off of the USS Yorktown during raids on Wake Island, I had already masked and painted the aircraft’s call number. Happy with the results I used the kit-supplied water slide decals, they were settling down well I thought, so I left the model and returned in the morning – to a horrific sight. I don’t know what went wrong, or where, but all the decals had disintegrated, shattered like glass pierced by a bullet. Those decals that didn’t shatter had either changed colour or gone transparent. Normally I would suspect the decal solvent, but I had used Micro Set and Sol – relatively mild, and I had used these bottles before without issue.
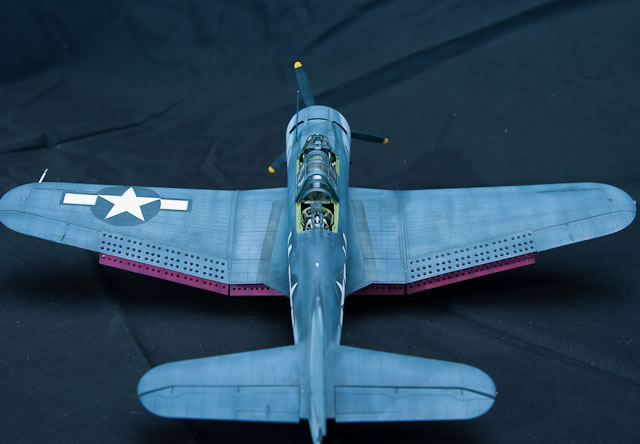
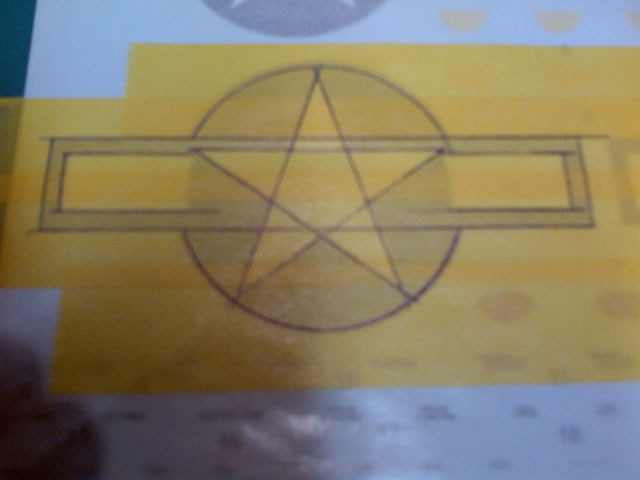
I quickly decided that I had no choice but to mask and spray the national insignia, it was the most logical solution. I found some in my spares box the right size, placed Tamiya masking tape on waxed paper, taped the paper to the table with the decals I was using for size reference in behind, and drew the markings out. Several hours and some colourful language followed, but the end result is a Dauntless with all of its markings painted on – how very prototypical of me!
Trumpeter Quirks
I’ll take a quick second to point out the oddities of Trumpeter’s SBD-5, hopefully save some of you some time on your own builds.
-
Wings – the wings don’t fit, they just don’t. I had to shim with styrene on both sides where the upper wing meets the fuselage, I know this is a common problem so think of this as a friendly reminder.
-
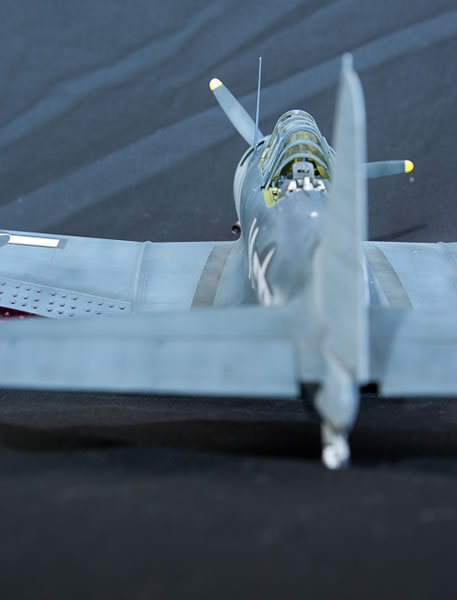
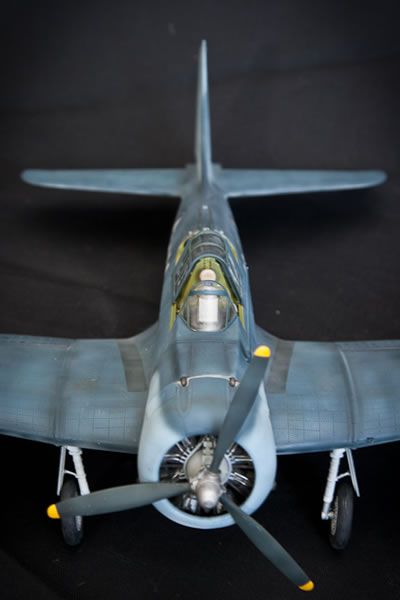
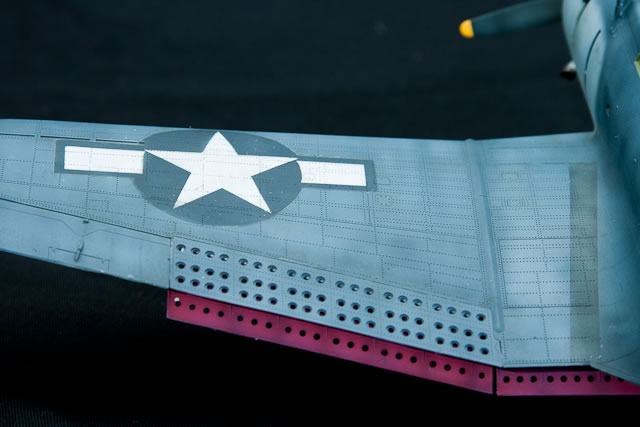
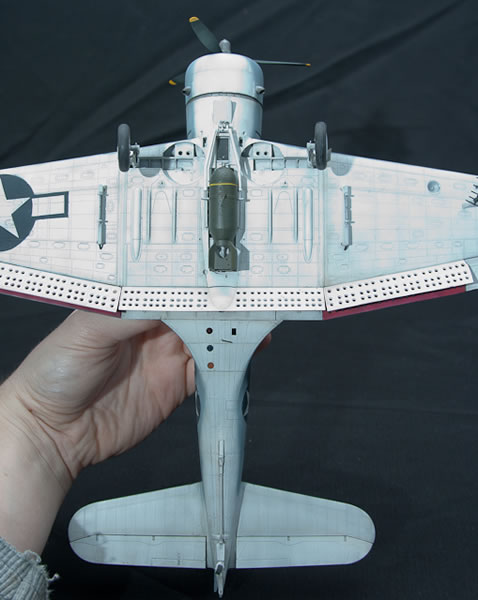
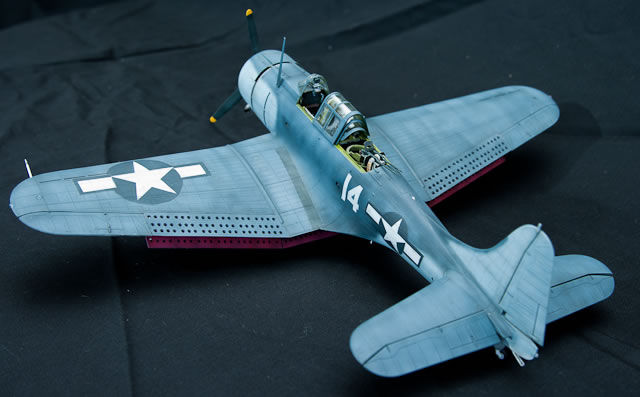
Dive flaps – as everyone has done before them, Trumpeter has molded the dive flaps in the in fully extended position – which is to say the top flaps are open as well as the lower flaps. This is only how an SBD would appear in a dive. I chose to modify mine to the appropriate position with the top flaps flush with the upper wing, and the lower flaps deployed.
-
Decals – be careful when following Trumpeter’s marking guide, in my copy some of the numbers for the national insignia were mis-matched, so make sure you have the right sized decal ready for the right locations (seems to me it was the two on the fuselage for which they had written the wrong number, which correlates to a much larger star and bar.)
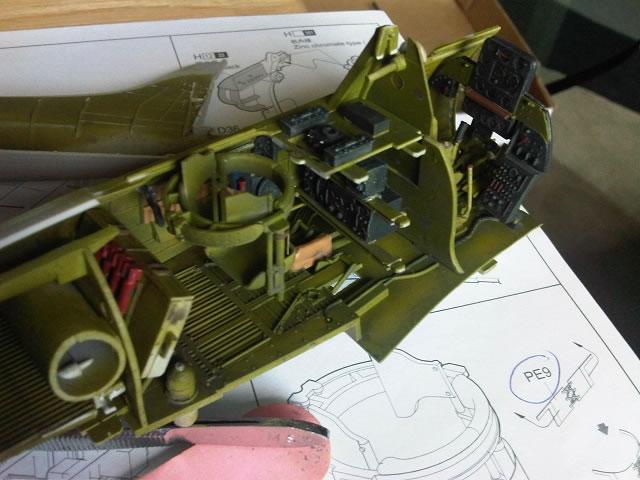
- Control stick – the Dauntless has a crude set of flight controls in the rear cockpit, the thought being that should the pilot be wounded, the gunner could assist in flying the aircraft back to the carrier. Trumpeter has provided the spare control stick in its stored position against the side of the cockpit in the rear, as well as being molded in place on the rear boot – choose one or the other.
-
Rear guns – I didn’t notice until it was too late, Trumpeter molded both the clamshell doors used on the earlier single mount, and provided photoetch for the sliding doors on the side. SBD-3’s may very well have both as they could by retro fitted with the sliding doors for the dual-mount rear guns, but typically the SBD-5 would have only the sliding doors (as best as I can figure from my references) so keep this in mind – if you fill the clamshell doors, make sure to eliminate the foot-pedal on the floor which the gunner would have used to open the clamshell.
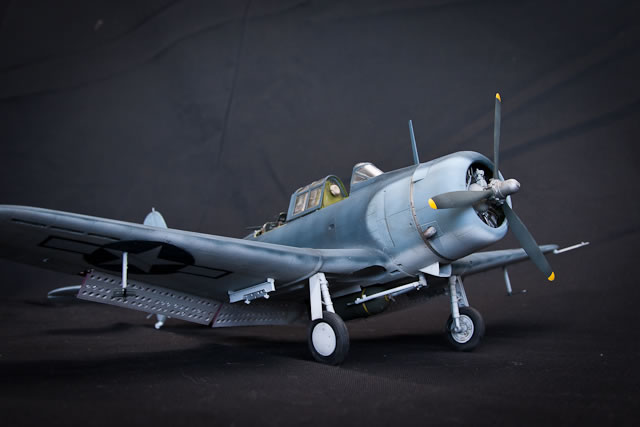
So all in all it was a lot of work – about 200 hours I think, but it very much looks the part and I would certainly build it again….if I didn’t have a closet full of other models to construct.
Off to the workbench to resume work on my next project – stay tuned! Happy modelling.
Model, Images and Text Copyright ©
2012 by Matt Odom
Page Created 30 April, 2012
Last Updated
30 April, 2012
Back to
HyperScale Main Page

|
 Home
| What's New | Features | Gallery | Reviews | Reference | Resource Guides | Forum |
Home
| What's New | Features | Gallery | Reviews | Reference | Resource Guides | Forum |