Eduard's 1/48 scale
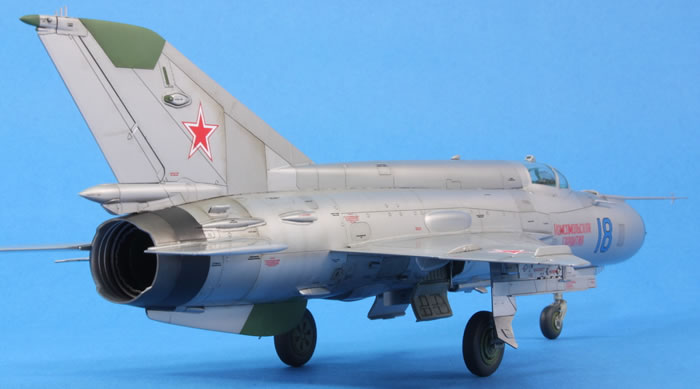
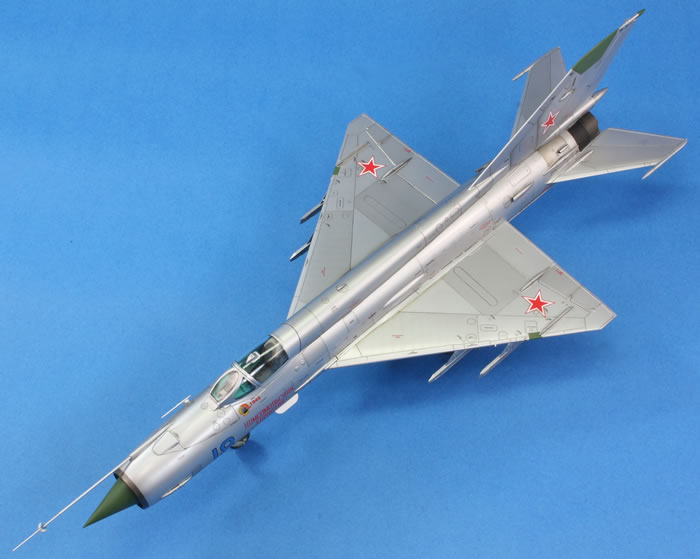
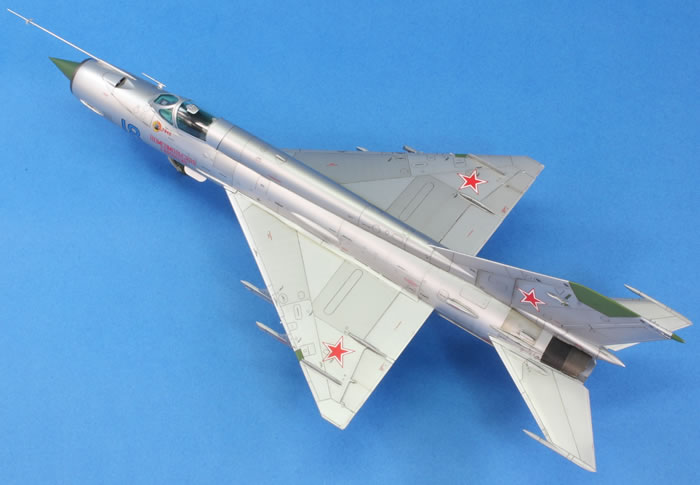
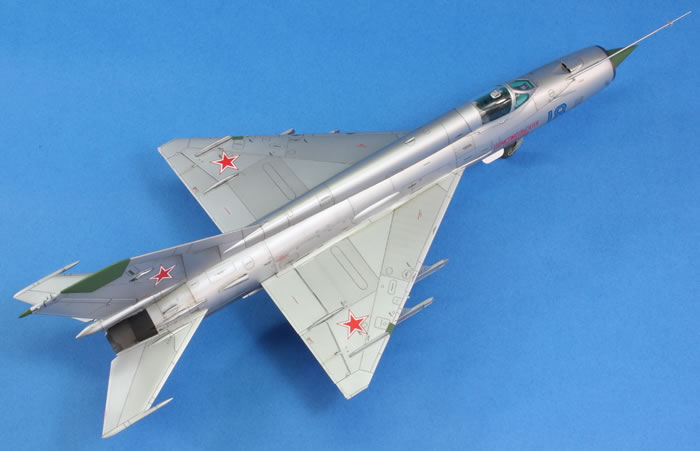
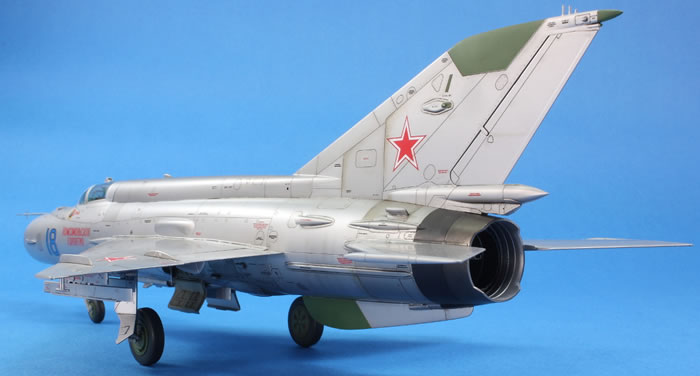
Mikoyan-Gurevich MiG-21SM 'Fishbed-J'
by Jon Bryon
|
|
Mikoyan-Gurevich MiG-21SM 'Fishbed-J' |

Eduard's 1/48 MiG-21SMT/MT Weekend Edition
is available online from Squadron.com for only $31.99!
It was all really an accident. All I needed was one Eduard MiG-21. And so it was that shortly after this superb kit (and don't let anything I might write below dissuade anyone from thinking this is a *superb* kit) was released in 2011 a copy of Eduard's MiG-21MF was purchased with the intention of making a Soviet SM.
Fast forward three years and I was chatting with my friend Alan at the North Military Modelling Group's show in Sutton, when he very generously presented me with an Eduard MiG-21R as a gift. I had previously mentioned how I coveted this version and thoroughly looked forward to building it as a Soviet NMF example alongside the SM. All far so good; I've built plenty of aircraft in the past in pairs and thoroughly enjoyed it. But I've only ever built three of a kind in one go (using Hasegawa's excellent 1/48 A-4 kit) and had no plans to ever do it again.
In late 2014 I was building Trumpeter's MiG-15UTI and had ordered a resin replacement tail from Cold War Studios in Bulgaria. Somewhat surprisingly it wasn't a MiG-15 tail that fell through my letterbox one day, but their MiG-21bis resin correction set to replace the inaccurate nose for Eduard's MiG-21bis. A quick email exchange later established that I could keep this for free and the MiG-15 tail arrived shortly afterwards. Now I felt obligated to get an Eduard MiG-21bis!
Thus, after completing Trumpeter's MiG-21F-13 in my current series of MiGs, I had three Eduard MiG-21s to open on the workbench. All three needed new decals to make the NMF Soviet MiG-21s I desired and Begemot's MiG-21 set managed to provide suitable markings for the SM and the bis. No one, as far as I can tell, makes suitable markings for the R (although Linden Hill appear to come close) and so I'd be on my own here.
What follows is a general description of building the kit and the finishing process. Some more specific comments are on the individual pages for the relevant kit.
Eduard's MiG-21 series is, in general, extremely comprehensive. There are tons of parts, most options are catered for, the moulding quality is good and (with the exception of the bis) they have been well received in terms of accuracy. There is some wash out of the recessed detail as it gets towards the edges of highly curved parts, such as where the fuselage halves meet, and whilst a pain, this is a problem that afflicts many kits from many manufacturers.
The plastic also gets quite rough in some parts which purists will want to polish out for a NMF finish. I hate doing this, so I didn't. The canopy parts weren't that clear with quite a lot of distortion from what looked like moulding flaws in most of the main canopy mouldings. Fortunately, because slightly different canopies are used and provided, I managed to get three good ones between the three kits. The fit is, in general, excellent, and it was genuinely a pleasure to be sticking all the parts together; many of them fit very positively and with great precision.
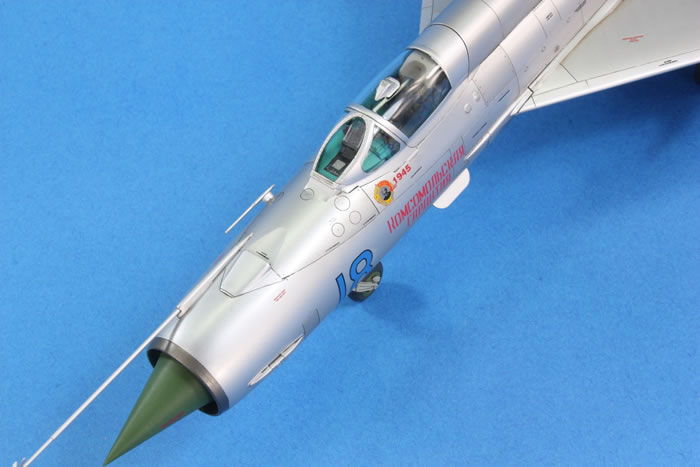
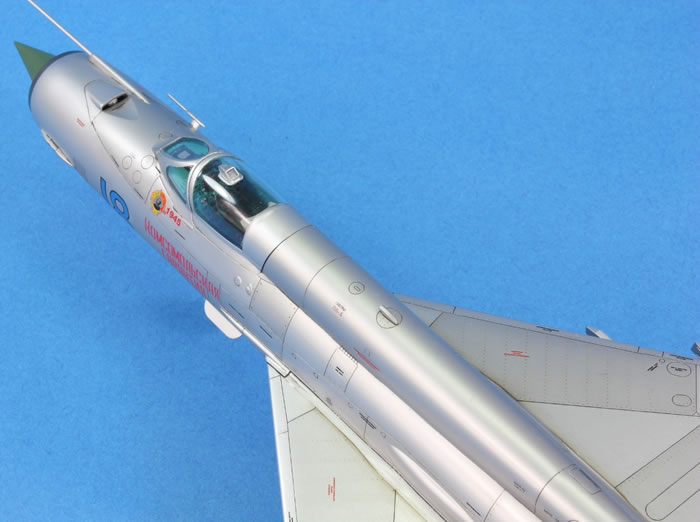
In terms of the MiG-21SM pictured here, I had the ProfiPack version with photo-etched parts and die-cut masking. These are, for my purposes, a mixed bag. The PE cockpit is beautiful and I enjoyed putting it together. I followed Eduard's suggestion from their later instructions that the cockpit be painted 60% Mr Color 34 + 20% Mr Color 66 + 20% Mr Color 80, which whilst not a perfect match for the pre-painted PE, was absolutely close enough for me. Some of the other parts are useful (the internal engine detail); others are essential (the pitot vanes); others far too fiddly for me to bother with (the wing fences); and others just too two-dimensional (the three rods antennae). So most of the non-painted fret wasn't used, but it was nice to have. The masks are accurately shaped but disappointingly poorly cut. Given the retail cost of these I'd have been cheesed off if I'd bought the mask separately.
I've noticed that other Eastern European manufacturers also suffer from this problem, such as Maketar. Japanese companies (such as GSI Creos) seem to use better quality cutters so that the masks don't tear when removed from the backing. On the other hand, the results on the SM are better than when I used my own homemade masks on the bis and the R, so I can't complain too much!
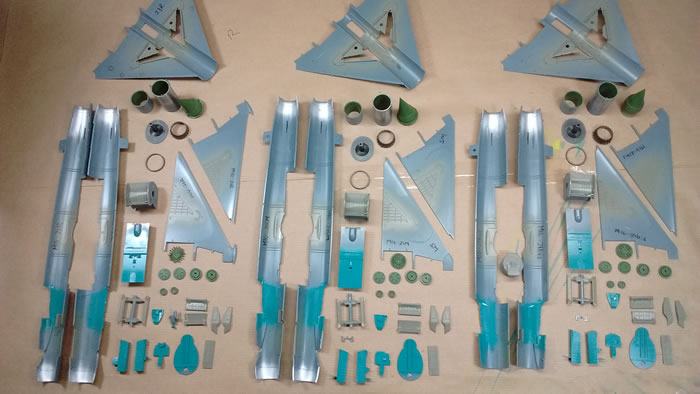
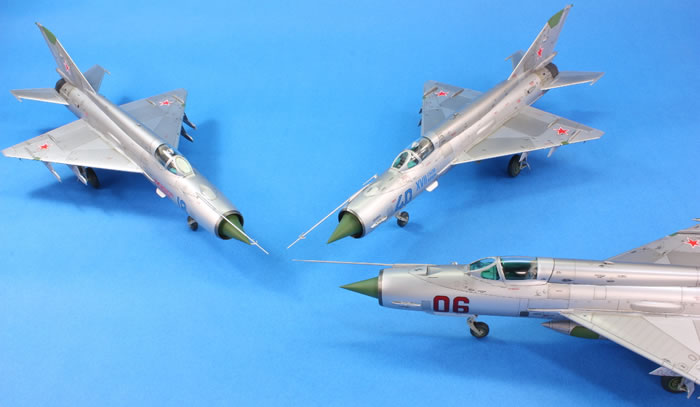
Three MiG-21s with lurid blue/green interiors.
The kit goes together without any great drama and I followed the instructions pretty closely. I used superglue to assemble all the major components to aid seam removal, but the kit is very nicely designed so that the majority of the fuselage seam is covered by the tail, spine, ventral fin, and so forth.
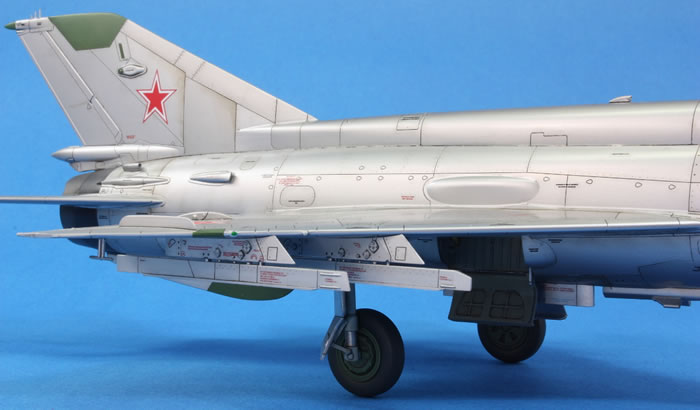
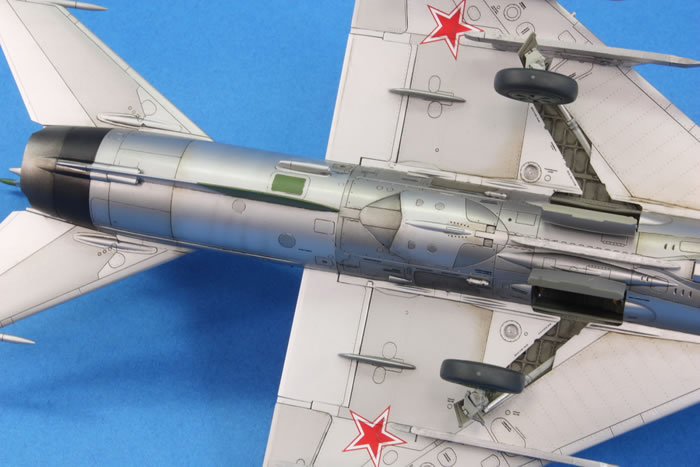
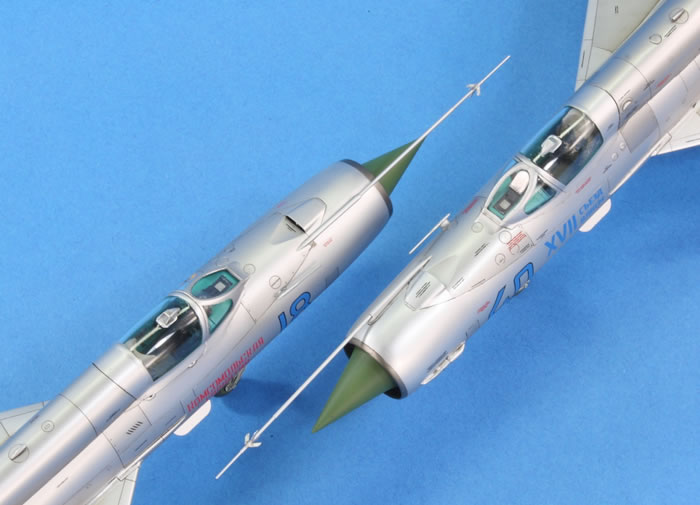
The various intakes were all drilled out, including those at the base of the ventral fin. As I already mentioned, I used the plastic wing and fuselage fences, rather than the PE versions, just because they would be much more robust. I am grateful to Eduard that the airbrakes are all moulded in the closed position, which made building a clean airframe infinitely easier than fitting inserts. The three rods antennae were built from brass wire, sacrificing accuracy for durability. I cut off the front of the nose-mounted pitot and rebuilt it using Albion Alloys brass tubing so it could be fitted at the end. It never looks quite as neat as the moulded plastic on a MiG-21, but I didn't want to add the whole thing after painting and adding it beforehand would only result in me snapping it off.
The fit is good, but not perfect. I had particular trouble with the closed canopy and I'm pretty unhappy with how that turned out. The windscreen stood proud from the fuselage. In retrospect I wish I had spent time dealing with this, but it would involve some tricky building up of the upper nose cover with Milliput ahead of the windscreen and then some careful rescribing. I just didn't fancy doing that three times.
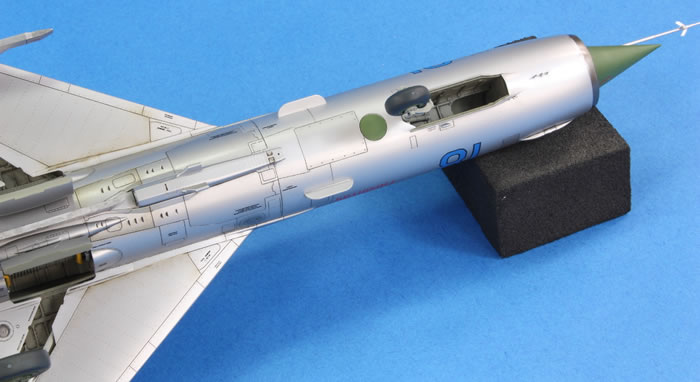
Primer is Mr Surfacer 1000 put through my Iwata RG-3, and the main finish is Mr Color 8 Silver, similarly put through the RG-3.
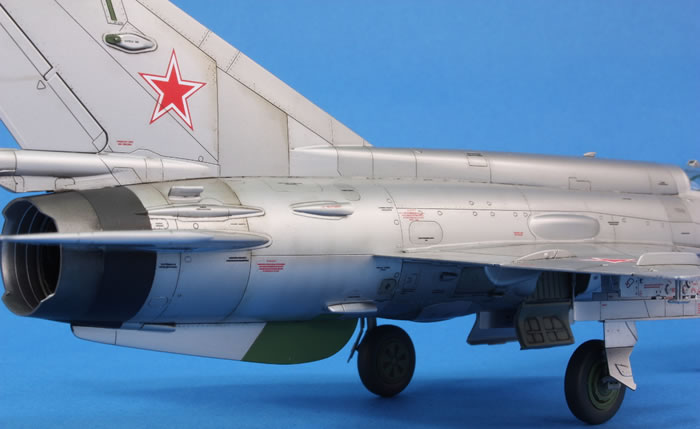
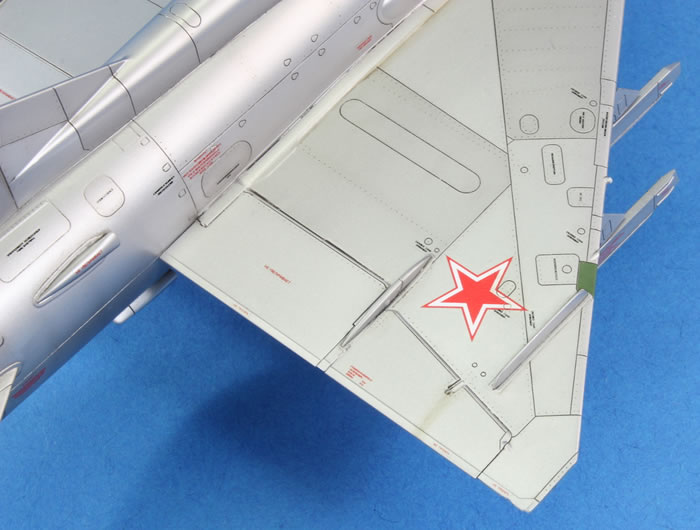
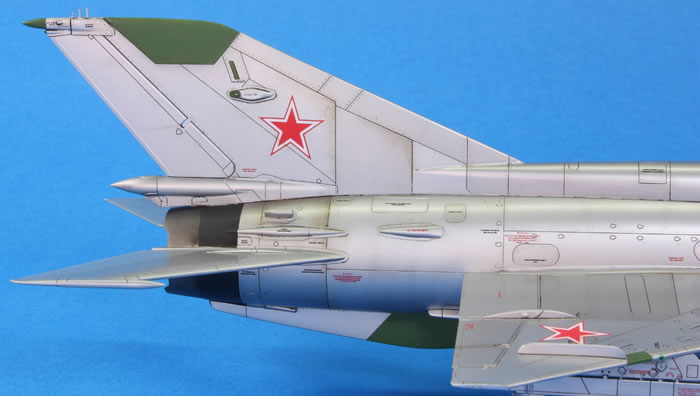
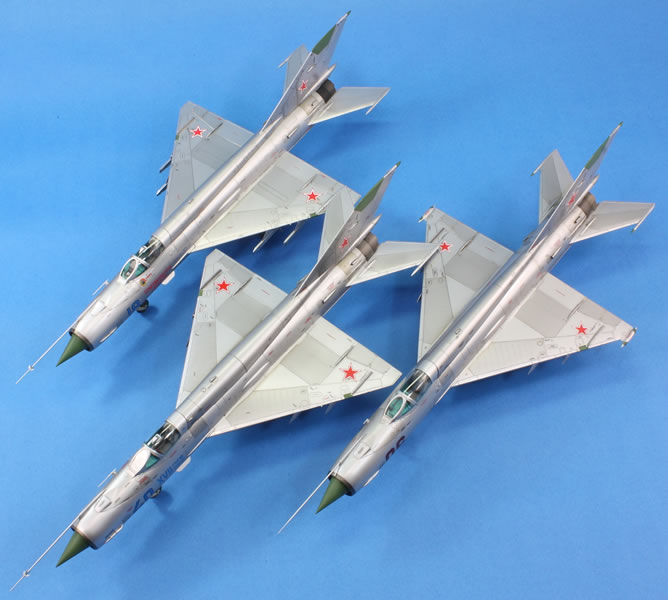
Masking. Oh my word. I must have spent 20+ hours masking the regular silver to add a darkened tone (an inexact mix of Mr Color 8 Silver and 28 Steel, which I varied for each airframe). The panel to panel variation is very predictable on NMF MiG-21s and becomes immediately obvious when you start looking at photos. Unfortunately, none of the panels are simple. Everything is either curved, or a complex geometry or protruding. It's a masking nightmare, and I've now done it four times. Never again! The effect though is, in my opinion, rather impressive once done.
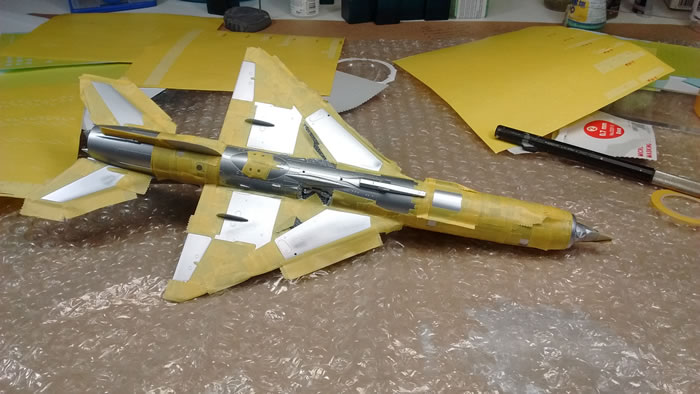
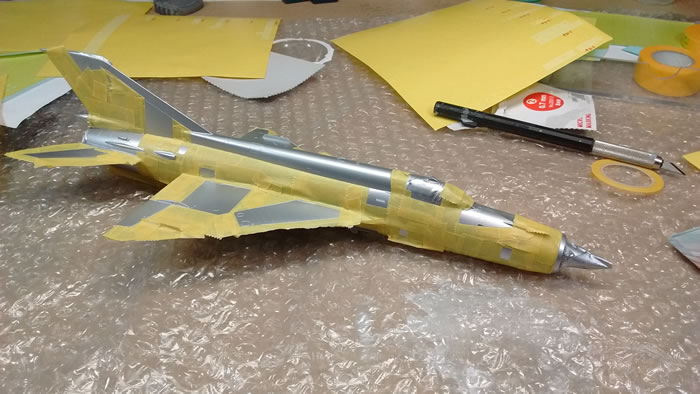
Not fun. Each airframe took about 8 hours to mask for the darker shade of aluminium. It's a necessary task which pushed my patience to the limits on this project; I've done this four times now and have no desire to do it again...

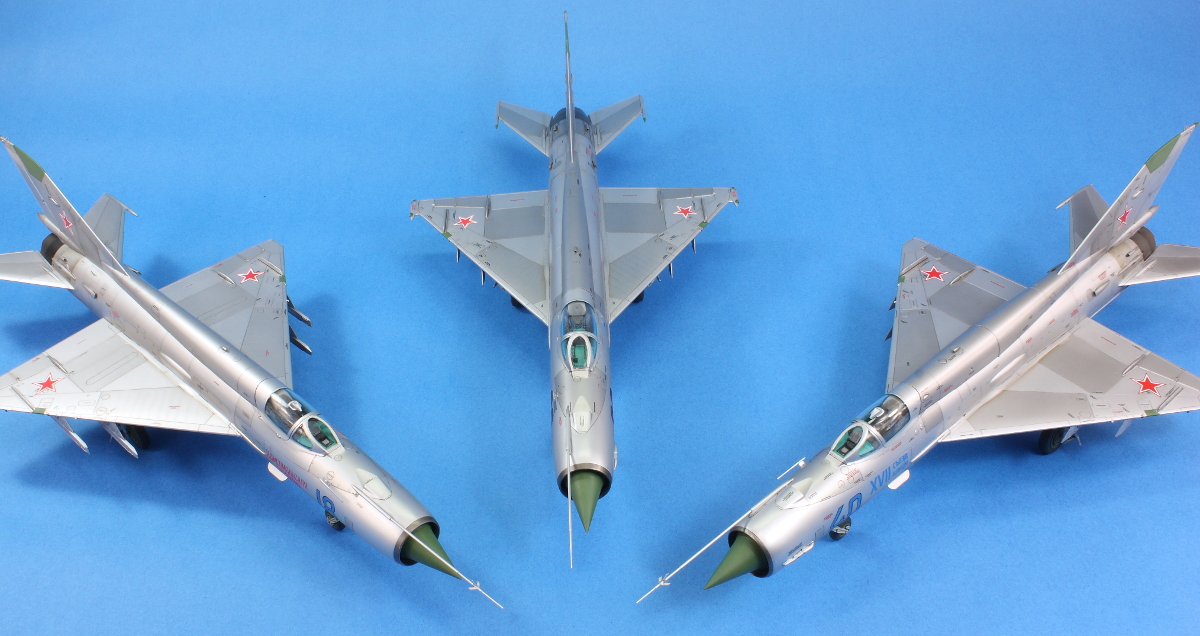
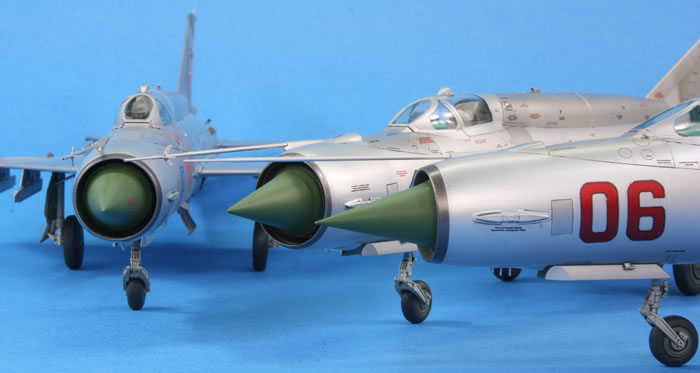
Masking removed from one MiG-21.
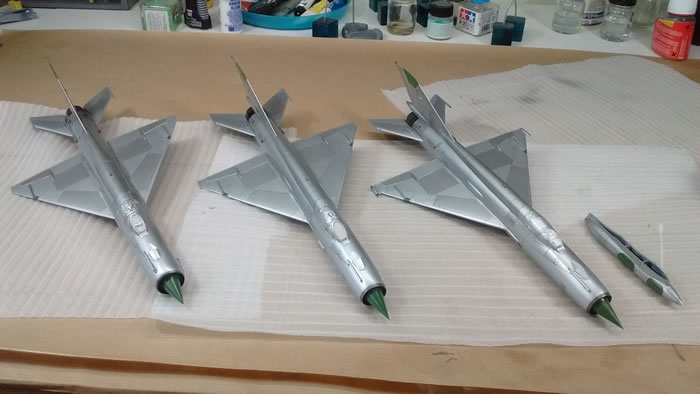
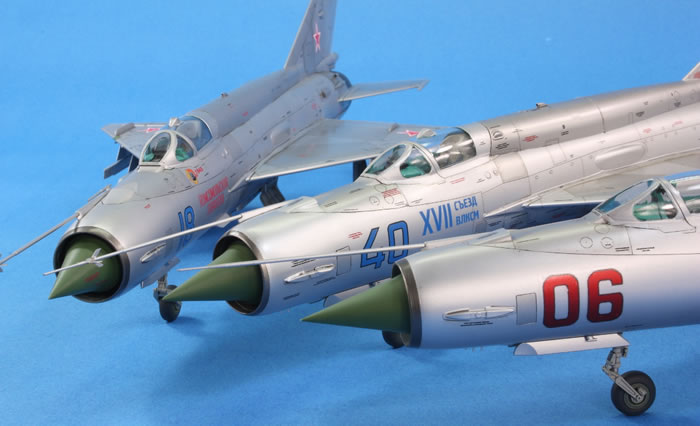
Caption: It may have been a pain, but the end result is kind of cool! Note the difference the Cold War Studio nose makes to the MiG-21bis (which, if you can't tell, is the one on the left).
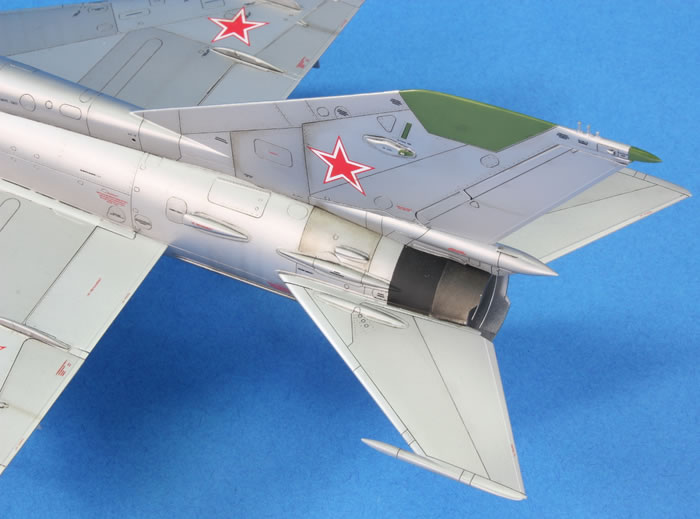
On this model I had a go using Alclad Jet Exhaust for the darker panels near the end of the airframe. I was somewhat disappointed as this is basically just black with the tiniest hint of a metallic sheen. It didn't look anything like the Jet Exhaust they had on their website and I bought from them direct! The other engine panels on these models were variously finished with Alclad Steel, Magnesium, Magnesium mixed with Pale Burnt Metal, and Mr Color 61 Burnt Iron.
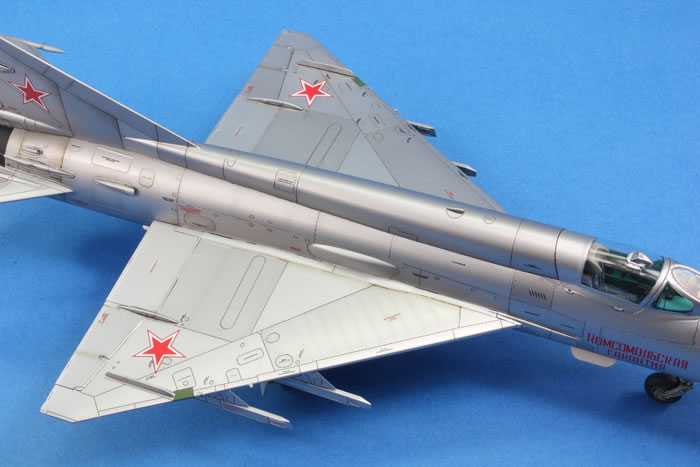
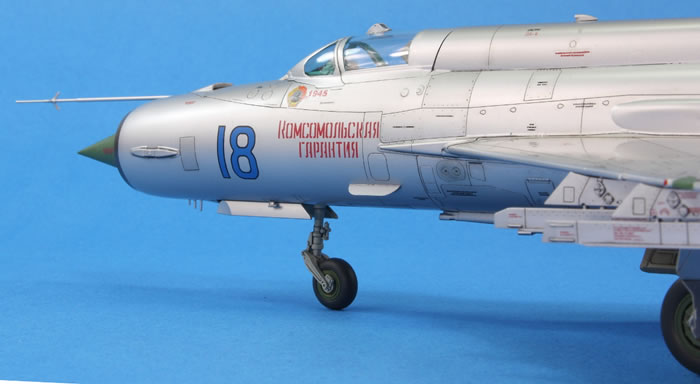
The decals for this aircraft were cobbled together from various sources. Having already purchased two sets of Begemot stencils, I couldn't stomach the cost of buying more, and used the Eduard stencilling. This is well printed, but Eduard have made some weird cock-up with the Russian stencils; if you look carefully you'll see the images have been printed on top of one another and are much less clear than the Czech stencils. In fact, Eduard don't draw your attention to the fact that for each stencil (well, most of them) there is a Russian and a Czech version, yet they share the same decal number. Make sure you use the correct ones! The main markings are from the Begemot MiG-21 set
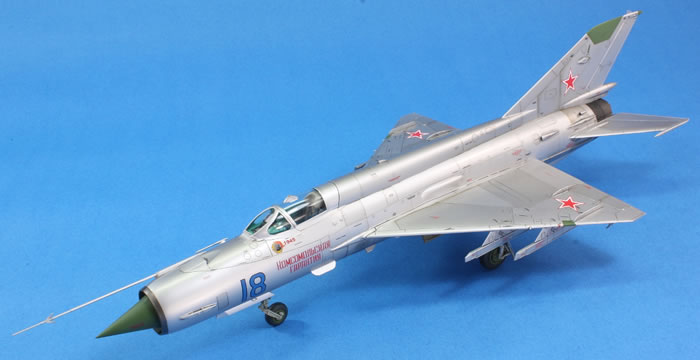
I have made three options from this sheet but they only give you enough stars for one. In this instance, since the stars in the kit lack the outer red border, I had to use some from a CAM decals MiG-29 sheet that had them in the correct size. All of these decals worked very well over a generous puddle of Mr Setter. I am confused over the colour of the '18'. On Begemot's website there's a scan of the decal sheet and it's a red '18'; on the one I received and used, it's blue. Who knows what the correct colour is? I also have doubts that this marking scheme is from 1974 since that's when the same unit was using the MiG-21bis, but if anyone can confirm the date, I'd be most grateful.
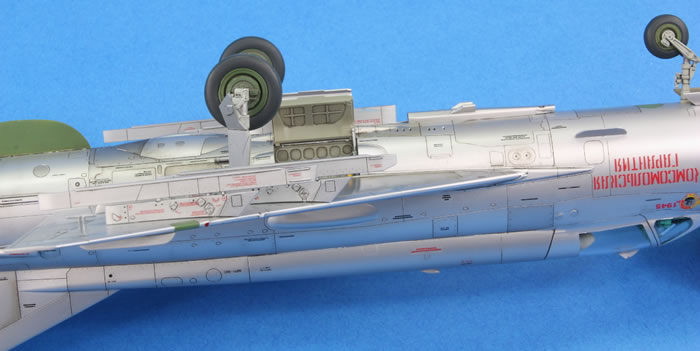
The weathering is mostly oils, with a pin wash using a black and medium grey mix. For the first time ever I used oils directly to shade different panels. I can't say I made a great job of this, but I can see the potential and shall try it again.
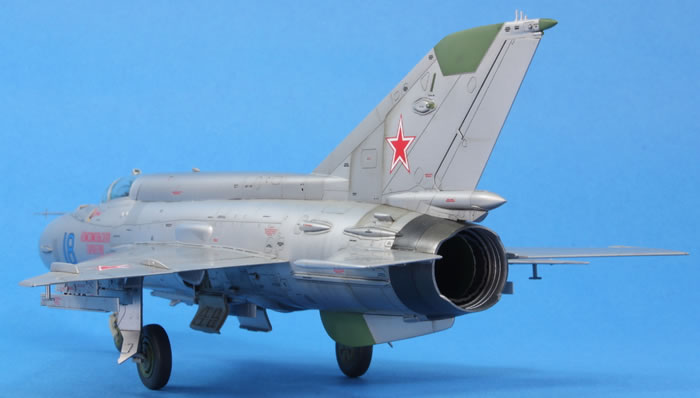
Final construction is straightforward aside from the usual cursing as I try and attach undercarriage doors and, in this case particularly, the actuating rods for said doors. Eduard are to be commended for absolutely fantastic locating lugs for the main undercarriage legs. After struggling with wobbly landing gear legs on Trumpeters MiGs, it was a relief to simply plug them in and forget them. They don't even need glue. The same can be said for the smaller pitot mounted on the starboard side of the nose: a huge lug that locates very positively and meant glue was unnecessary. However, to my eye, the angle of the pitot isn't quite right and points downward a bit too much.
The Eduard MiG-21 is an amazing kit. If it weren't for the pain of masking that NMF finish I would seriously consider building a second generation example or an SMT.
My assessment of it has suffered slightly because I built three in one go; inevitably doing everything three times does suck a little of the fun out of it and in my desire to avoid getting bogged down I cut a few corners: the homemade decals for the MiG-21R are awful, and some of the work is just not as neat and tidy as I would usually make it. But what it cost me in fun and quality is more than made up for by the quantity: I now have a MiG-15, 17, 19 and four MiG-21s on my shelf, all in aluminium, and as a collection they look great.
To see more model build articles like this, please visit my website: www.jonbryon.com/model_index.html
Text and Images Copyright ©
2017 by Jon Bryon
Page Created 15 February, 2016
Last Updated
15 February, 2017
Back to
HyperScale Main Page

|
 Home
| What's New |
Features |
Gallery |
Reviews |
Reference |
Forum |
Search
Home
| What's New |
Features |
Gallery |
Reviews |
Reference |
Forum |
Search