Eduard Overtrees 1/48 scale
Messerschmitt Bf 109 G-14
by Floyd S. Werner Jr.
|
Messerschmitt Bf 109 G-14 |

Tamiya's 1/48 Kawasaki Ki-61 Hien is available online from Squadron
Item Reviewed: Bf-109G-14 Overtree
Reviewed by: Floyd S. Werner, Jr.
IPMS#: 26266
Scale: 1/48
Review Subject: Aircraft
Type of Review: Kit
Product / Stock #: 82118X
Price: $19.95
Company Provided: Eduard
Web Site: www.eduard.com
Product Direct Link Web Page: https://www.eduard.com/store/aircraft-and-helicopters/1-48/bf-109g-14-overtrees-1-48-1.html?lang=1&cur=2
Product provided by: Eduard
Web Site: www.eduard.com
To say that I have a few 109 decals is an understatement. I needed to use some of them. The Overtree kits are a good place to start. The Overtree kits are basically the same kit as the ProfiPack without the decals, instructions, masks or photo etch fret. Old school modeling at its finest. The instructions can be downloaded from the Eduard website. The selling point is that it is inexpensive alternative, but can it be built up as nice as the ProfiPack? Let’s see
With the Overtree kit I wasn’t constrained by limits of what is in the kit so I wanted to explore the late war colors which is a nice change from the common RLM 74/75/76 mid-war paint scheme. I picked a JG-5 G-14.
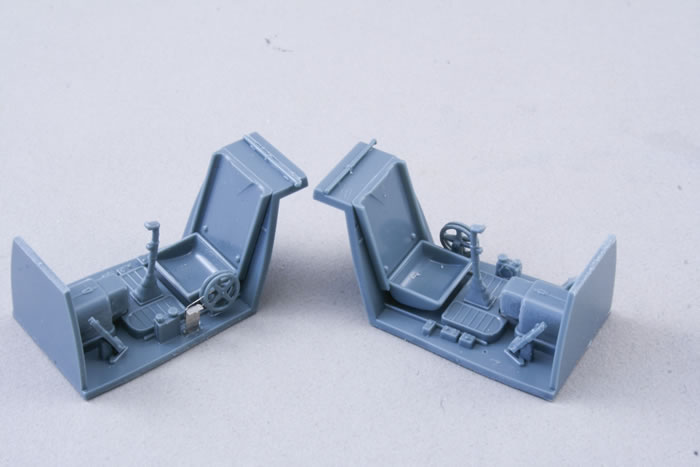
The Overtree instrument panel is quite nice out of the box. Careful painting is all that is required to bring it to life, but I had a pre-painted instrument panel. The same fret that has the instrument panel has the seatbelts. They will be added after the cockpit is painted Tamiya Dark Grey and weathered. The seatbelts are a standout in the cockpit of these models. The seatbelts are beautifully rendered and add a lot to the cockpit look. The whole cockpit assembly was sprayed in Alclad Flat to blend everything together. Then some Krystal Kleer was added to the gauges of both kits to represent glass.
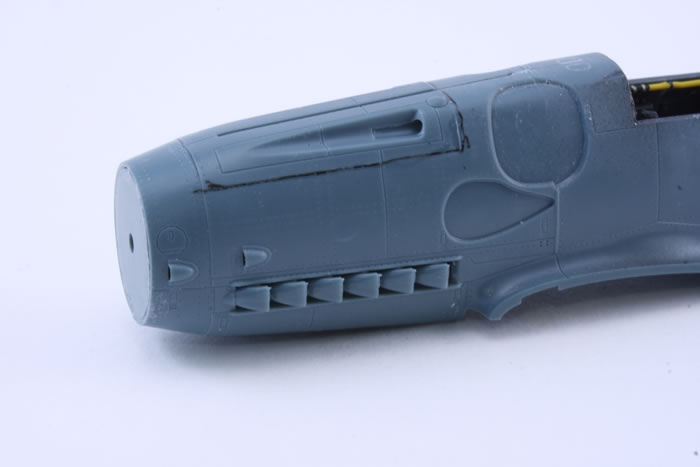
It was time to bring the fuselage halves together. The exhausts are added before they are joined. The ProfiPack has metal shrouds to go over the plastic exhausts and the Overtrees doesn’t, but Eduard provides the modeler with plastic molded shrouded exhausts. While not quite as nice as the plastic/photo etch parts they are quite nice. The upper cowl insert does have to be filled to be proper. Nothing too drastic just a little bit of filling and rescribing.
On my subject aircraft for the Overtree kit, the rudder was the solid plywood style so I needed to remove the detail on the kit rudder. This was shown in the G-14 instructions for one of the subjects. It was easy enough to do. I had to be careful to not sand off the tail light housing.
The wings fit perfectly. I did have to use the FuG-16 antenna (Set 648331) under the wing so that required me to drill a hole. Offering up the wing to the fuselage revealed a beautiful fit. The only place that needs some filling is the V at the back of the wing to fuselage. While I was there I deepened some of the fasteners and elongated the panel line from the wing to the first fuselage panel line.
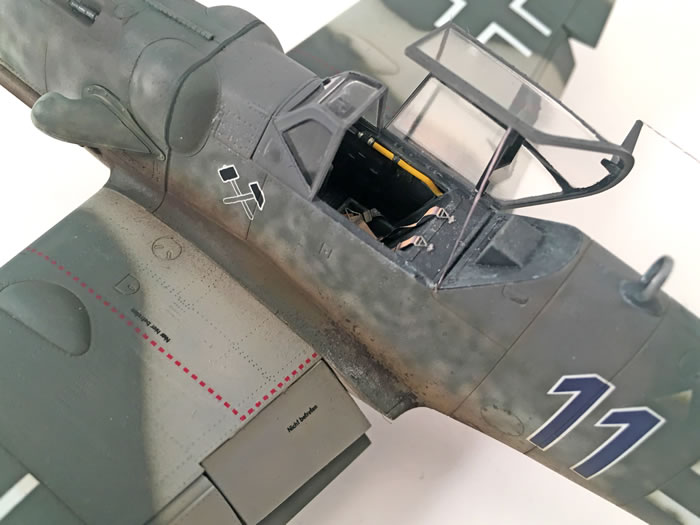
The horizontal tails fit perfect as did the flight control surfaces. Masking up the canopy was easy. I used some Eduard masks to help me along the way. And just like that it was time to paint. The whole model was taped up with Tamiya tape to cover the cockpit area.
The whole model was wiped down with Testor’s Plastic Prep. I painted the canopy with Tamiya Dark Grey then the entire model was given a primer coat of Alclad Grey Primer. Any areas that needed touch up were taken care of. Then Mr. Paint RLM-76/75 and 74 were added. This particular airplane had RLM 77 wings so I used Gunze H332 Light Aircraft Gray, which is a pretty close match. The RLM 74 was sprayed freehand on the wings. I must admit that the new colors were quite nice. A coat of Tamiya Gloss thinned with Mr. Leveling Thinner and it was time to decal.
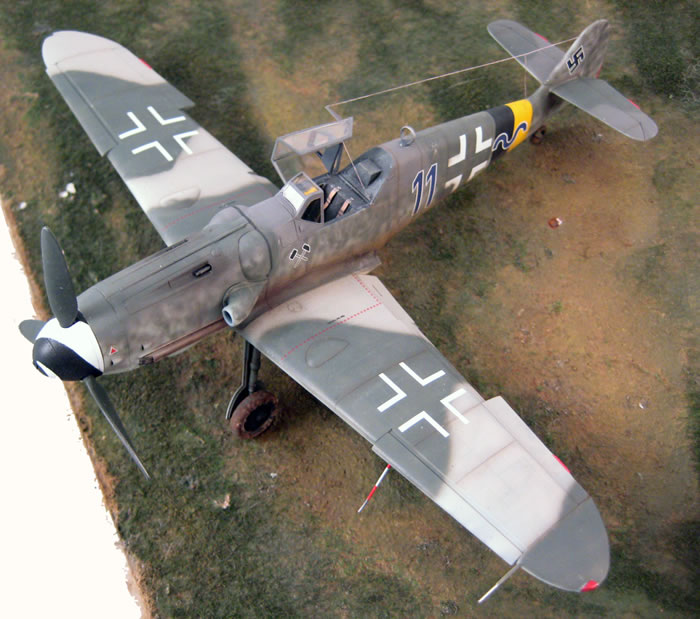
I used Eduard stencil decals that were available separately and for the individual aircraft markings I used Kagero decals. They were printed by Cartograf so you know they are perfect decals. All of the decals reacted well with Solvaset. They were sealed with Alclad Flat.
A wash of burnt umber artist oils thinned with Turpenoid was added to the panel lines. Then some dot filters of Titanium Buff and White were added and blended with Turpenoid. Some dusting was added to the upper surfaces. Then stains were added to the belly.
Final bits and pieces were added and the model was done relatively quickly.
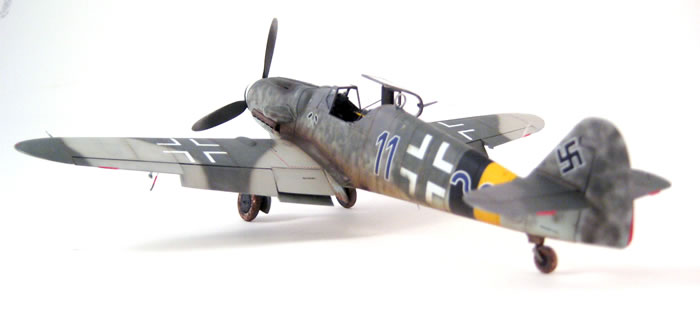
The Overtree is the least expensive way to get an Eduard kit. That doesn’t mean you get a lesser kit it just means that you can add your own decals. Overtrees are only available for a short time so I suggest you stock up. You can buy two Overtrees for the price of one Profipack. All the upgrades are available if you want to invest in them. Personally, I love the pre-painted fret and think the masks are essential as well. I love these kits. There are two places that require filling, the wing to fuselage join and the upper cowling. These Eduard kits are addictive, and I look forward to building more.
Highly Recommended
Text and Images Copyright © 2018 by Floyd S. Werner Jr.
Page Created 20 November, 2018
Last Updated
22 November, 2018
Back to HyperScale Main Page

|
Home
| What's New | Features | Gallery | Reviews | Reference | Resource Guides | Forum |