Roden's 1/72 scale
Albatros D.III
Oeffag s. 153 (early)
by Andrea Brenco
|
Albatros D.III, Oeffag s. 153 (early) |

During this lockdown I have had plenty of modeling time, so here is another one from me.
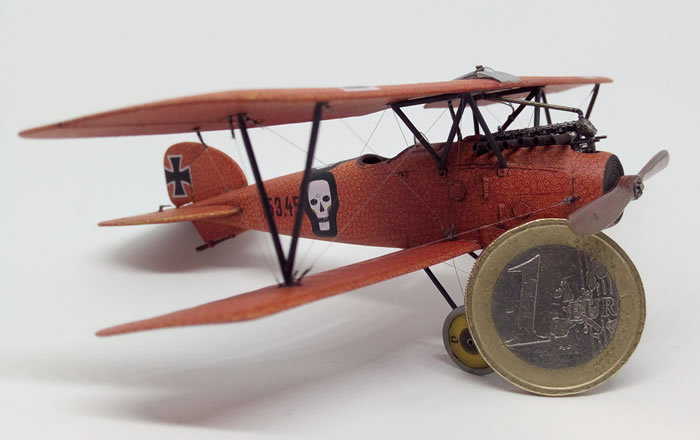
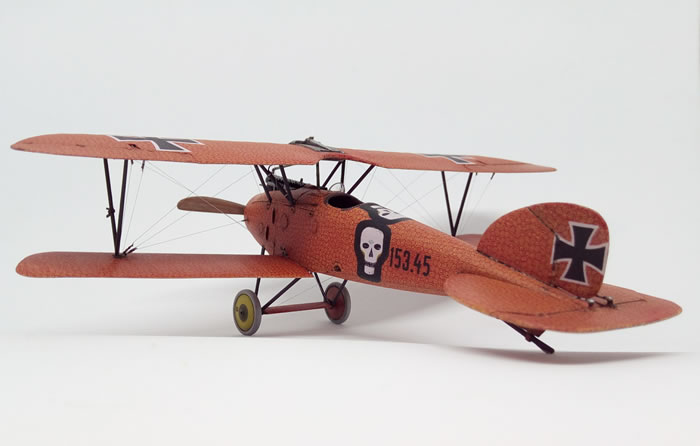
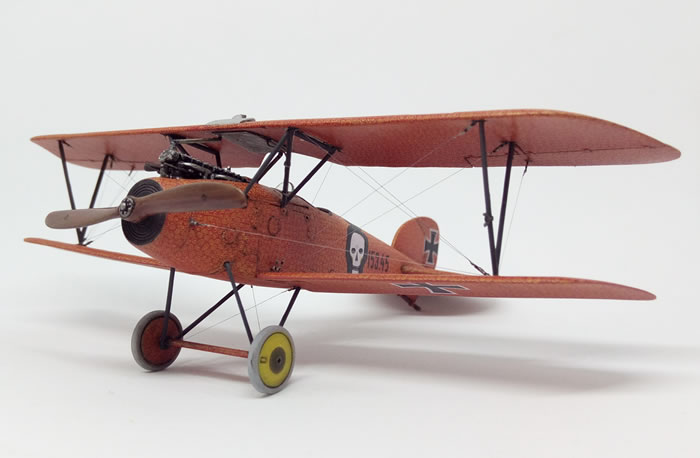
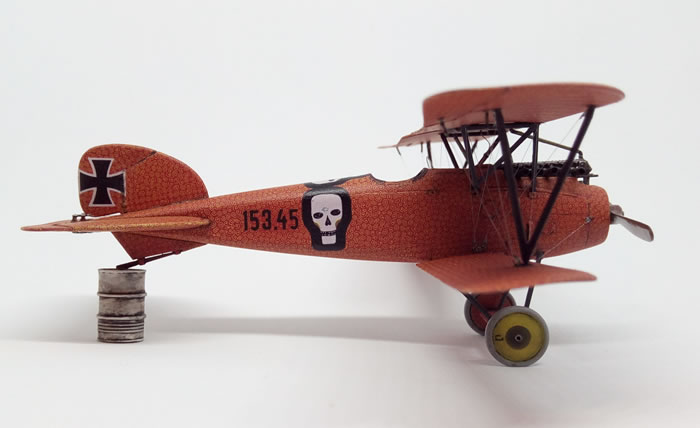
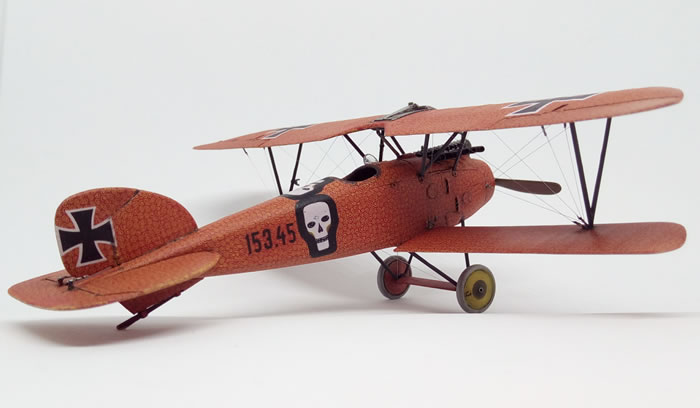
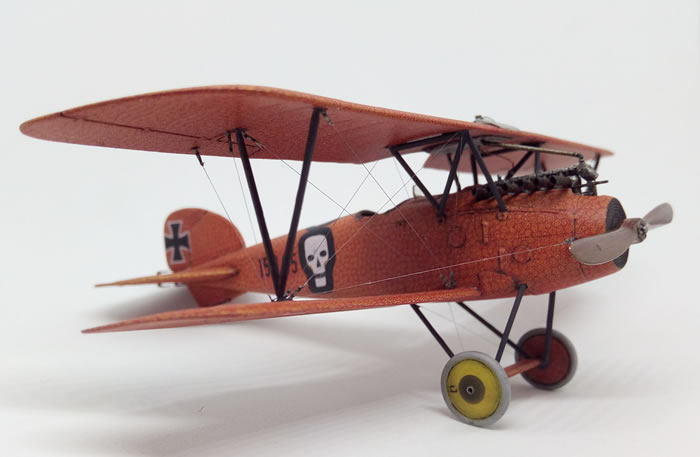
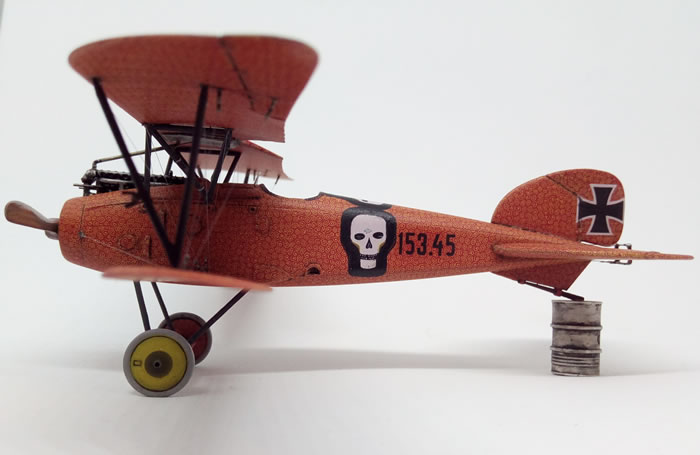
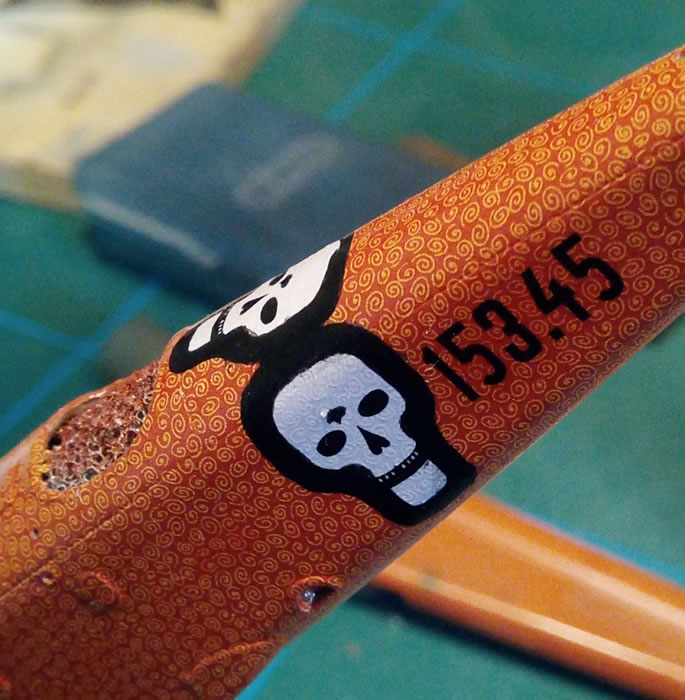
It is the Roden Albatros D. III, Oeffag s. 153 (early), Kit #024, flown by Hptm. Godwin Brumowsky from Torresella in February 1918.
I used olso decal from FCM, sheet S7206, Austro Hungarian Sworl hand painted (one and a half sheet, to be right), photoetched turnbuckles from Part S72-161 and Eduard's 73041 Seatbelts. Rigging done with splitted E-Z Line.
I had necessarily to build in sub-assembly to ease decaling process.
Roden kit are usually nicely detailed, but needs patience and lots of test dry fitting.
Fuselage went quickly together after some detail painting in the cockpit area, not very much to be painted really...
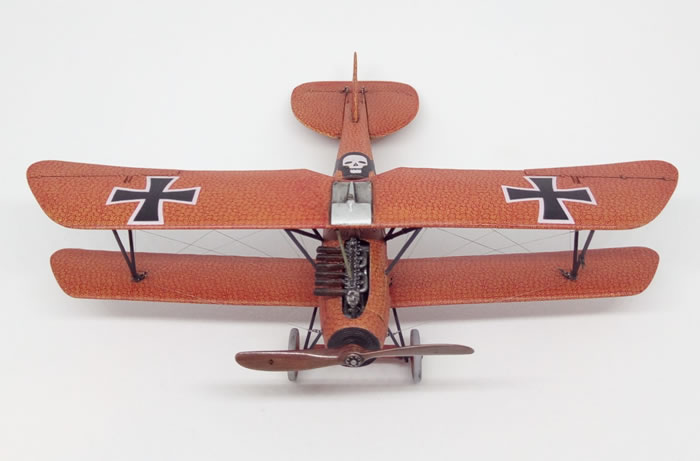
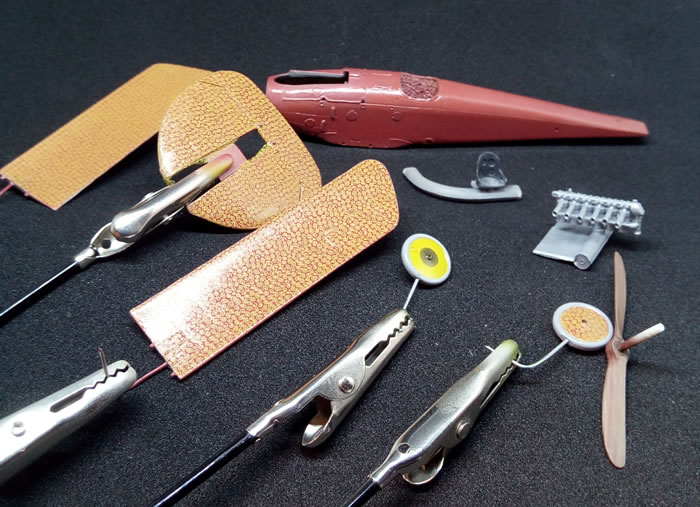
I separate the main block from the cilinders stack, in this way I was able to detail those parts which will be visible and add them only at the last time.
Six individual exhaust pipes had to be drilled and secured to their corresponding cilinder.
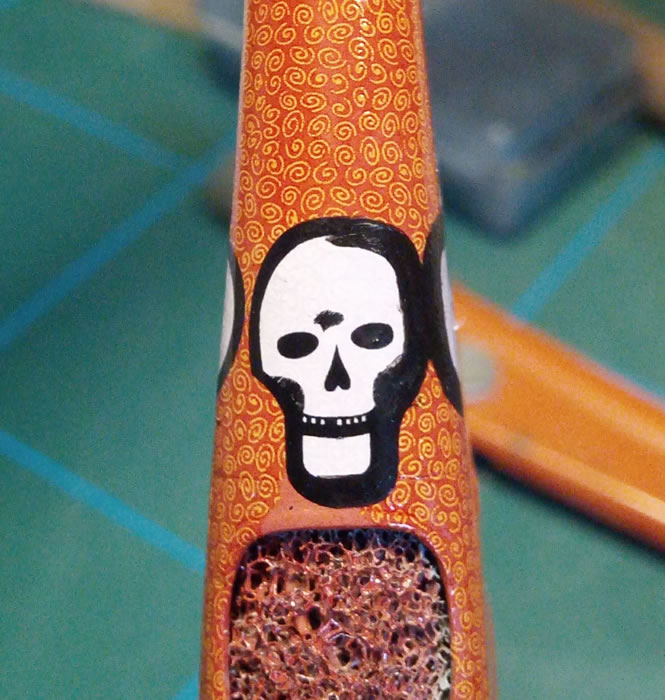
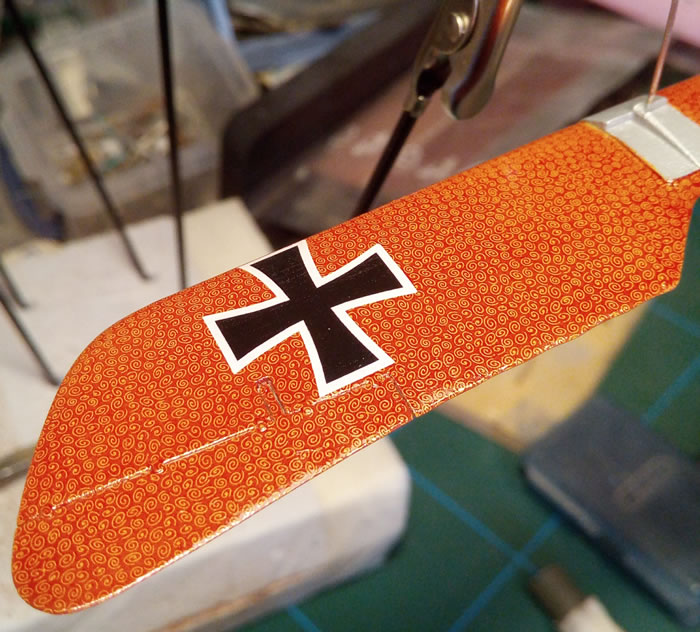
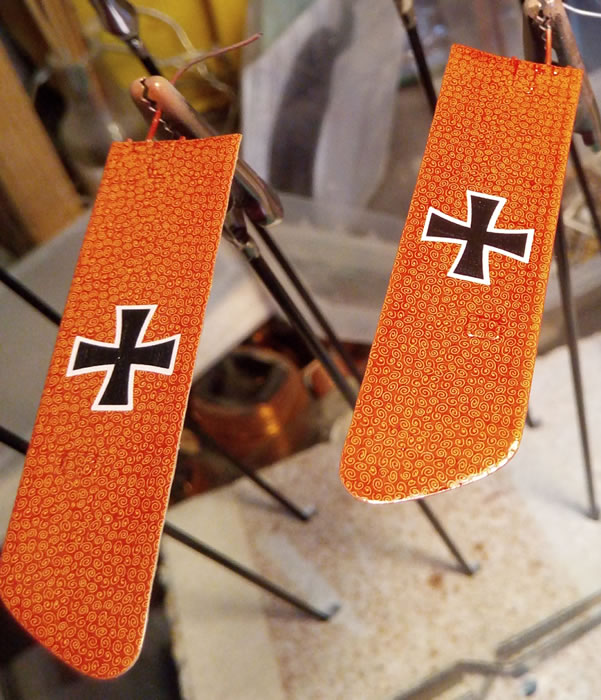
I then painted all the sub-assemblies with Mr. Hobby RLM 23 red, gloss clear coated and started sworls decaling: I made a kind of rough paper template for the fuselage and engine area (left side and lower parts, right side and upper part, engine left, right, front and two top parts, and cut the corresponding piece of decals.
Soaked them one at the time in hot water, positioned with Microscale set an sol, and helped to conform with a hairdryer. At this point the paintjob looked too much orange, due to the yellow sworls, and I sprayed a coat of Tamiya clear red to restore the red tint. All went surprisingly well, even Roden's decals behave beautifully!!!
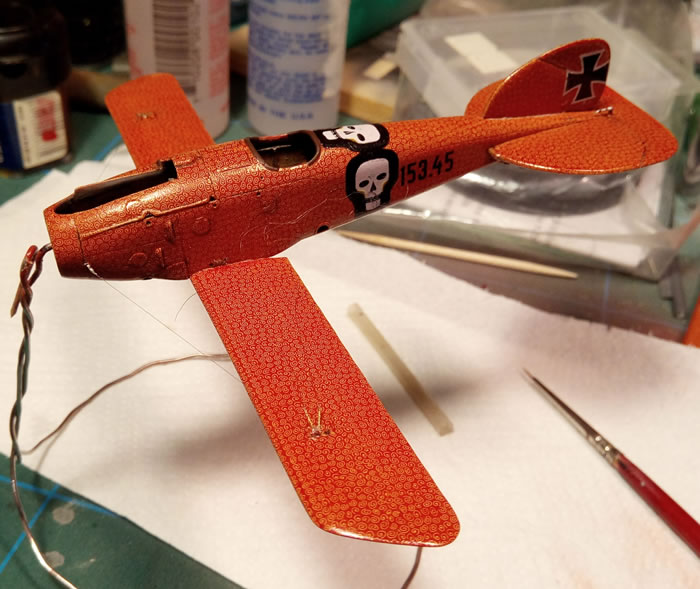
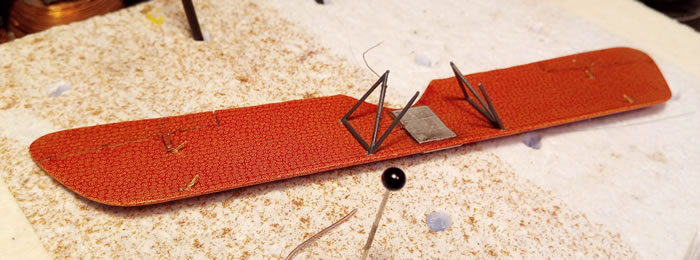
Sealed everything with another gloss clear coat, then started to prepare for rigging, fixing the turnbuckles in the right places and glueing one end of the E-Z Line elastic thread.
I split the thread in some thinner ones, that behave exactly like the normal one but are more to scale.
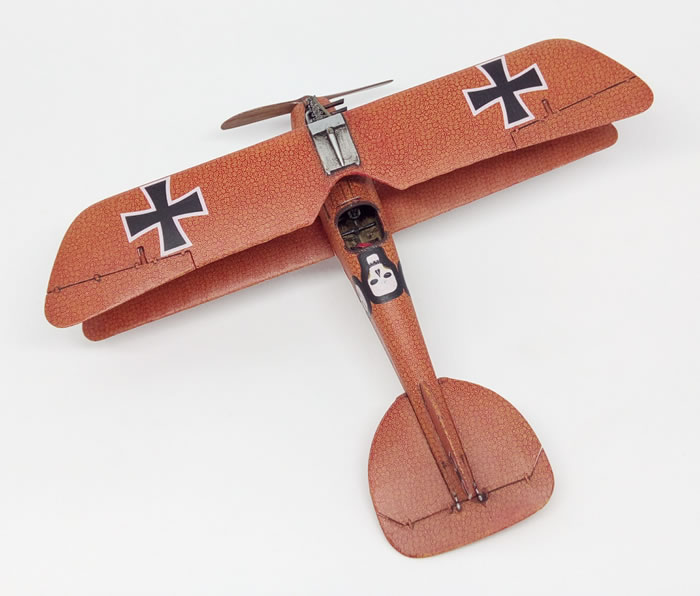
Finally it was time to assemble the pieces together, at first the tail and rudder, then the two half lower wings; the top wing had the cabane struts fixed on and set apart to dry.
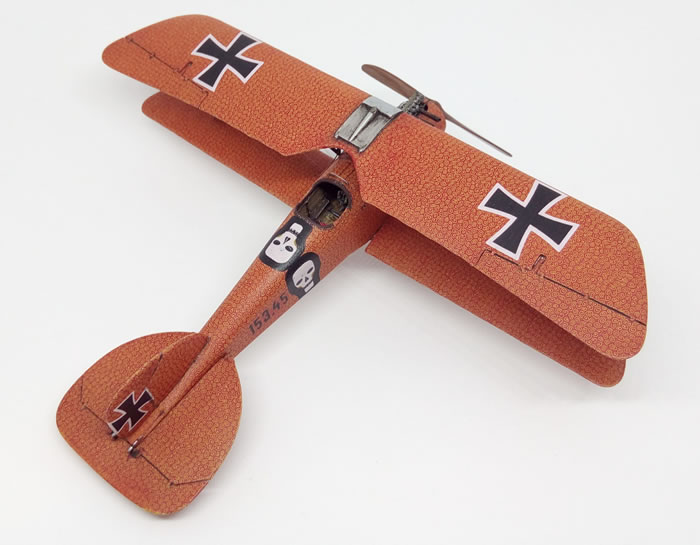
When dried, I offered the wing to the fuselage and carefully glued the four struts ends in place; started fixing all the other free thread ends and when finally managed to finish, glued the two "V" struts between the wings.
Last went the undercarriage, radiator piping, top engine, small windscreen.
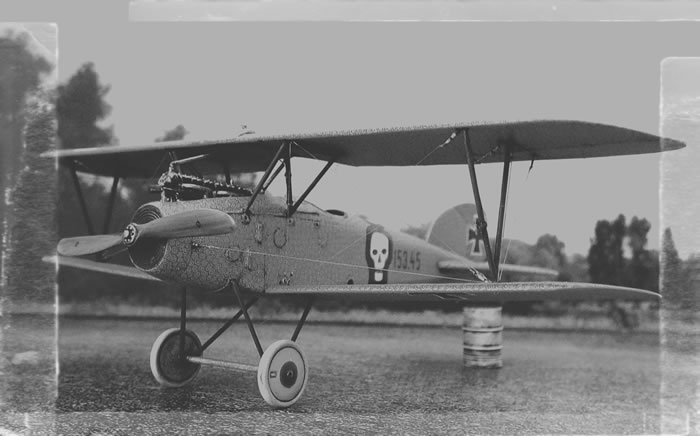
I applied just a light oil washing in selected places. The only picture I have shows a quite clean aircraft.
I hope you like it.
I enjoyed this build very much and really like the end result, German WWI aircraft can be very addictive...
Model, Images and Text Copyright ©
2020 by Andrea Brenco
Page Created 23 July, 2020
Last Updated
23 July, 2020
Back to HyperScale Main Page

|
 Home
| What's New | Features | Gallery | Reviews | Reference | Resource Guides | Forum |
Home
| What's New | Features | Gallery | Reviews | Reference | Resource Guides | Forum |