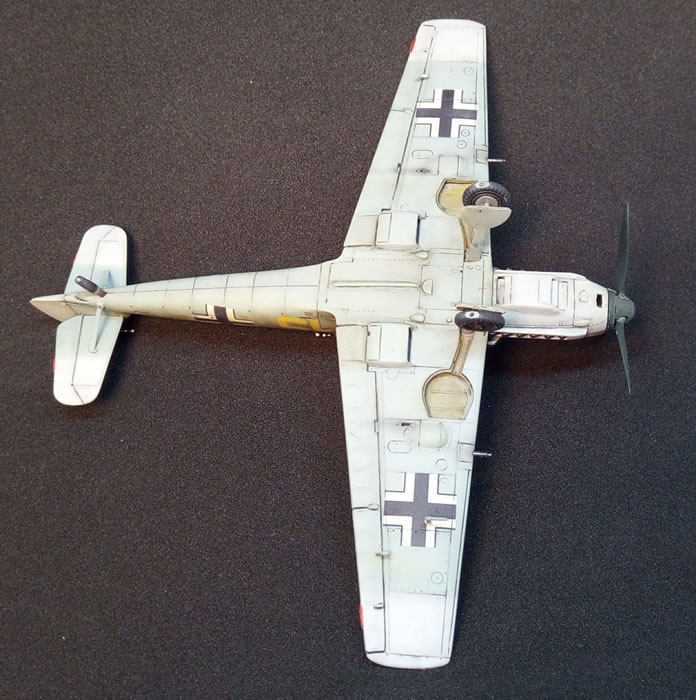
AZmodel's 1/72 scale
Messerschmitt Bf 109 E-3
by Andrea Brenco

AZmodel issued multiple boxing of their new Emil kit.
I decided to build the Battle of Britain edition as a quick OOB.
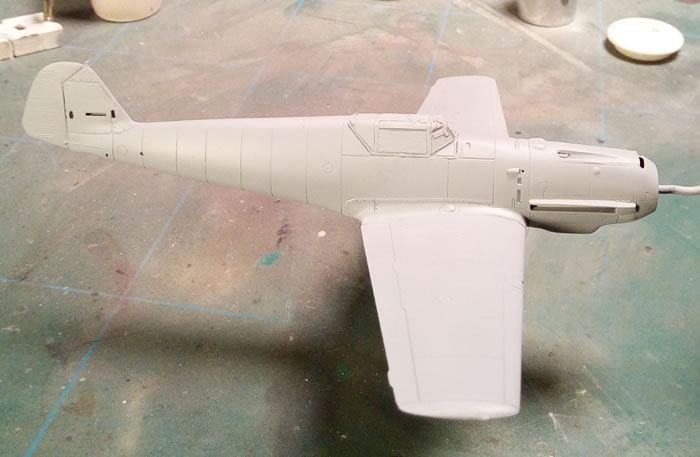
Construction of this kit is rather simple, no detached flying surfaces or rudder to pose, everything is molded in situ but test fitting is advisable: some filler/shim will deal with the wings to fuselage joint, carefully checking and keeping the right dihedral...
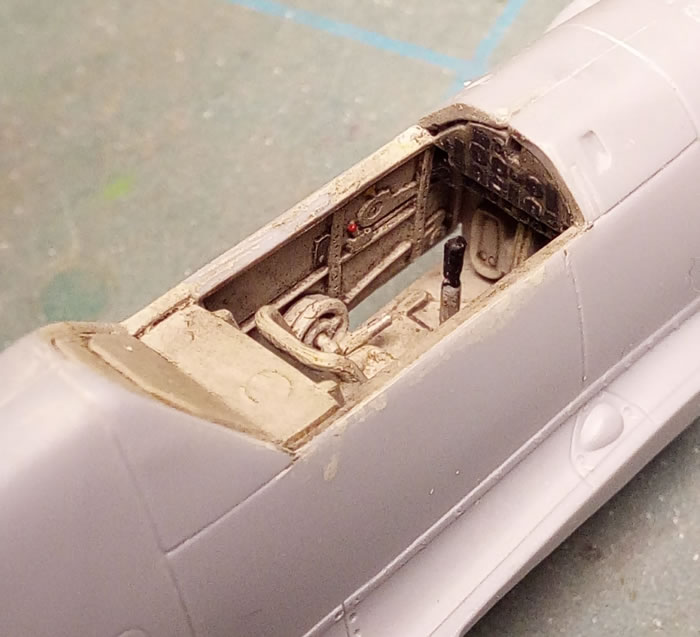
Decals are supplied for the instrument panel and the seatbelts; the rest of the cockpit details is good enough if you keep the canopy closed.
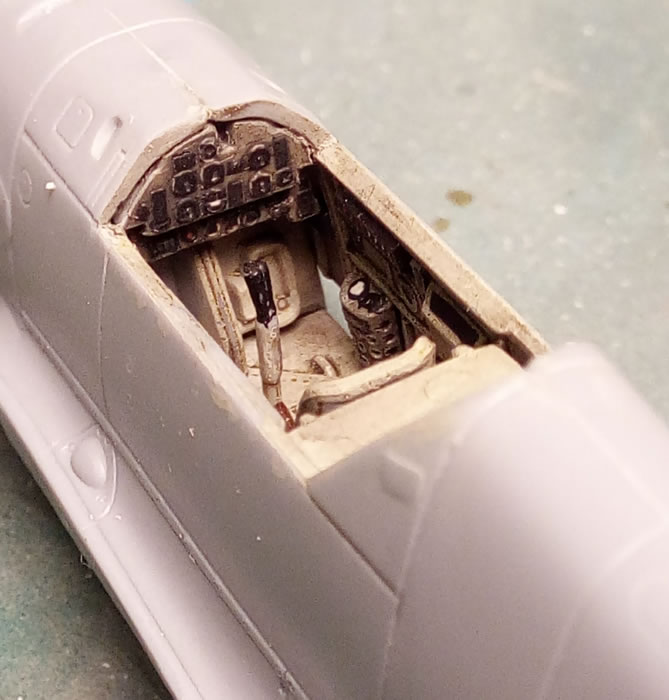
Rear cockpit wall looks tight compared to the fuselage width, but I think it was due to a self induced error: maybe I should glue the cockpit assembly after joining the fuselage next time.
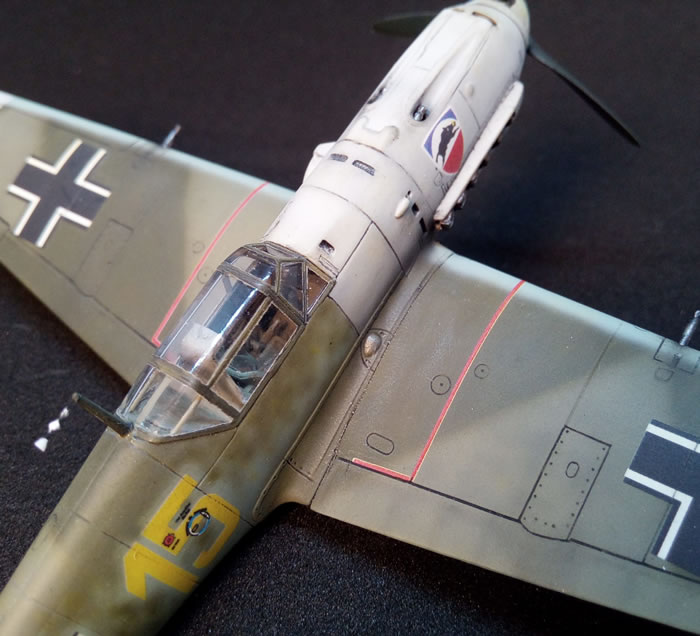
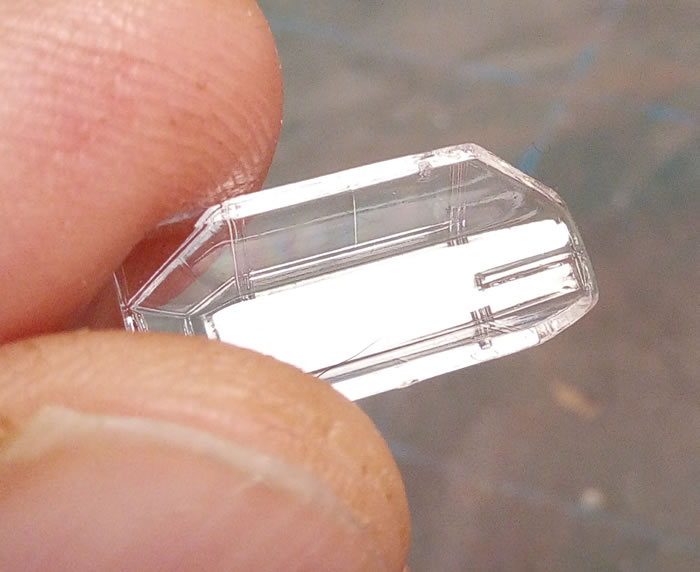
There is a molded small "channel" inside the rear part of the canopy: this is a frame and is correct, the E-3 rear canopy was a one-piece of plexiglass indeed, and the horizontal frame was inside only! Earlier version has only the top one, later one has also two others on the side: from the E-4 onwards the plexiglass panels were divided in three pieces and framing was more conventional.
Thanks AZ, in this way you made easier painting that!
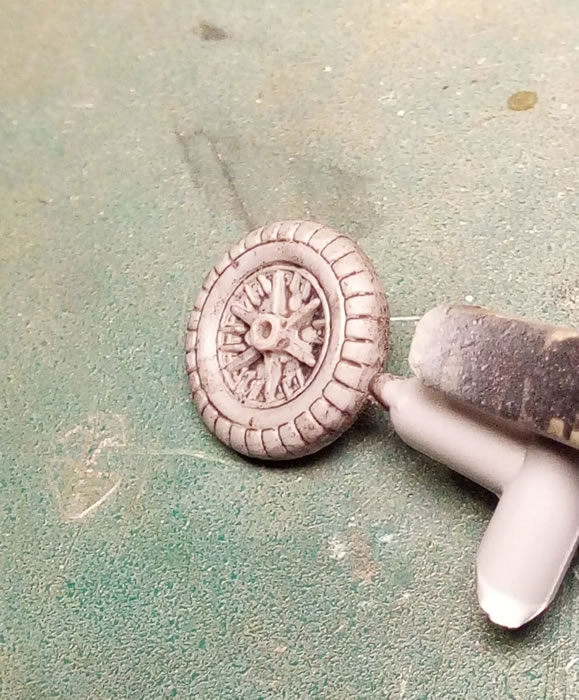
I slightly sanded the wheel's "spokes" to give them a more accurate look and added some copper wire for the brake lines.
I didn't glued the horizontal tailplane before painting, but next one I will do: this kit cannot be built in sub-assembly.
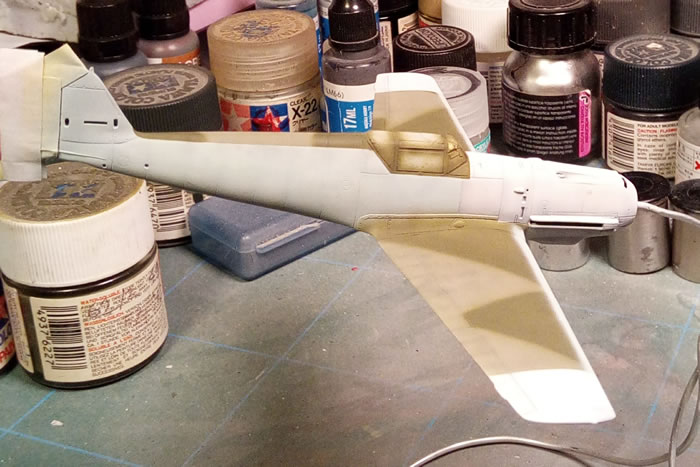
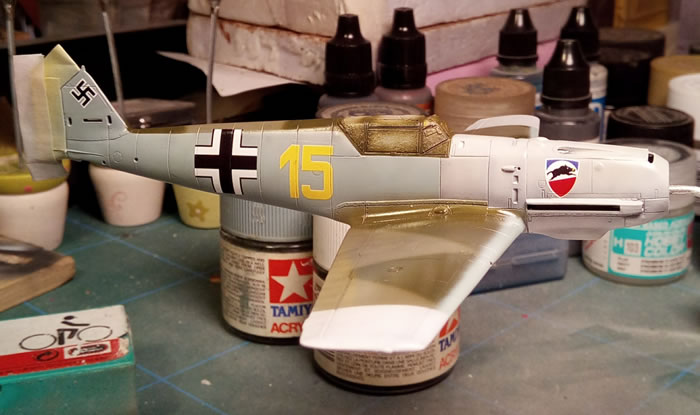
I primed the model with Gunze Mr. Surfacer 1000, it leaves a beautiful silky surface and doesn't hide or fill the nicely molded fine details.
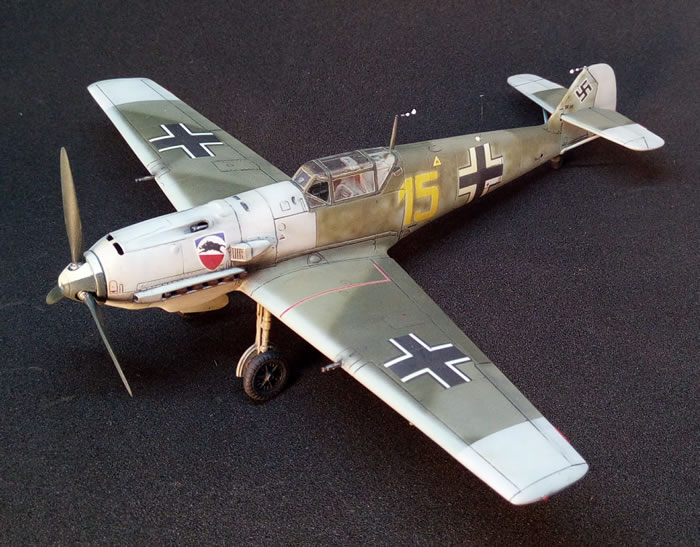
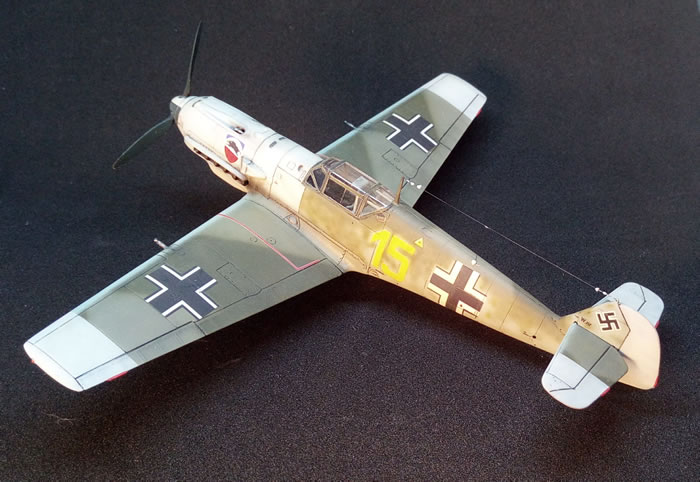
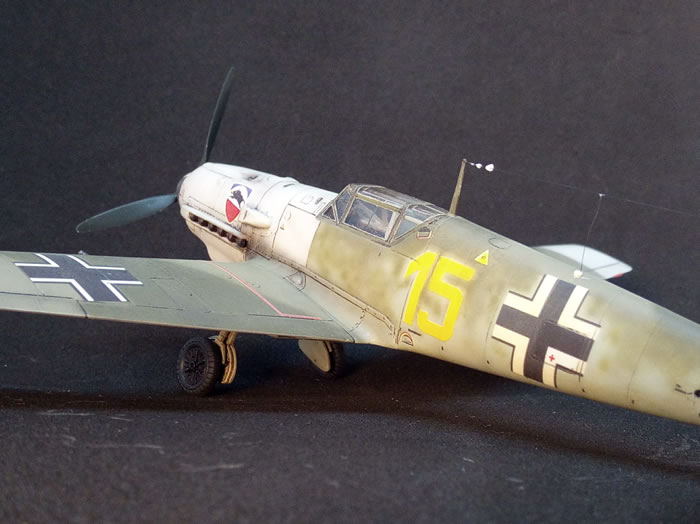
I did some preshading with Tamiya black, dark yellow and white, then sprayed white color were appropriate and masked the corresponding area.
After the first part of camouflage was done, I had to decal the fuselage and then did some freehand mottling around the crosses and the numbers 15.
Kit's decals are of good quality, but thin and need careful handling.
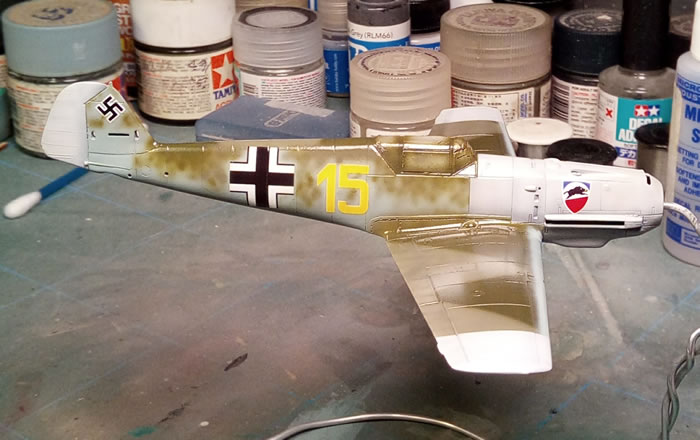
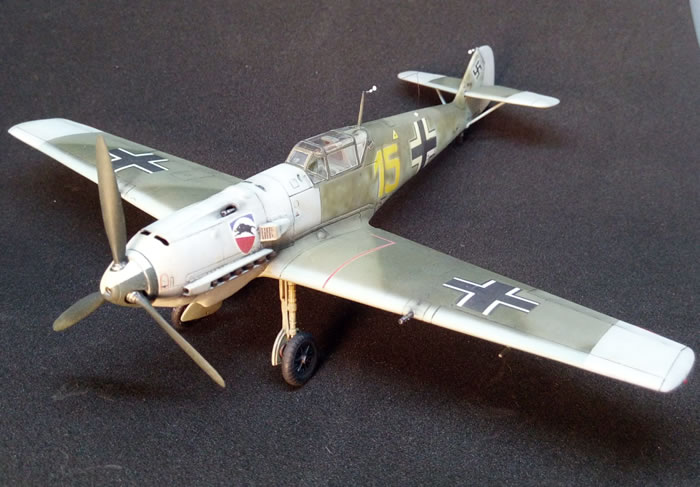
The painting session was finished with the usual oils weathering and clear coats session.
I enjoyed building this Emil too and like the different boxing and color versions offered by AZmodel, I will build more of them.
Model, Images and Text Copyright ©
2021 by Andrea Brenco
Page Created 24 May, 2021
Last Updated
25 May, 2021
Back to HyperScale Main Page

|
 Home
| What's New | Features | Gallery | Reviews | Reference | Resource Guides | Forum |
Home
| What's New | Features | Gallery | Reviews | Reference | Resource Guides | Forum |