Gloster Meteor T. Mk.7
Azur FRROM, 1/72 scale
S u m m a r y : |
Catalogue Number: |
Azur FRROM Kit No. FR0045 - Gloster Meteor T. Mk.7 |
Scale: |
1/72 |
Contents & Media |
77 grey plastic parts, two parts in clear; masking sheet; markings for three aircraft. |
Price: |
£17.60 EU Price (£14.67 Export Price) plus shipping available online from Hannants |
Review Type: |
First Look. |
Advantages: |
Well moulded, lovely surface detail in general and good decal choices. |
Disadvantages: |
Nothing serious but the dive brakes and control surface gaps are a bit under done, the undercarriage is a bit over-engineered and no mention is given of the necessity for nose weighting. |
Conclusions: |
This is a nice package with a good selection of colours that should allow some interesting and attrractive models to be produced. |
Reviewed by
Graham Carter

Modellers waited a long time for a kit of the trainer version of the well-known Meteor fighter, having had to use either the Aeroclub vac-form conversion or full plastic kit from the 1980s. About 13 years ago Xtrakit produced the first 1/72 trainer Meteor which Brett reviewed here on 14 October 2008 to his acclaim. Then some ten years ago MPM, then Special Hobby a couple of years later, produced their kits using the same moulds in a couple of different schemes and Xtradecal did some nice sheets to allow a huge variety of schemes to be covered. These were using the same moulds from what I can ascertain, although the tie up between the kits is a bit uncertain. Special Hobby’s version from 2015 came with a couple of resin additions and the F8 tail to allow the Mk.7.5 to be produced. This latest kit from the French company revives these moulds and adds a new set of decals. The reader can go back to Brett’s review or read on.
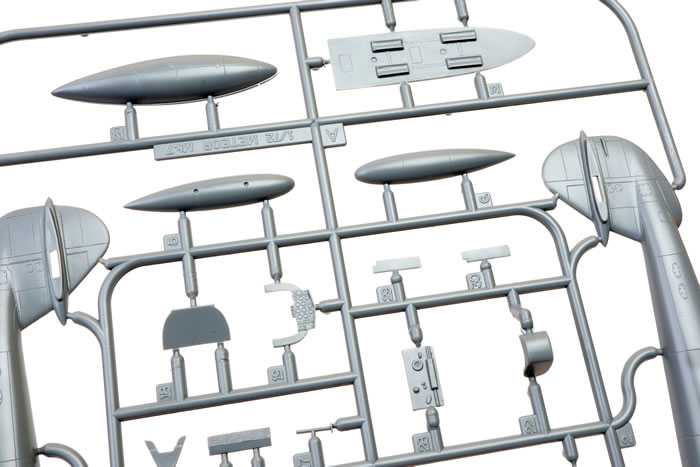
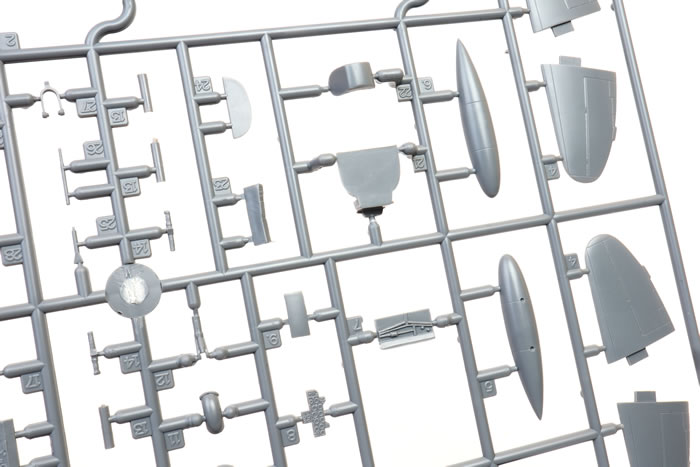
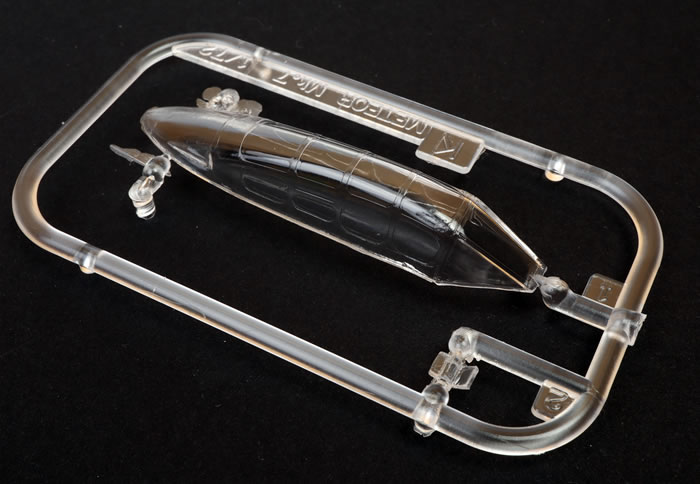
The sturdy top-opening box contains two mid-grey sprues and a small transparent one.
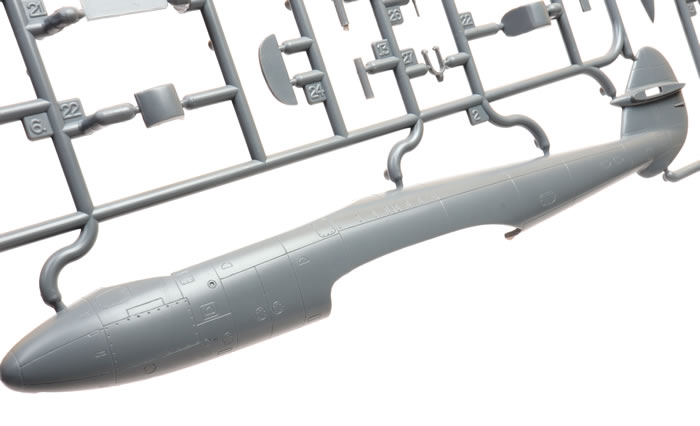
The lid is decorated with drawings of the three decals choices. Parts are crisply moulded, no flash being apparent and gates are small and don’t intrude onto mating surfaces, making clean-up relatively easy. Panel line are very fine as befits a stressed duralium airframe, although I think the moving surfaces and air brakes need a bit more emphasis. I wouldn’t use shading to over-emphasise panels on these airframes.
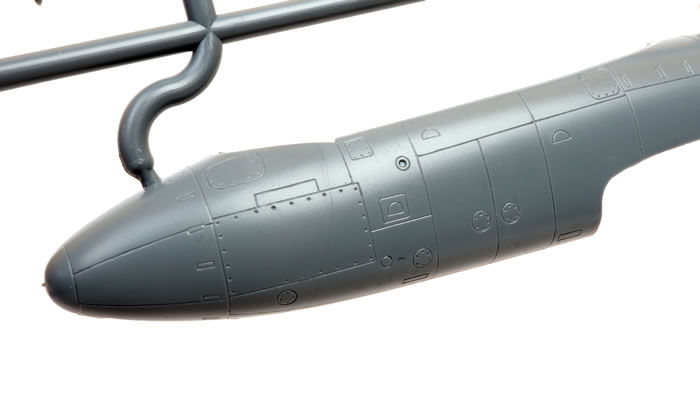
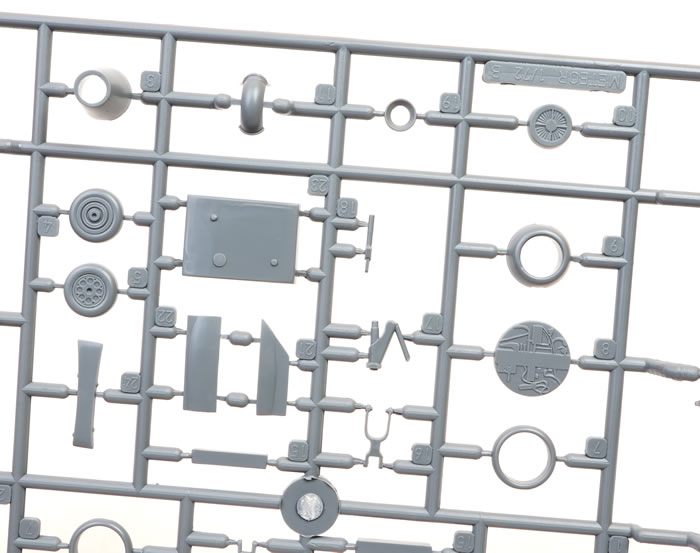
The parts are short-run so they lack locating pins and holes so care is needed aligning the main components. The interior is quite well detailed, as are the wheel bays in this scale and given that the interior is all black, not a lot is going to be visible. Careful dry-brushing should bring out the details.
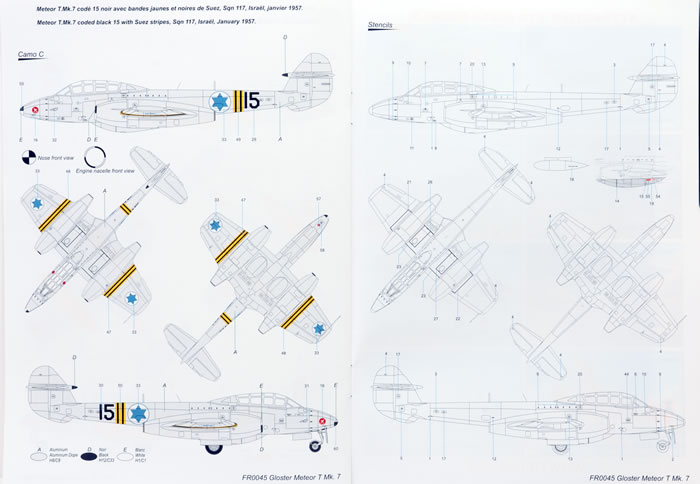
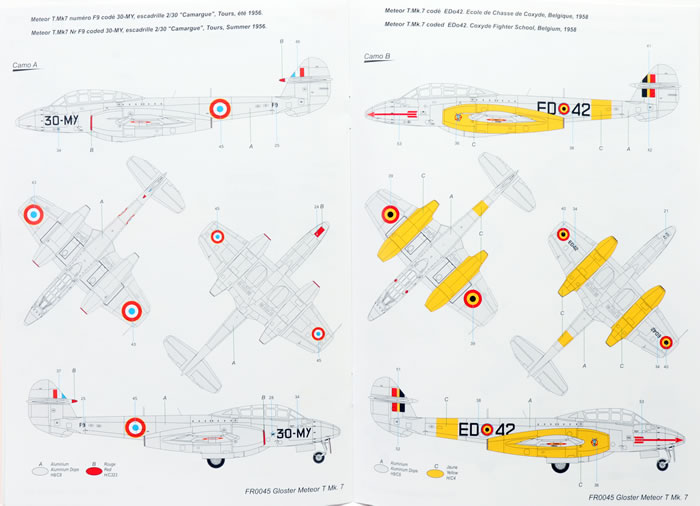
The instructions are a 12-page stapled A5 glossy booklet that starts with an outline of the features and service of the T7 in both English and French, followed by a parts map and paint guide in word and Gunze colours only. There are then 20 construction stages with clear drawings and colour call-outs all the way. There are several warnings given in red text to indicate when not to apply glue or to drill hole for add parts in certain places. At the rear are three sets of four-view drawings showing the colour schemes and decal placement, and a separate set to show stencil placement.
The clear sprue contains the single piece canopy and a gun sight. If the modeller wishes to model a plane with the canopy open, then a careful bit of cutting is required as it thinly moulded. The canopy hinges to the starboard and is held in place by a strut. These huge ‘green-house’ canopies close with a secure ‘clunk’ and heat up very quickly - ask me how I know!! I managed to trap myself one hot day inside one at the outdoor store section of Moorabin museum a few decades ago, much to the amusement of the modellers I was with at the time. I spent a hurried, worried and increasingly sweaty few minutes trying to work out how to get out, eventually pulling on the right lever to pop it open!
The interior itself comes in a number of nicely detailed inserts and panels. which will bear careful painting and dry-brushing. Correctly there are no bang seats as these early trainers had moulded ply or plastic composite seats.
One failing is to acknowledge the fact that this model will be dedicated tail-sitter and no indication is given of how much and where to add weight. There is not much room but I would advocate cramming as much as you can around the cockpit, and in the nacelle fronts; perhaps even adding scratch-built FOD guards to hide the weights.
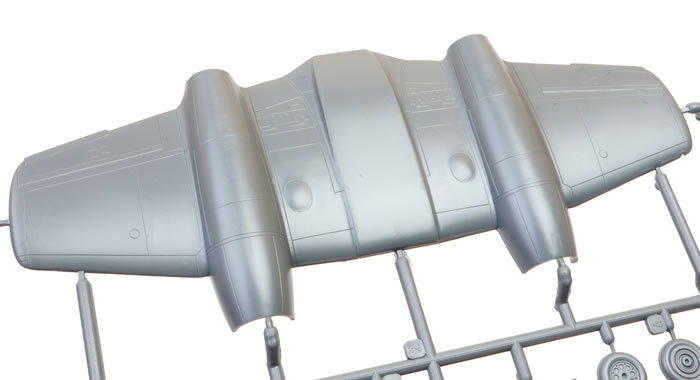
There is adequate moulded detail on the engine fronts and exhausts and the correct narrower intakes are provided.
The undercart is a bit fraught with the front leg in three parts while four are needed for the main ones. Care will be needed getting a strong joint and the correct angles between the sections to obtain the characteristic slightly nose-down squat of this aircraft.
The modeller also has to add tiny stretched sprue rods to support the mudguards on all three legs but no clue is given as to how long they need to be. A bit of confusion occurs here in the instructions ( for those who use these , ha ha! ) as they are firstly shown correctly being fitted in step 13, and then again being shown to be attached in steps 16 and 17, by which stage the wings have all been glued together!
Wings are moulds in two halves from tip to tip.
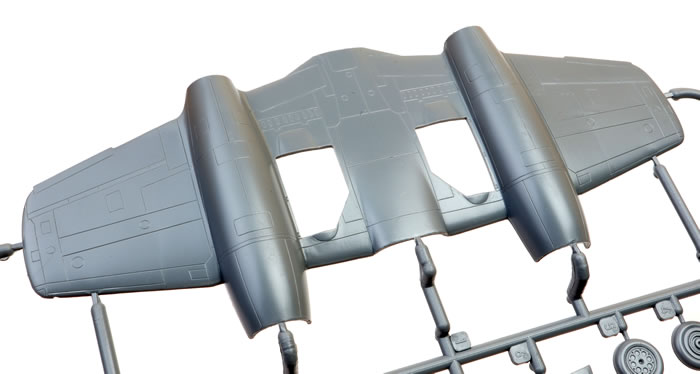
The horizontal tail surfaces are in two halves and may result in an overly thick trailing edge. In this scale I much prefer single surface parts.
A mask for the glasshouse canopy rounds out the package.
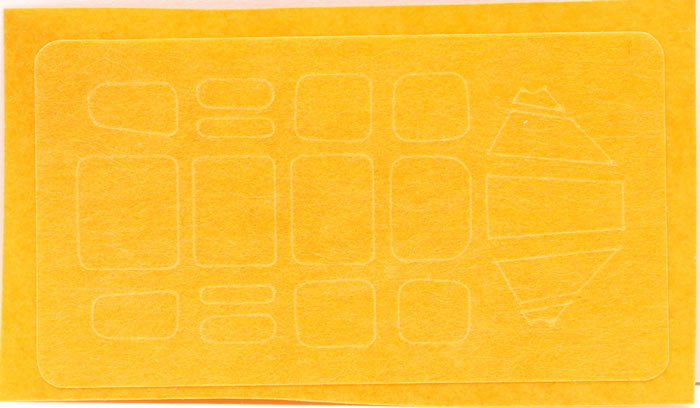
This is a nice inclusion and will save the modeller some time and effort.
Colours & Markings
Decals fill a 170x100 mm sheet in its own sleeve, with a sheet of canopy masks included. I have read that these masks are a bit problematic over the upper curved panels so do take heed. No wheel masks are provided. Besides a reasonably comprehensive set of stencils there are markings for three of the smaller users of the T.7. They appear to have great colour density and register is spot on.
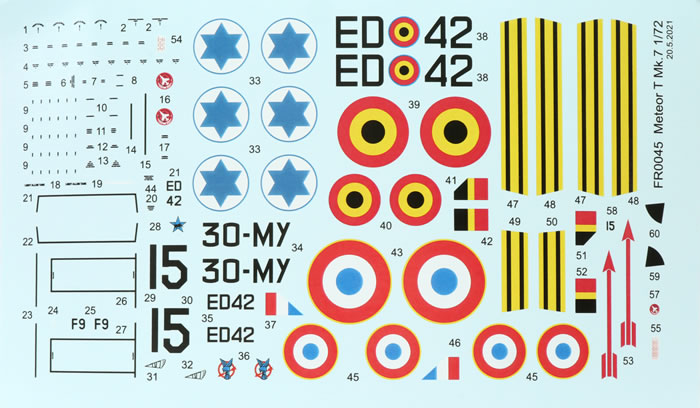
All airframes are painted aluminium overall and not bare metal. They are:-
-
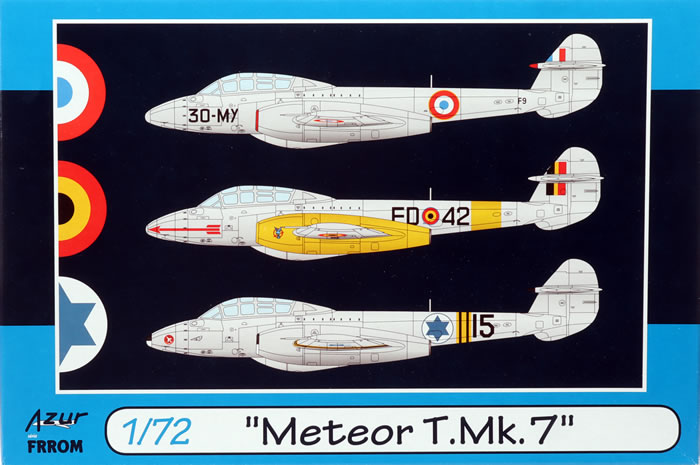
French number F9 coded 30-MY of escadrille 2/30 “Camargue” at Tours in summer 1956, with red intake lips,
-
Belgian ED42 of Coxyde Fighter School in 1958 with red arrow on the nose and yellow nacelles and fuselage band, and
-
Israeli number 15 with yellow/black Suez stripes
This is a nice package with a good selection of colours that should allow some interesting and attrractive models to be produced.
Thanks to Azur FRROM for the review sample.
Review Text Copyright © 2021 by Graham Carter
Images Copyright © 2021 by Brett Green
Page Created 14 September, 2021
Last updated
14 September, 2021
Back to HyperScale Main Page

|
 Home
| What's New | Features | Gallery | Reviews | Reference | Resource Guides | Forum |
Home
| What's New | Features | Gallery | Reviews | Reference | Resource Guides | Forum |