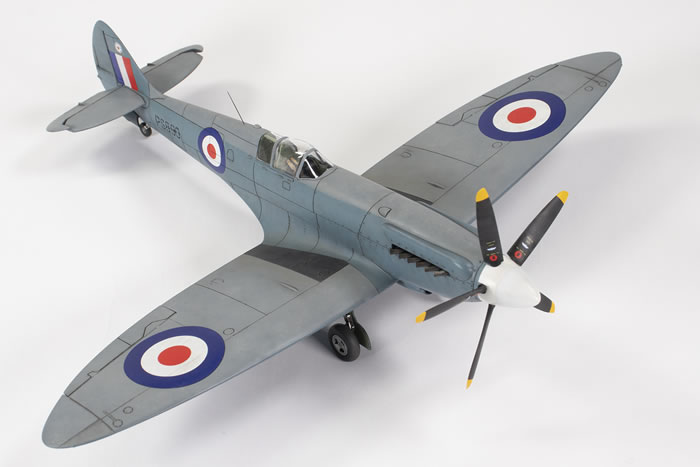
Airfix 1/48 scale
Supermarine Spitfire PR.19
by Jon Bryon
|
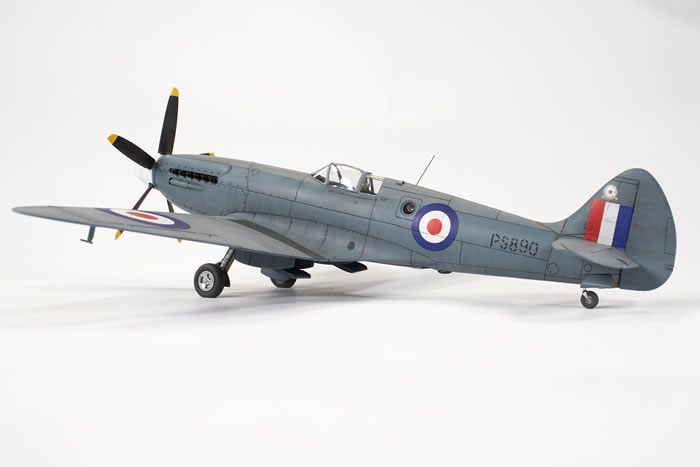
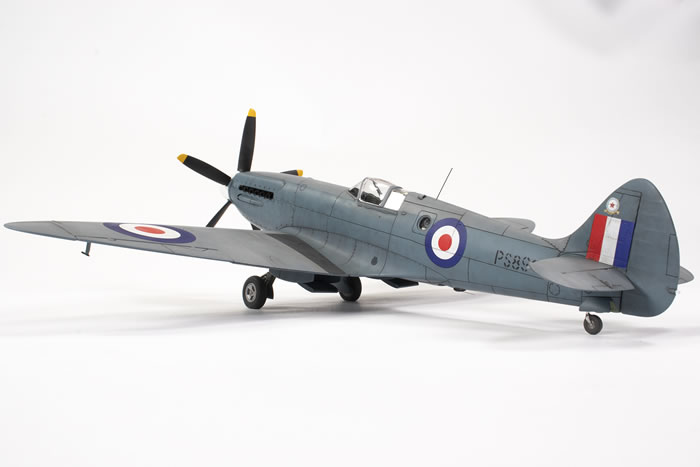
Airfix 1/48 Supermarine Spitfire PR.19 with Xtradecals decals
81 Squadron, Royal Air Force, Singapore 1954
|

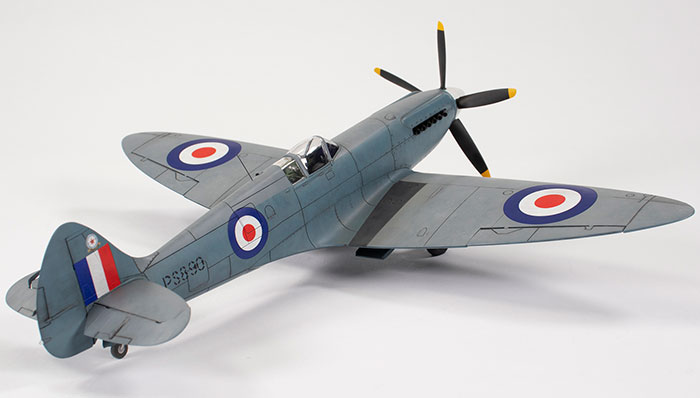
I have a thing for post-war Spitfires and Seafires, and this is the seventh to enter my collection. There are currently another four in the stash and I hope to acquire an Eduard Mk V soon, but this is the first high-backed Spit I’ve made and I have to say it is jolly good looking.
The Airfix PR.19 was released back in 2013 and is a typical Airfix product: pale, very soft plastic, deep recessed panel lines, large sprue gates, some flash and misaligned moulds, i.e. still not up to the standard they set with the late model Spitfires in 1996. Nevertheless, it’s regarded as being fairly accurate, has a lot of various options, and fits together okay.
The plastic exhibits a fairly grainy texture, several sink marks around the cockpit area and some witness marks where slide moulds were used, like around the engine cowl bulges. These all took a fair amount of time to clean up.
There are a lot of internal components which include the cockpit and camera compartments. I maintained my style of keeping everything closed and so did not invest much time beyond simply painting the kit parts and adding some etched belts by Eduard. I could not get one of the cockpit frames to fit against one of the fuselage halves (it fouled what I think is the throttle) and I ended up chopping the offending section off. In all my research no one else has mentioned this problem, so maybe it was just me.
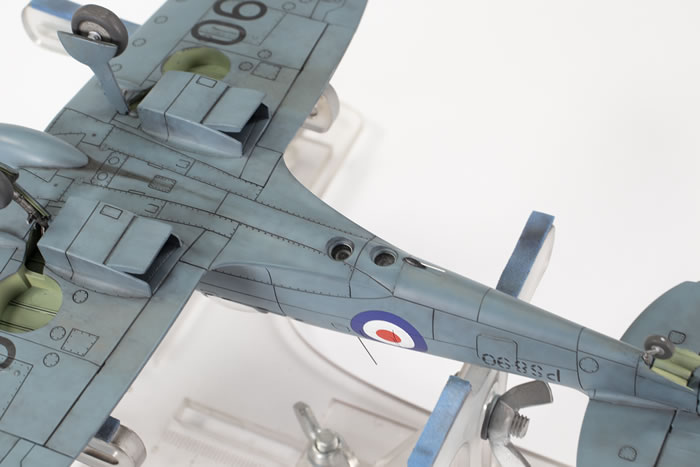
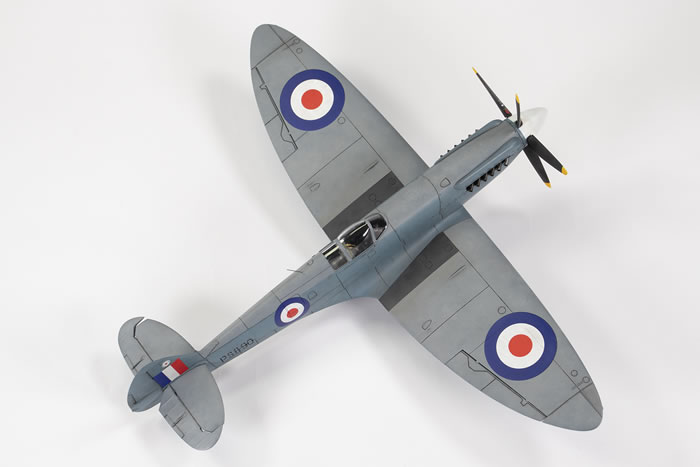
Main construction was all done with thick superglue to avoid the risk of ghost seams and in the main is straightforward, but with a few bizarre fit issues. One is that the tailplanes would not fit horizontal and took a lot of fettling to get level. Once done, the one-piece elevator is way too wide. I hid this by deflecting them, but I should have cut it into two pieces like I did with my Seafire FR.XVII as I prefer the control surfaces neutral. Another oddity is that the flaps have huge gaps in between the long outer and short inner parts. I plugged this with plastic card and superglue.
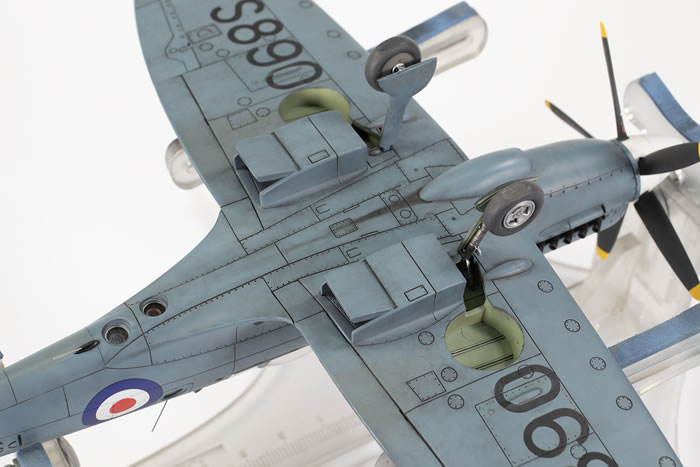
I think the radiator faces are labelled incorrectly in the instructions and I obtained a better fit by trying them in different locations. The radiator housings sit quite proud from the wing and benefit from some serious thinning of the plastic at the mating surface and then being clamped whilst the glue sets.
The separate ailerons did not fit snugly to the wings and this can be alleviated by cutting away the inner parts of the hinges. The clear parts in general fitted well, except for the rear, fixed part, which had to be carefully faired into the fuselage with UV clear resin.
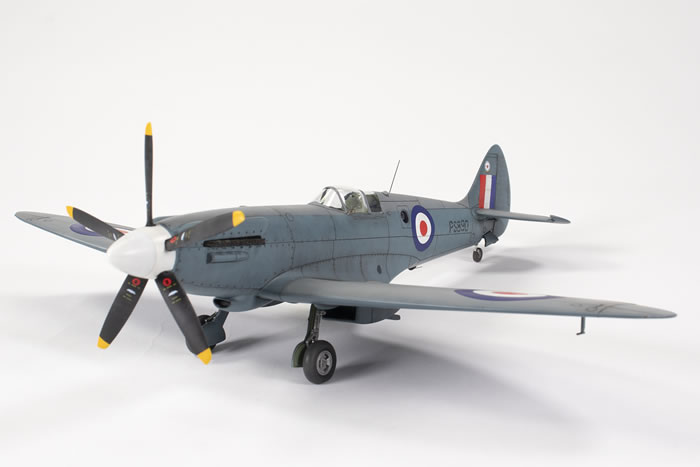
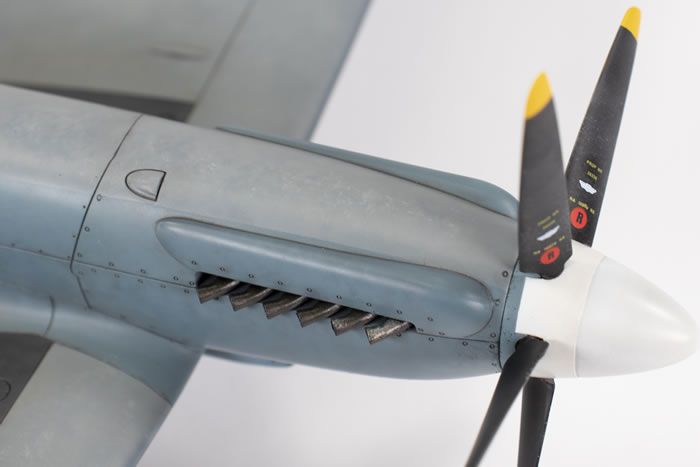
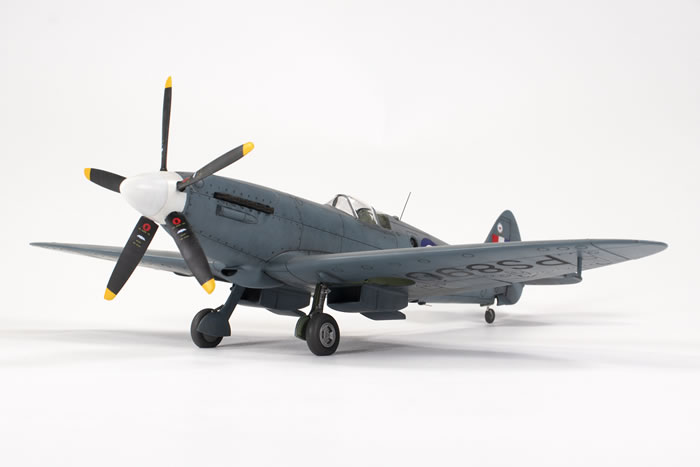
I read endless build articles of this model, since it proved popular upon release, including the excellent one by Brett Green in the May 2013 issue of Military Illustrated Modeller. Brett mentions that the Airfix kit comes with an early prop, and I note Barracuda Studios appear to do a later resin prop. However, the main photo I was using for this build, from the ‘High Drama’ article in Aeroplane Monthly August 1993, showed a prop which I couldn’t differentiate from the kit one. Maybe I am wrong, but I stuck with the kit version.
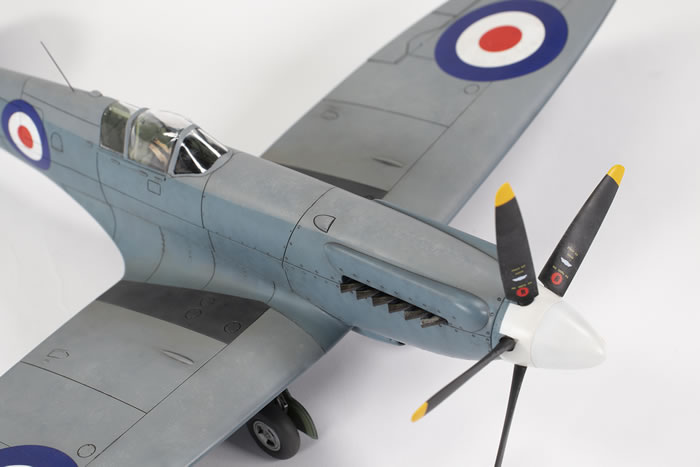
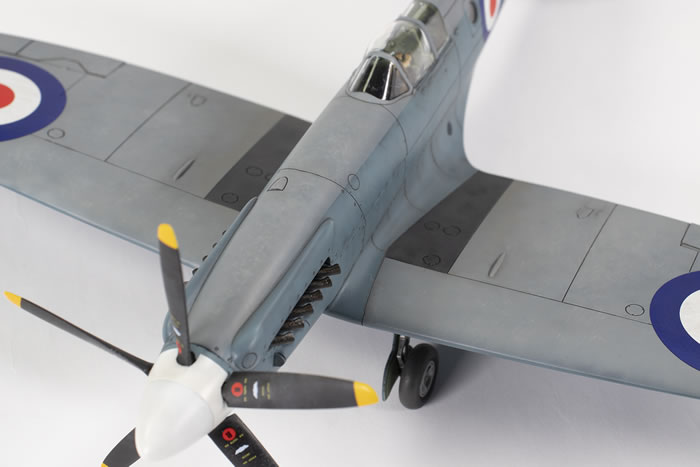
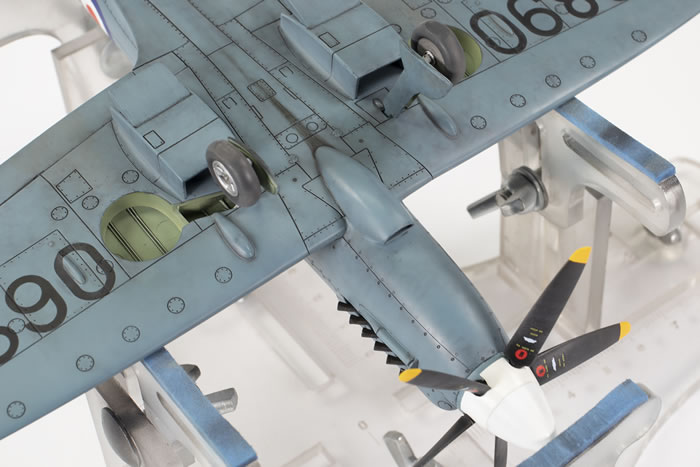
The kit exhausts were drilled out and then I was pretty much ready for paint. One inaccuracy I became aware of later on, but will mention here, is that the “Rebecca” Mk.II beam approach antenna, fitted under the rear fuselage, is missing. It’s strange that I haven’t seen this referred to in any of the build reviews as it was an extremely common fit on PR.19s. I modelled it with a part from the spares box and stretched sprue. It’s not particularly accurate, but there are some nice images of it online from the suspended PR.XIX in a Swedish museum.
As mentioned above, I was working from a nice black and white photograph of this aircraft and using the decals provided by Xtradecals. A few things become immediately evident:
-
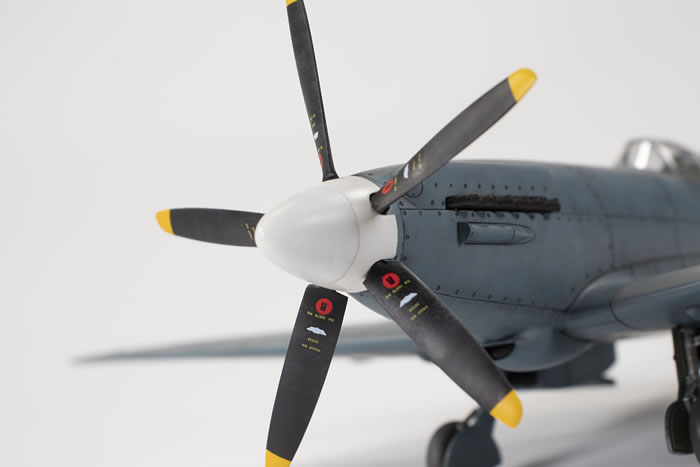
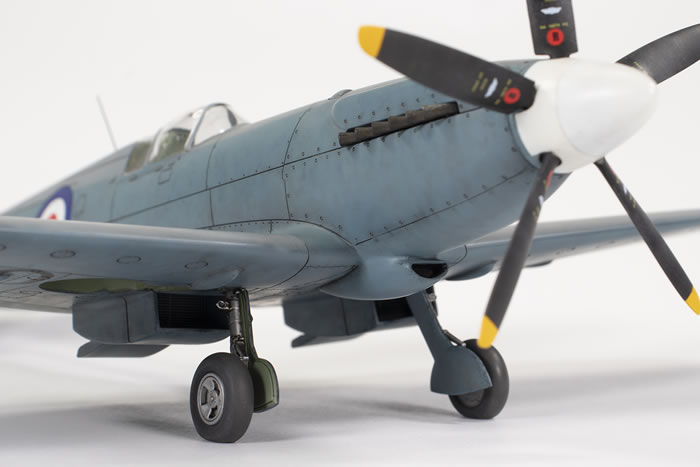
Xtradecals (and Airfix, for the kit option) specify a pale blue spinner. This appears to be spurious and it should be white.
-
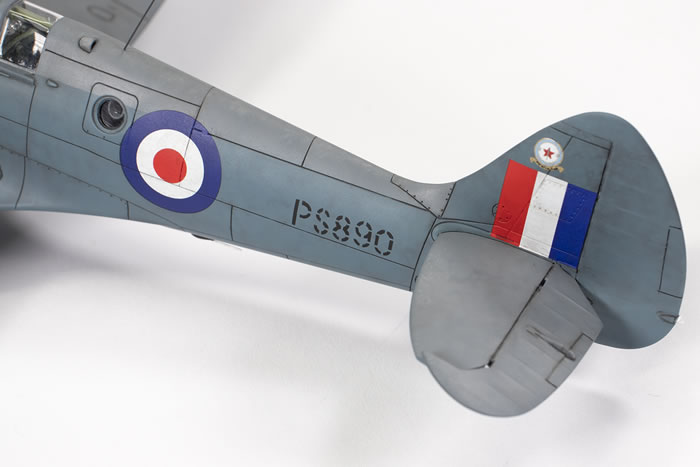
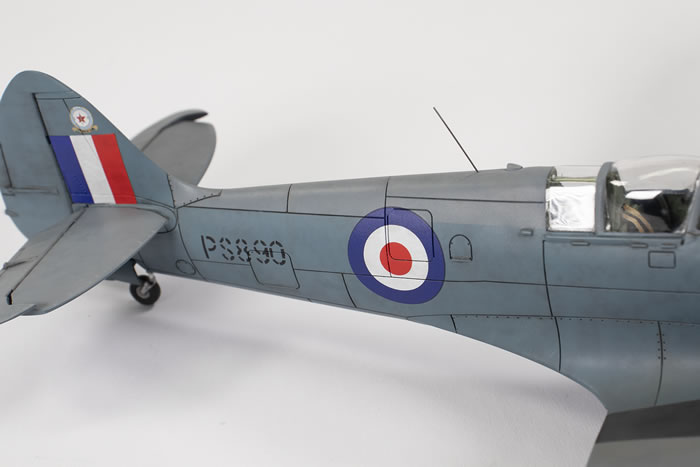
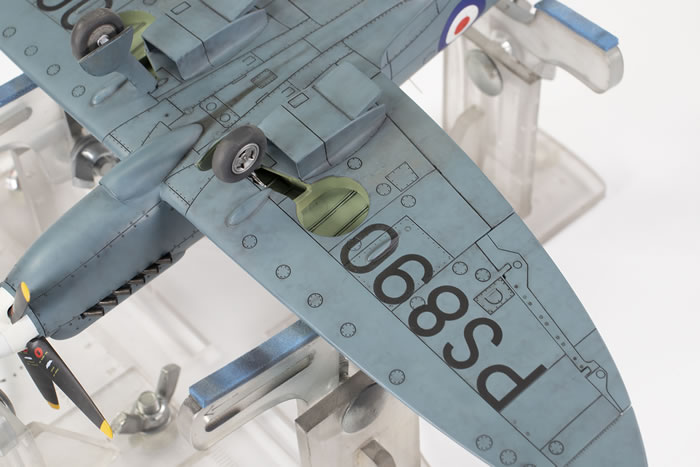
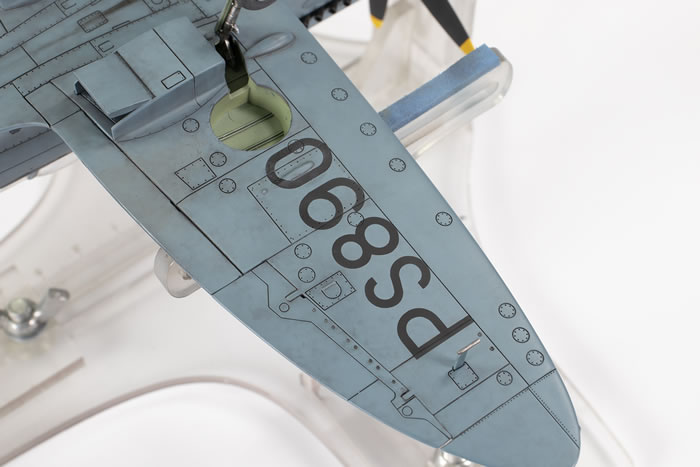
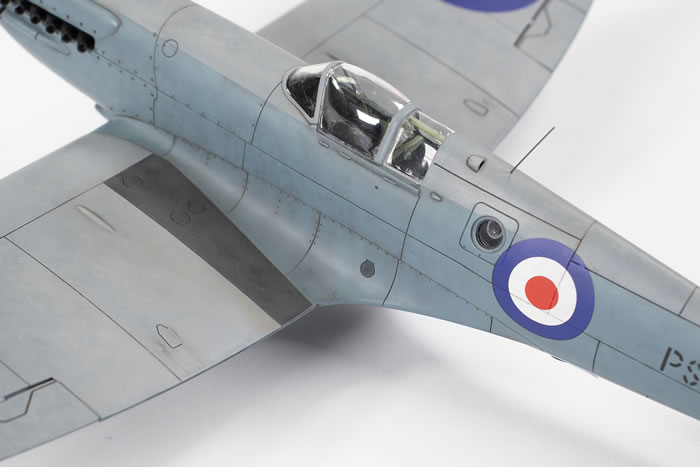
The fuselage serials on the real thing were roughly applied and significantly misaligned. They are also segmented differently to those provided by Xtradecals and a slightly different font. I went halfway to fixing this by using masks to get the correct segmentation but retained the wrong font; I also misaligned the serials to more closely match the two photos I had of PS890 from each side, but mine are still way neater than the real thing was.
-
The squadron badge on the tail provided by Xtradecals is too big. I still used it, and it’s not clear it should be on both sides.
The decals are also slightly out of register, which is mainly noticeable on the tail flash and the squadron crest. I used the tail flashes from the kit. I also decided to mask and spray the underwing serials, although the ‘0’s have to go over a significant bulge on each wing, so these were replicated by decals. In the end, the only markings used from the Xtradecals sheet were the roundels, squadron crests and ‘0’s under the wings.
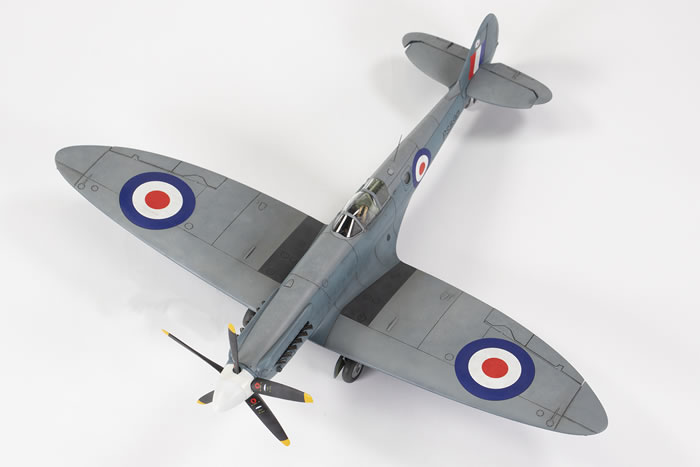
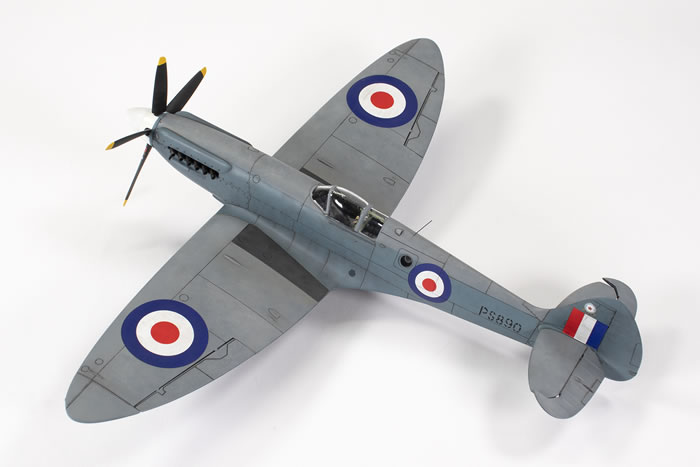
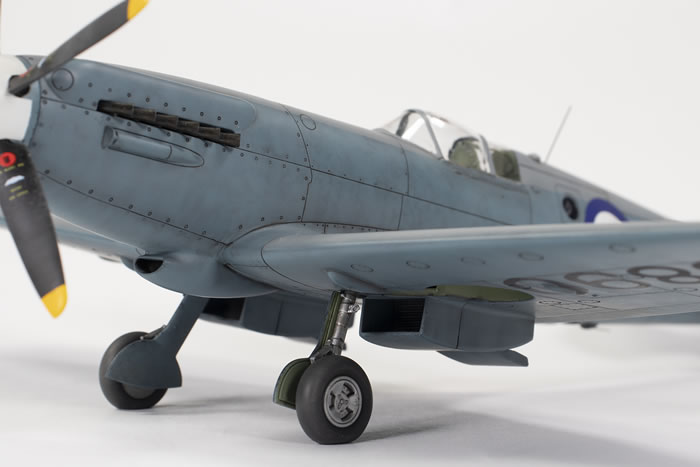
The completed model was primed in Mr Finishing Surfacer 1500 Black, rubbed back with 2500 Infini sponge to eliminate the significant surface texture in the plastic. The PRU Blue was mottled on using MRP’s rendition and the Medium Sea Grey is Mr Color 335. Tonal variation was established by using mottle masks, some lighter shades and a few dabs of oil paint.
With almost every Airfix kit one is confronted with the issue of what to do about the surface detail. It is deep and wide. You could do nothing, but I think that looks a little odd, especially when you can see PRU Blue at the bottom of your panel lines. On the other hand, doing something will almost certainly look rather stark. I opted for the latter, and used an oil pin wash mainly consisting of Abteilung 502 Dark Mud, which is actually a rather warm dark grey. This was done directly over the paint and blended in using a brush.
It’s unclear to me how wide the walkway markings should be (Xtradecals and Airfix disagree), so I plumped for what I thought looked nice. I could not see stencils on the photos I’d amassed of RAF PR.19s from SE Asia, but then most of them are quite poor quality, so I may well be wrong. In some photos, prop stencils are clearly visible. They differ significantly from those provided by Airfix, but those are the ones I used in the absence of anything else.
With the kit racing to the finish line, I cut off the opaque plastic tail light and replaced it with something cut from a clear LGB seeker lens and attached with UV glue. The whip antenna is made from stretched sprue.
As with almost every Spitfire kit I’ve built, attaching the landing gear was a challenge. The locating pegs are too big and needed trimming down. I’ve ended up with level wings, but the gear are not quite symmetrical. The wheels are moulded with flats and I attached them using Tamiya Extra Thin to give me time to get them aligned with the help of some square magnets on a baking tray as a jig.
When it was all done I was pretty happy. The main problem is that the inside of the canopy is marred by various bits of rubbish, a failing that continues to afflict a lot of my models.
I wanted this to be a quick build to see out 2021, and I got it done in four weeks to take the total of finished models this year to eight. It’s a very attractive aeroplane and Airfix’s kit is adequate. It doesn’t hold a candle to the finesse of Eduard’s Spitfires, but I’m very glad to have it in my display case.
To see more articles like this, and more images of this Bearcat, please visit my website http://www.jonbryon.com
Text and Images Copyright ©
2022 by Jon Bryon
Page Created 15 March, 2022
Last Updated
17 March, 2022
Back to
HyperScale Main Page
|
 Home
| What's New |
Features |
Gallery |
Reviews |
Reference |
Forum |
Search
Home
| What's New |
Features |
Gallery |
Reviews |
Reference |
Forum |
Search