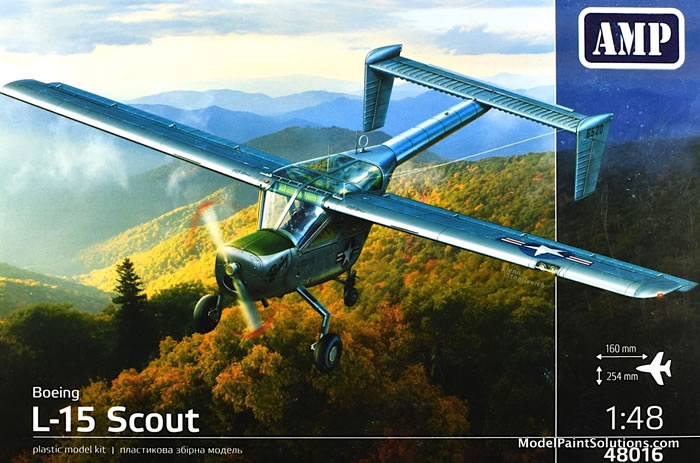
Boeing L-15 Scout
AMP, 1/48 scale
S
u m m a r y : |
Description and Item No.: |
AMP Kit No.48016 - Boeing L-15 Scout |
Contents and Media: |
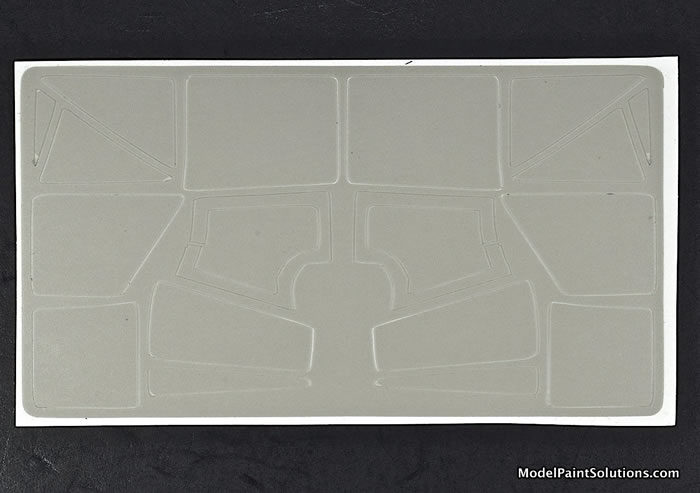
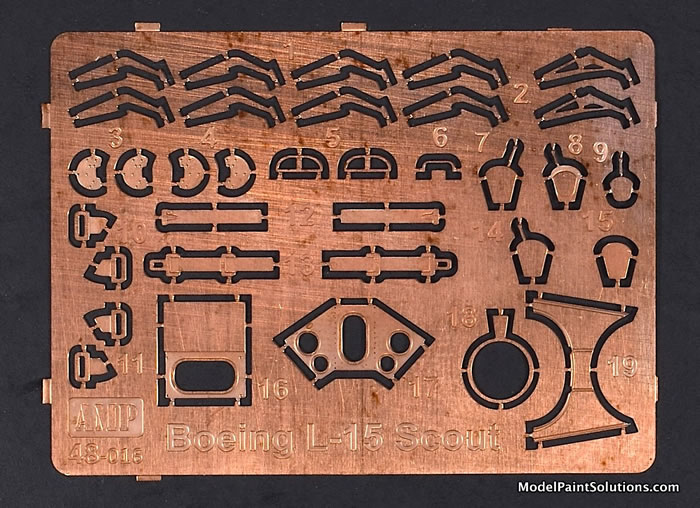
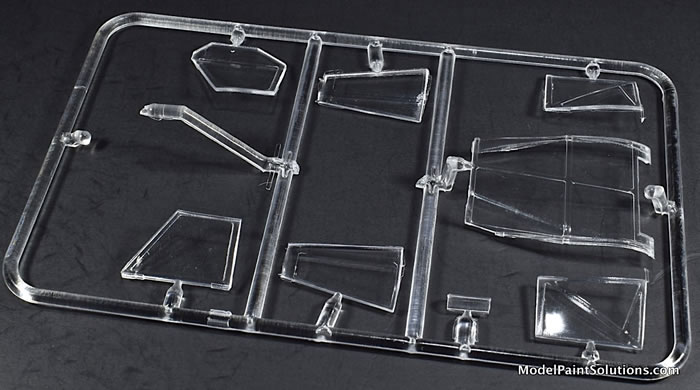
55 parts in grey styrene, 9 in clear, 2 3D-printed, ~32 in Photo-Etch, die-cut masks, and one decal sheet with markings for 2 airframes.. |
Price: |
GBP£37.60 plus shipping at Hannants |
Scale: |
1/48 |
Review Type: |
First Look |
Advantages: |
This kit scores very high on the novelty scale for sure. Surface details (inscribed and in relief) are well done. The high level of detail provided in the cockpit combined with the ample canopy will likely make the pilot’s office the focal point of the build. A 3D-printed instrument panel, large PE fret (with seat harnesses), die-cut masks, and an exceptionally crisp decal sheet with markings for two Scouts completes what is a very comprehensive model from AMP. |
Disadvantages: |
There’s some flash to be dealt with and small surface imperfections will require extra attention to pull off a convincing natural metal finish. Some assembly steps score high on the “Fiddly Scale” so this is a kit best enjoyed by someone with previous experience with multi-media kits. |
Recommendation: |
I really like this kit. The details are abundant and the assembly sequence seems quite reasonable albeit out of the ordinary. Given the use of multiple media, especially photo-etch, this is not a kit I’d recommend to a beginner. However, someone with patience and a little experience that’s able to get everything out of what’s provided in the box will be rewarded with a real head-turner not often (ever?) seen at the model show. |
Reviewed by John Miller

The Boeing L-15 Scout or YL-15 was a small, piston engine liaison aircraft built by Boeing in very small numbers after WWII. It was a short take-off and landing (STOL) aircraft powered by a 125hp Lycoming engine. The L-15 was an attempt by Boeing to expand its product line as World War II drew to a close, and Boeing's production of combat aircraft declined. Boeing decided against marketing the L-15 as a general aviation aircraft, and the twelve that were produced went to the U.S. Army for testing then were transferred to the U. S. Fish and Wildlife Service in Alaska for various duties.
Text Edited from Wikipedia
The Kit:
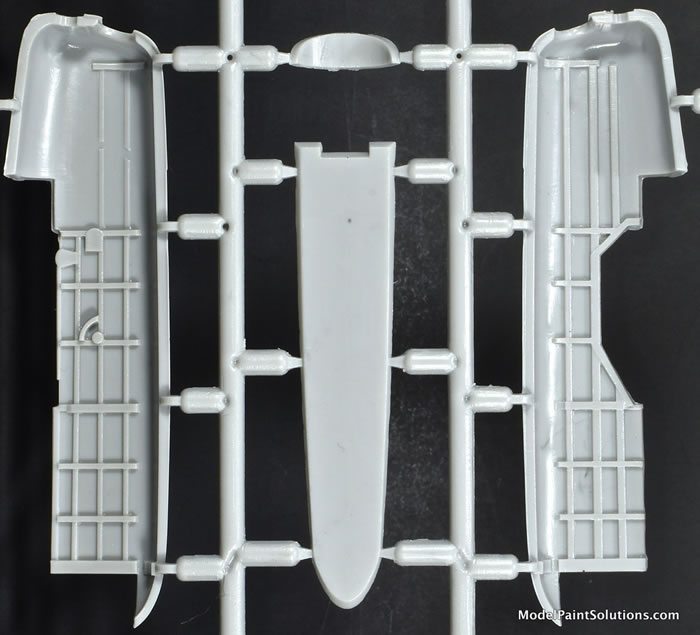
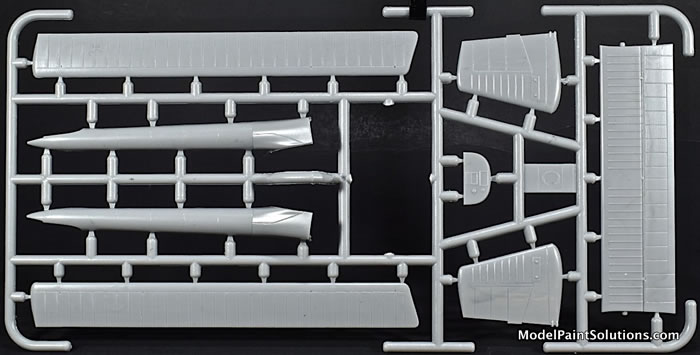
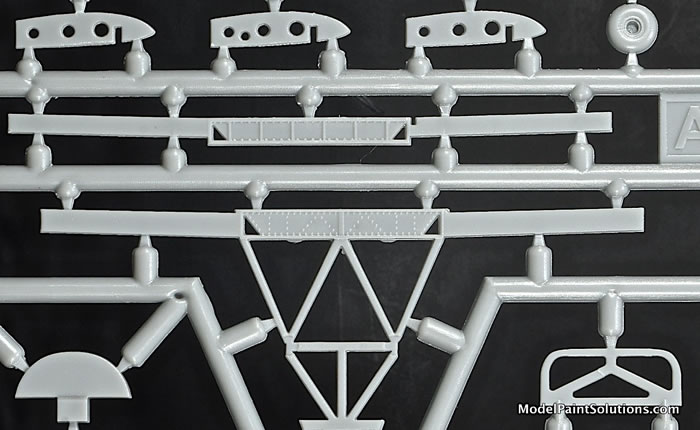
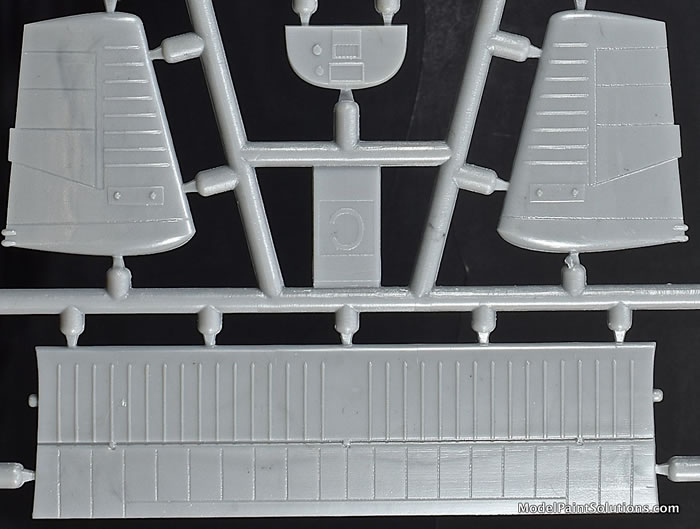
The injected parts have a high level of detail but there’s flash to be dealt with and some of the smaller parts may need refreshing with sanding sticks and files. Surface details (inscribed and in relief) are scale appropriate. Of note are small areas with surface imperfections on some of the larger parts that will have to be addressed if the goal is a convincing natural metal finish. This build entails many sub-assemblies, each comprised of multiple parts as well as a fair amount of photo-etch. This is not going to be a weekend build.
The building sequence is as unconventional as is the 1/1 aircraft. Assembly begins with the seats (complete with PE harnesses) and proceeds to the 3D-printed main instrument panel thence to the front and rear wing spars. Yup, you read that right. The wing spars and wing box, complete with cross-braces are assembled and the wings (from upper and lower halves) are then added. Concurrent with the wing box/spar assembly is construction of the tail boom, which has an internal structure (composed of 5 parts) that will be visible through the canopy when the model is complete. The 5-part structure is captured by the tail boom halves when assembled. The assembled tail boom and a large, over-head canopy part are then added to the assembled wing box. Crazy, huh?
Next up, the cockpit floorboard complete with firewall, stick, and cross-braces is glued onto a trussed structural member underneath the wing-box. Once the seats and other cockpit details are added to the floorboard, the cockpit assembly is trapped between the rather stubby fuselage halves, which are nicely detailed with PE throttle quadrants, levers, and cranks. The level of detail here is quite nice and a cockpit painting guide is provided in the instructions; very handy.
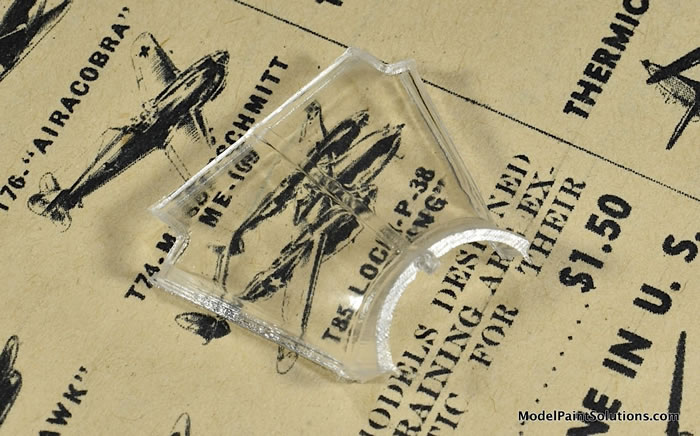
The front windscreen, side-window, and rear, clam-shell window are fitted next and the builder has to decide on closing the cockpit up or posing the starboard-side door open. The clear parts are nicely molded with good clarity so it’ll be very hard to not pose the door open for better visibility with all the detail crammed into the cockpit.
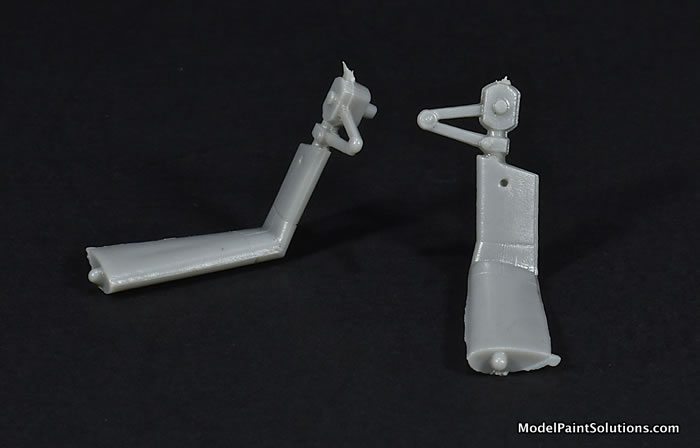
The nicely molded tail and main gear, which broke free from the sprue with little damage on my example are added next along with the propeller and belly tank (from halves). Completing the build is the addition of the empennage composed of a single-piece horizontal stabilizer and single-piece, twin vertical stabilizer/rudders.
And now, for the one point in the build where I instinctively raised an eyebrow; adding the full-length flaps. Each single-piece flap is affixed to the trailing edge of the wing by 5 photo-etch hinges. Assuring each small hinge is affixed with the proper alignment will be a challenge in itself much less balancing the sizable flap on all five for gluing. The easy fix here is to build a small jig out of balsa or similar to immobilize the flaps while the PE hinges are glued in place. As I mentioned earlier, this isn’t a weekend build.
Markings:
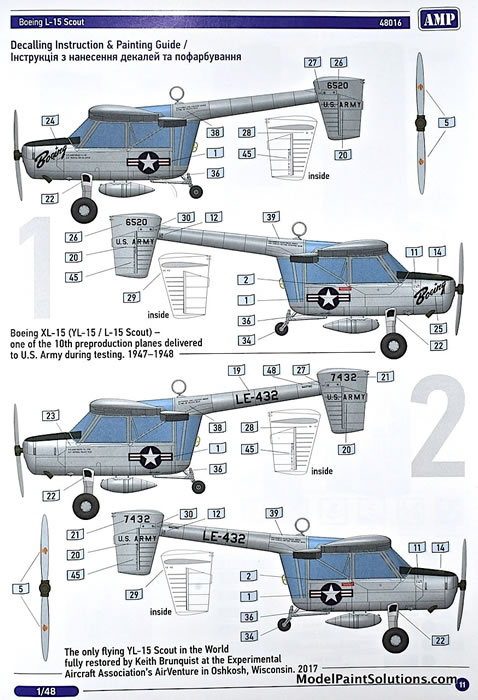
The decals, by AMP are crisply printed with good registration, and color density.
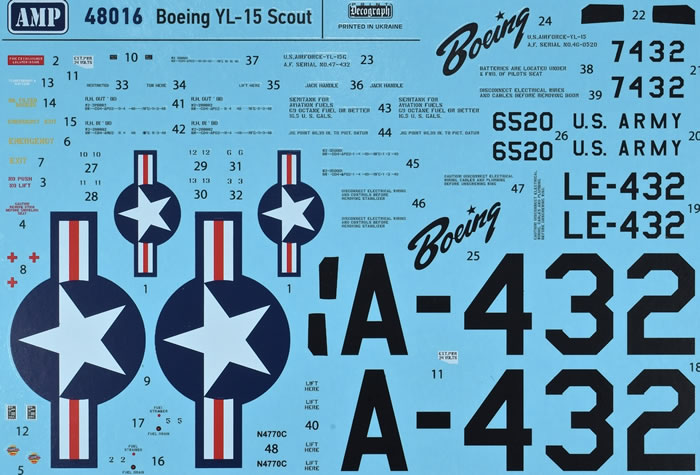
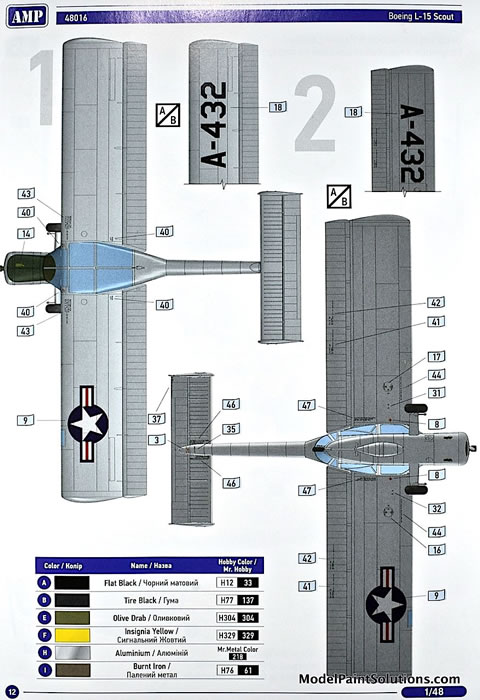
Markings are provided for two airframes (#6520 and 7432) both finished in overall aluminum.
I really like this kit. The details are abundant and the assembly sequence seems quite reasonable albeit out of the ordinary. Given the use of multiple media, especially photo-etch, this is not a kit I’d recommend to a beginner. However, someone with patience and a little experience that’s able to get everything out of what’s provided in the box will be rewarded with a real head-turner not often (ever?) seen at the model show.
Highly recommended for those with a little experience!
--John
Review kit provided by my wallet, again.
For more on this review visit Modelpaintsolutions.com
Review Text and Images Copyright © 2022 by John Miller/Model Paint Solutions
Page Created 15 March, 2022
Last updated
15 March, 2022
Back to HyperScale Main Page
Back to Reviews Page

|
 Home
| What's New |
Features |
Gallery |
Reviews |
Reference |
Forum |
Search
Home
| What's New |
Features |
Gallery |
Reviews |
Reference |
Forum |
Search